If you’ve ever wondered how to make beeswax wraps for yourself, or as gifts, and for a fraction of the price of bought ones, you’re in the right place!
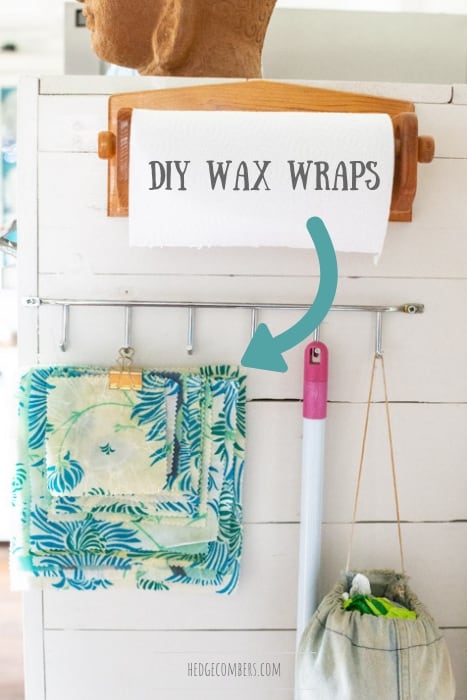
Homemade beeswax wraps are great fun to make and they couldn’t be easier!
They only require two, all-natural ingredients which will appeal to the environmentally concerned amongst us:
- cotton fabric (I prefer to use recycled cloth, salvaged from old clothes, to keep the environmental footprint and cost down. But you can use brand new fabric too – just be sure to wash it first to remove any fabric fixings or chemicals)
- pure organic beeswax (organic isn’t essential, but there are a lot of shady sellers and suppliers out there, so buying wax that is certified organic means I can trust the collection, and purity of the wax. See below for more details)
Whilst this may not be an edible recipe, I can promise that when you make your own beeswax food wraps, they will have 101 uses in your kitchen!
I have no doubt that they will replace cling film and plastic food tubs in your kitchen. Just as they have in mine.
Why use beeswax wraps?
Beeswax wraps are an environmentally sound choice to make, using all-natural ingredients that are fully biodegradable.
That means that when the cloth deteriorates or you wan to change colour scheme, you can simply pop your old wax wraps into your compost bin. Being made of 100% cotton and beeswax means they’ll just rot down and turn into compost.
They are easy to make, and a great gift to make for others too. In fact, most folk on my Christmas list will be getting a pack of these DIY beeswax wraps this year!
If you love homemade gifts as much as I do, you’ll find lots more foodie gifts and makes on my 25 homemade Christmas gift ideas post. It’s never too early to start! ;)
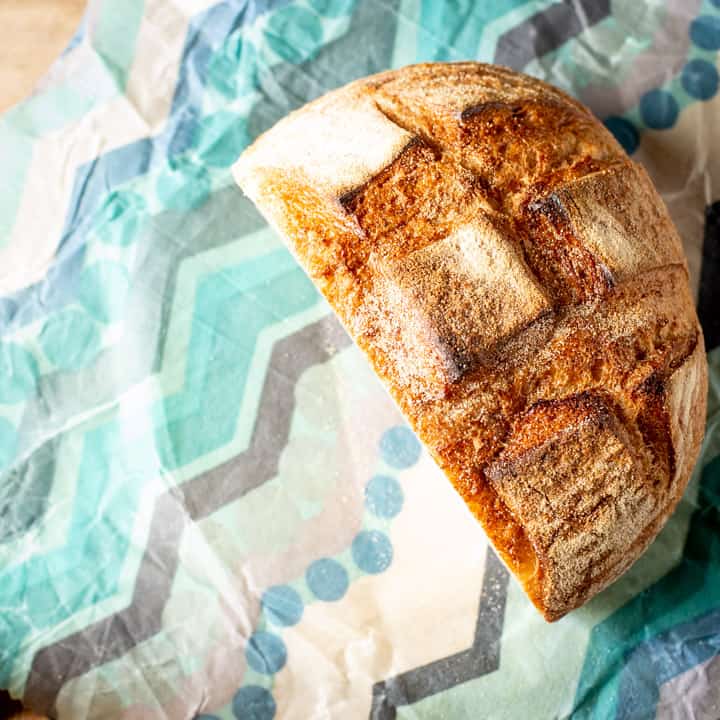
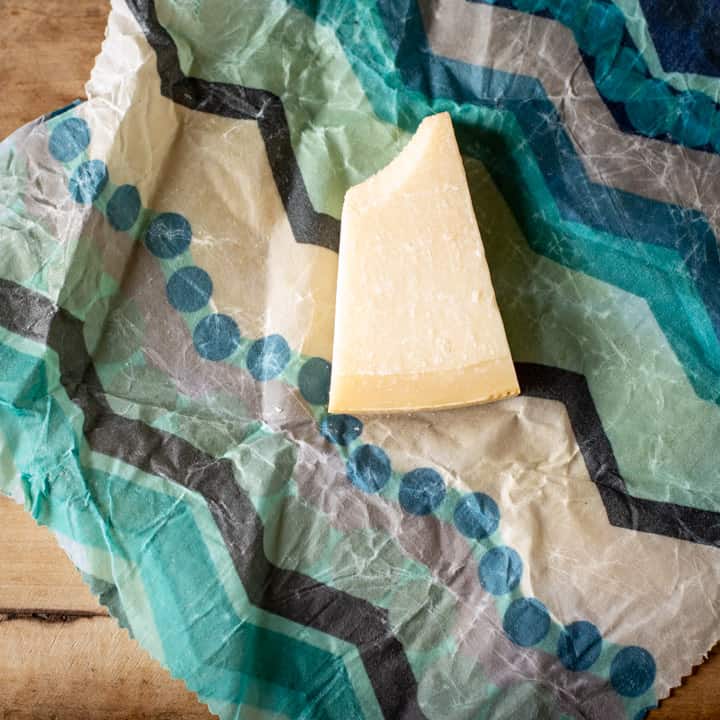
You can wrap a large wrap around a loaf of bread, or wedge of cheese.
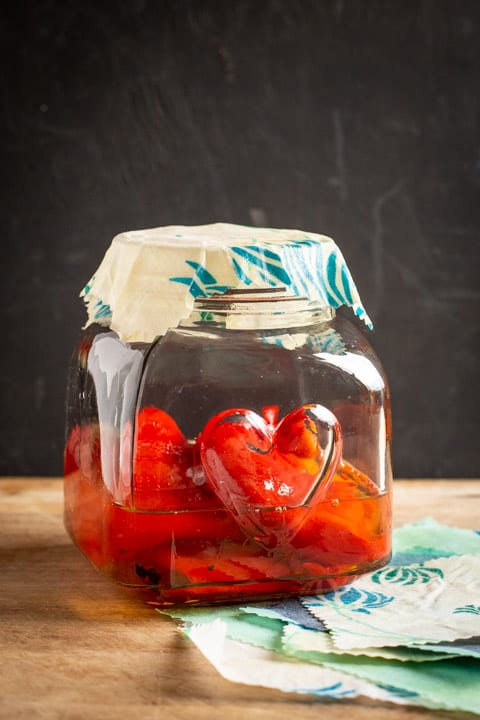
And they’ll make a great seal on glass and glazed ceramics. Simply smooth the wrap over the mouth of the jar or bowl. The heat from your hands will soften the wax a little, and mould it perfectly to the surface.
How to use your DIY beeswax wraps
You can use DIY beeswax wraps whenever you’d normally reach for cling film. Here’s just a few wrapping ideas to get you going:
- Cheese
- Cut lemons or limes
- Bread
- Sandwiches, wraps and paninis
- Homemade cakes and flapjacks
- Cucumber
- Covering pots of homemade sauces
- Wrapping fresh bread from the bakery to avoid using plastic bags
- Half used onions and avocados. In fact, use them to protect the cut side of any fruit or vegetable.
- Bowls of leftovers
I’m sure I missed a tonne of ideas, so if you think of more – please drop a comment down below to tell us how we get even more use from them!
How to Clean DIY Beeswax Wraps
Please don’t put your DIY wax wraps in the dishwasher, washing machine or even hot soapy water! You really don’t want the wax to melt and gum up your drain! Simply rinse under cool water and scrub with a dish brush and a dot of washing up liquid.
Because heat is a no-go when cleaning DIY wax wraps, I wouldn’t store meat, fish or poultry directly in them.
How Long Do Wax Food Wraps Last?
They will last 6-12 months, depending on how much use they get.
If necessary you can refresh beeswax wraps simply by popping back in the baking tray and ‘rebaking’. You can even add another sprinkle of wax pellets if you feel the wax has got too thin. Or simply toss into the compost bin and start again with another fun fabric!
Supplies You’ll Need to Make Your Own Beeswax Wraps
First let’s gather supplies. You’ll need:
1/ Beeswax: 100% pure, unperfumed, natural beeswax.
Beeswax is the residue that honey bees secrete to contain and protect and rear their young. It is an entirely natural product. It is edible, although please avoid taking a big bite, it tastes gross and will get stuck in your teeth!.
You can buy it direct from a local bee keeper. If you’re in the UK, visit the British Beekeepers Association to find your local club, and they will be able to put you in touch with local beekeepers.
Alternatively, you can buy it online. I’ve had success with both Amazon and eBay, but I would highly recommend sourcing a high grade beeswax that is made/collected in Britain.
There are plenty of cheap imported beeswaxes available on both sites, however you cannot be guaranteed of the purity of wax imported from say, China.
Cheap beeswax may well be cut with other components that may spoil your homemade beeswax wraps. Or even worse, contaminate your food. Therefore I choose organic British beeswax if I’m buying it online, just to be sure.
Finally, if you get the choice, buy beeswax pellets. These are perfect for making food wraps as you can just sprinkle them with good control. If you buy chunks or blocks of beeswax, you’ll need to cut or shave it up into smaller pieces first.
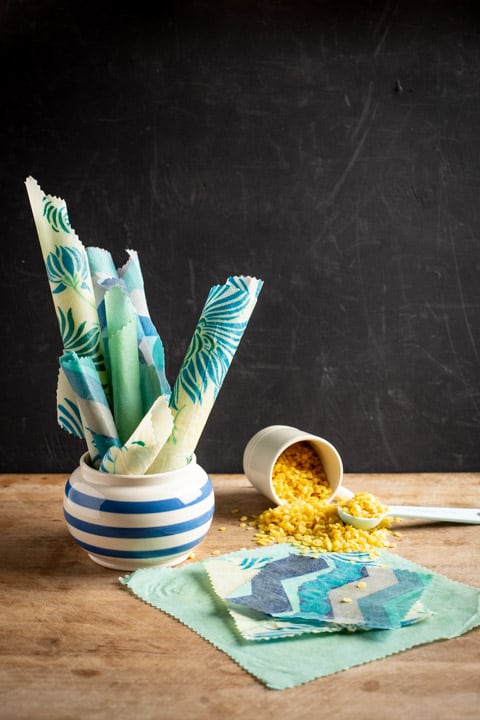
2/ Fabric: Thin, 100% cotton or linen.
I’ve used many different types of fabric to make beeswax wraps, however the best results have always come from using really thin, pure cotton.
You can, of course, buy this from fabric shops or online.
But in keeping with the eco-credentials of beeswax wraps, I prefer to buy second-hand clothes from charity shops to make my food wraps.
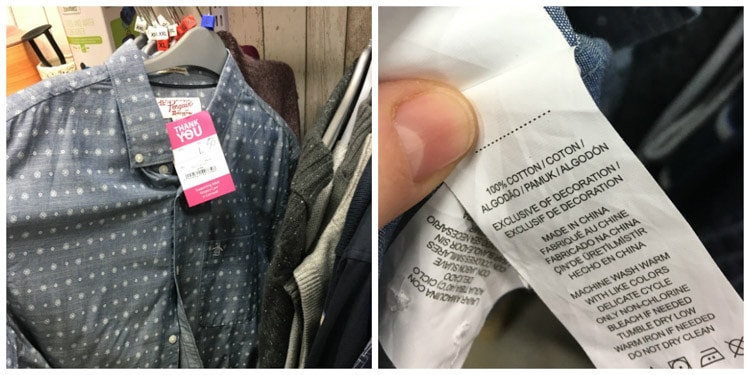
Or perhaps go through the family’s wardrobes for the clothes that have seen better days. I love the idea of the memories those fabrics would then add to you wax wrap stash :)
Fabric that is too thick does not bend and form a nice seal on foods or bowls. So go for thin, lightweight fabrics.
Fabric that is stretchy (like cotton jersey that T-Shirts are made of) will crack the wax too easily. So opt for a regular, not too stretchy cotton.
When fabric hunting, I head straight to the kiddies clothing section. I look for lightweight dresses and shirts in pretty patterns. I then check the care label to make sure the fabric is 100% cotton or linen. You don’t want any nylon or man-made fibres mixed through with those cotton fibres. Melting plastic in your oven will not smell good.
I also ensure the item of clothing is big enough to get a few wraps out of. You can make them of all different sizes, and even the small wraps are useful so don’t be too strict. It’s more important that you love the fabric as then you’ll be more likely to use the wraps.
Next, I hit up the adults clothing section. Ladies long summery skirts and dresses are perfect, as are men’s lightweight summer shirts.
When you get the clothes home, give them a good wash and dry. Then iron them so you can cut lines as straight as possible.
3/ Scissors: regular fabric scissors or pinking shears
Finally, cut your fabric into squares, or circles, of the desired size. My smallest wraps are around 7cm square. My largest one is 45cm square. The bigger one is great for wrapping a loaf of bread up in. The little ones get used for a tonne of different things, so aim for a good range of sizes.
You can cut with regular scissors, and the wax will help prevent the fabric from fraying, but I like to cut mine with pinking shears to prevent any frays at all. I use Fiskars Pinking Shears. They are so well made that they will probably outlive me!
4/ Baking Tray
The baking tray you use is going to get mucky and be a real pain to clean properly. So a dedicated one for making beeswax wraps would be ideal!
That’s it! Now all you need to know is how to make beeswax wraps! Let’s do this!
How to Make Beeswax Wraps
- Set your oven to 150°C/130 fan/300°F
- Lay out the fabric square(s) in an even layer on the baking tray. If you are making really large ones, you may need to work in sections to coat the whole piece of fabric.
- Sprinkle the fabric with a thin, even layer of beeswax pellets or chips.
- Pop the baking tray into the oven. The wax melts quickly and you’ll see it seeping across, and into, the fabric. If you have any bare areas of the fabric, simply withdraw the baking tray and sprinkle some extra wax pellets on.
- When the fabric looks ‘wet’ from the wax, remove the tray from the oven. Carefully pick up the fabric from one corner and just hold above the baking tray for a few seconds until the wax has set. Your beeswax wrap is now done! How easy was that?! :)
How to Giftwrap Beeswax Wraps
If you are gifting your DIY beeswax wraps, you can either fold them, or roll them up. Include handwritten instructions on how to best care for their wraps and tie them up with some lovely ribbon or string for a more rustic look.
If you are keeping them all for yourself (no judgements here!) you can store them flat in a drawer, hang them from a bulldog clip in the kitchen, or keep them rolled up in jar.
And I hope they will revolutionise your households war on plastic waste as much as it has ours. If you do make your own beeswax wraps this year, I would love to know how you get on!
And don’t forget, you can find many more homemade Christmas gift ideas right here.
Please note: links contained in this post may be affiliate links. Thank you for supporting the work we do here at The Hedgecombers :)
Carolann says
I’ve been wondering how to make these and was about to start experimenting. Very glad to see this post as I was going to use a heavier material thinking they would last longer. Thanks also for the heads up on the linking shears, wasn’t sure what brand to get. As I’ve lost weight I have lots of clothes to use so only need the bees wax. Thanks again!
Jane Sarchet says
Oh that’s great news Carolann, and I’m so glad you found the post useful! I do hope you enjoy making them :)
Janie x