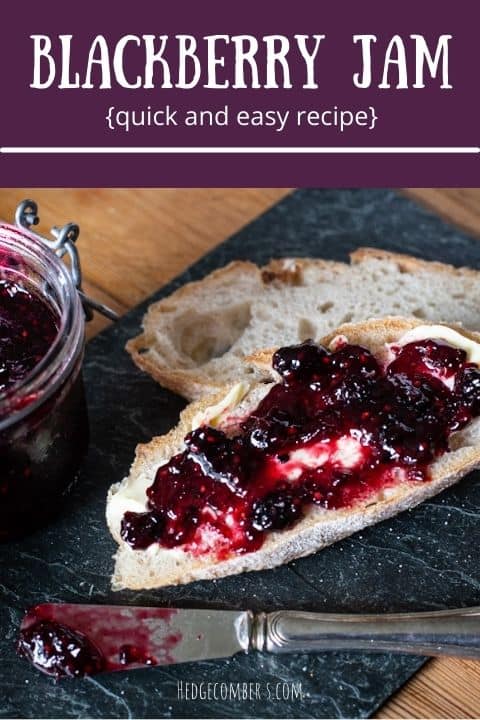
If you’re looking for an easy blackberry jam recipe, you’ve just struck gold! This quick jam recipe will turn your bowl of freshly foraged berries into a perfectly jewel coloured jam.
And the best bit is, you only need blackberries and sugar to make this easy jam recipe. As blackberries contain enough pectin in their teeny little seeds to make this easy jam recipe!
I recently shared all of my blackberry recipes with my newsletter subscribers to give them some juicy ideas this autumn. As someone who adores foraging English hedgerows in autumn, the collection of recipes makes my heart so happy.
Although, there was a glaring gap in my recipes.
There was no blackberry jam recipe!
I immediately set to filling this gap in my recipe archives with one of my family’s most loved home-made jams.
And here it is.
Expect no bells or whistles. No pomp nor ceremony.
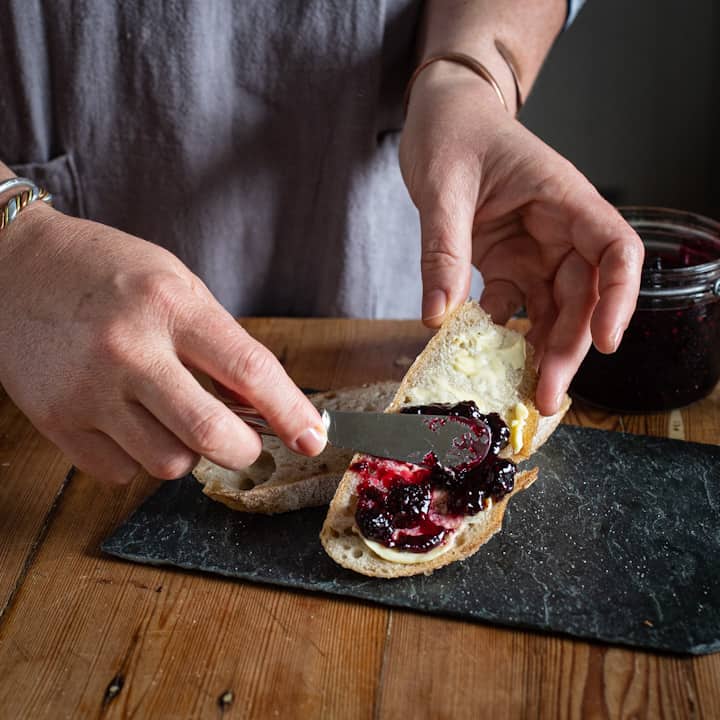
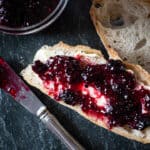
This is a stupendously simple blackberry jam that will make the absolute best of your foraged wild blackberries :)
My Easy Blackberry Jam Recipe
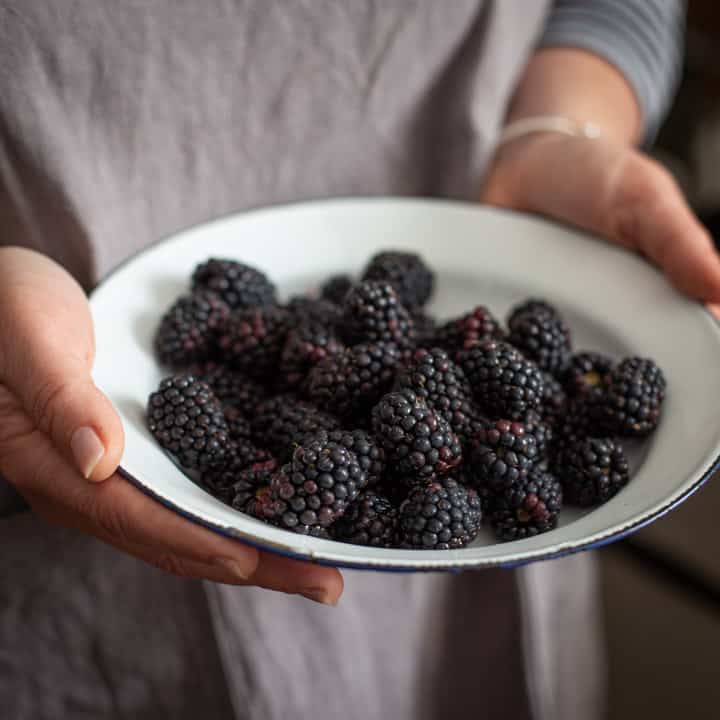
1/ Pick your blackberries
As with all foraging, pick your haul away from busy roads, or areas that may be sprayed with weed killer or similar. Also avoid picking berries from low areas where dogs may wee.
Avoid the fruits that have red or green parts to them. Aim for the fruits that are perfectly black and juicy looking.
Don’t worry about picking a certain amount of blackberries for making jam. Whatever they weigh, you’ll just need to add an equal amount of sugar.
It really couldn’t be easier.
And if you get the foraging bug after making this batch of jam, why not level up and try this Sloe and Blackberry Hedgerow Jam recipe? It’s got all the silky sweetness of the blackberry jam, with a little hint of sourness to balance it out. It’s really yummy!
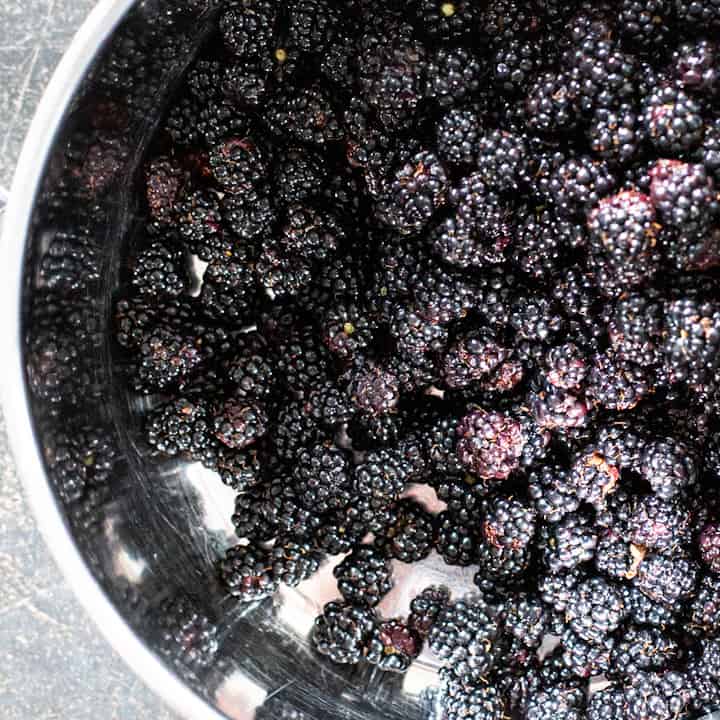
2/ Rinse and dry your berries
Gently move your fruit into a sieve or salad spinner. Run cold water over them to wash away any bugs or debris.
Then pour the berries out onto a clean tea towel.
Pick up the edge of the tea towel and gently swing the fruit about, aiming to dry them as much as possible.
Then tip the fruit into a medium to large sized saucepan.
3/ Heat the jam
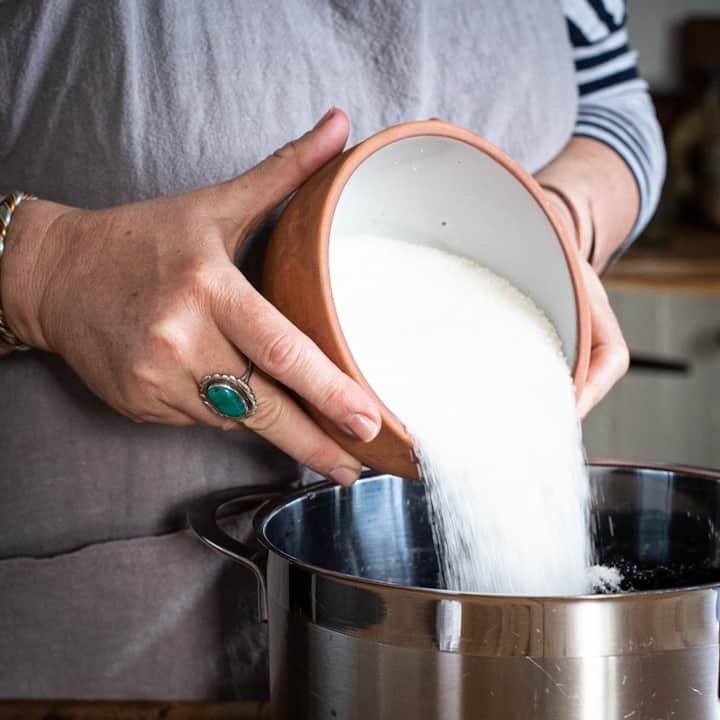
Add the sugar into the pan and stir with a wooden spoon over a medium to low heat.
As the juice comes out of the fruit it will stain the sugar, making it look crystallised and beautiful.
Keep heating and stirring and within a few minutes the fruit will start looking wet. And then it will turn syrupy.
Keep stirring!
4/ Simmer gently (for as long as it takes)
Gently simmer your jam whilst stirring regularly.
As a general rule of thumb it may take about 30-40 minutes for the jam to set. But this depends on many different factors (see below).
Honestly, it’ll take as long as it takes.
So relax, brew a coffee or pour a wine and enjoy the calmness of the process.
5/ Test the jam to see if it sets
Pop a small plate into the freezer, or place an ice cube on the plate to cool it down even quicker.
When cold, wipe the plate dry if necessary, and dab a small amount of jam onto the cold plate.
Let it cool, then push your finger against the blob of jam.
If the jam wrinkles up, like a piece of soft rubber, it’s ready.
If however your finger just runs through the jam dab, it is still wet and therefore not ready. Continue simmering and testing until it’s ready.
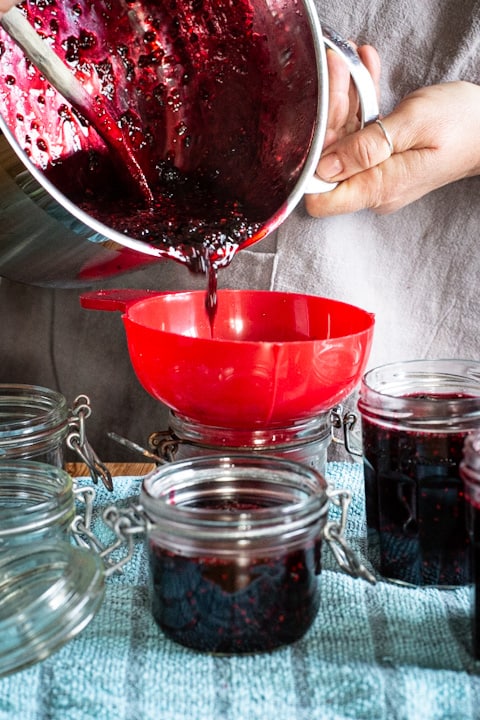
6/ Bottle up your jam
Pour your hot jam into hot, sterile jars. You can absolutely reuse old jars, just be sure they’re clean and sterile and have good fitting lids.
I use a jam funnel (also sterile) to make this job easier, but you can spoon it in if you’re careful. Try not to get the rim of the jar sticky with jam.
Place on your (sterile) jar lids and tighten well.
Carefully move the jars somewhere where they can cool slowly. As they cool, you’ll hear the lids ’pop’ shut. This means they are sealed and will last for months unopened in a cool pantry.
Any jars that don’t seal with a pop should be placed into the fridge and used up first.
How to not burn your jam
In the past, I’ve burnt many (many) batches of jam. I knew I had to get my bubbling jam up to a specific temperature (105C or 221F) so that it would set. Yet by pushing the heat up too quickly, the sugar would catch (burn) on the bottom of the pan, and my whole batch would be ruined.
The key is to gradually simmer your fruit and sugar to reduce it down to a thick syrup.
How long it takes will depends on how juicy your berries are. How hot your heat is. Maybe even how big your batch of jam is. (My thinking with that last one is that the deeper the fruit/sugar layer in the pan is, the longer it will take for the moisture to evaporate. However don’t quote me on it!)
Approach jam making as a calm, slow process rather than a panicked fast process and it will turn out well :)
What if my jars of jam haven’t set?
If when you open your first jar of jam and it’s runny and hasn’t set you have a couple of options.
Firstly, you can keep it as is and enjoy it drizzled on things like porridge, ice cream or rice pudding.
However if you really want to enjoy your blackberry jam as a thick, spreadable jelly, it’s easy to remedy.
Simply reopen all your jars, pouring the contents back into a pan. Heat gently and keep testing until you get the wrinkle test down.
Be sure to re-sterilise all your jars and lids before bottling it once again.
How do I sterilise my jam jars and lids?
The easiest way to do this is to run the jars and lids through the dishwasher on a hot wash. Keep the dishwasher shut so the heat stays in until you’re ready to bottle up your jam so the jars will still be hot and won’t shatter as you pour in molten jam. I also run my jam funnel through the dishwasher at the same time.
If you don’t have a dishwasher, you can sterilise your jars and lids in the oven. Find out the exact process here on the BBC Good Food website: How to Sterilise Glass Jars in the Oven.
My Easy Blackberry Jam Recipe
In the recipe that follows I’m using 1 kg of fresh blackberries and 1kg of granulated sugar. But if you have picked less, or more, blackberries, don’t worry!
Simply use an equal amount of sugar to whatever weight of blackberries you have.
Enjoy!
- 1 kg blackberries – cleaned of bugs and debris
- 1 kg granulated sugar
Place your jam jars, lids and jam funnel (if using) into the dishwasher and put on a hot cycle.
Pour your cleaned and dried blackberries into a large stainless steel saucepan.
Add in the sugar, stir well to combine and then place the pan on a low to medium heat.
As the juice starts to leak from the berries the sugar will start to look crystallised and then slowly it will look wet.
Keep stirring and gently bring the contents of the pan to a boil.
Turn the heat down if it’s boiling too vigourously or if you’re worried it may burn on the bottom of the pan.
When the syrup becomes thick and glossy looking you may want to start testing it to see if it will set.
Place a small ceramic plate in the freezer, or place an ice cube on it to chill it more quickly.
Once cold, drop a little of your blackberry syrup onto the cold surface. Wait a minute or so for it to cool, then nudge it with your finger tip. When it wrinkles up like a piece of soft rubber it is ready to pour into jars.
If it doesn’t wrinkle, keep gently boiling.
Another way to test if it’s ready is to take the temperature of the syrup.
To test the temperature carefully lower a jam thermometer into the bubbling pan. I prefer to use a Therompen thermometer for this job as it only one second to register the temperature which is far safer.
Setting point for jam or jelly is met when the syrup reaches 105C (221F).
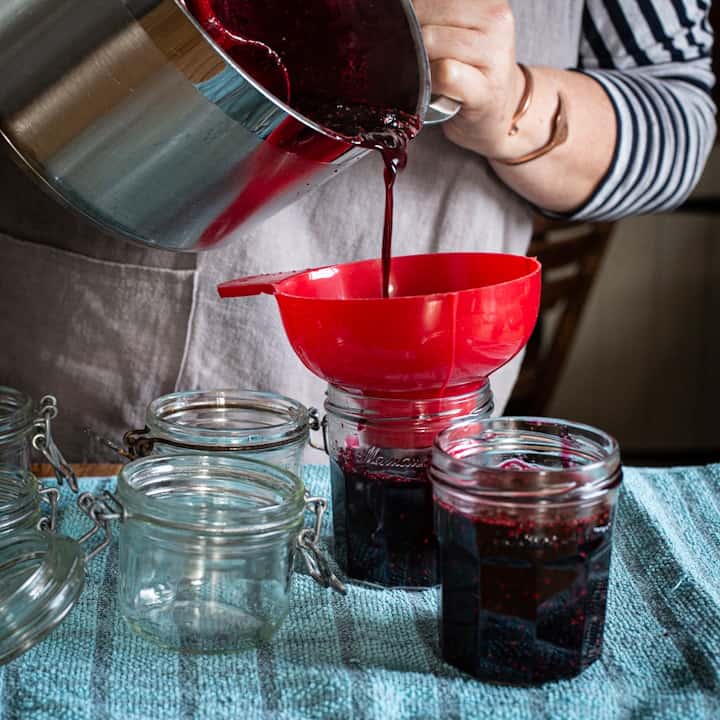
Once setting point has been reached, set up your hot jam jars on a clear work surface on a clean tea towel.
Using the jam funnel (or a large spoon if you don’t have one) carefully fill each jar. Leave a gap of about 1-2cms at the top of each jar.
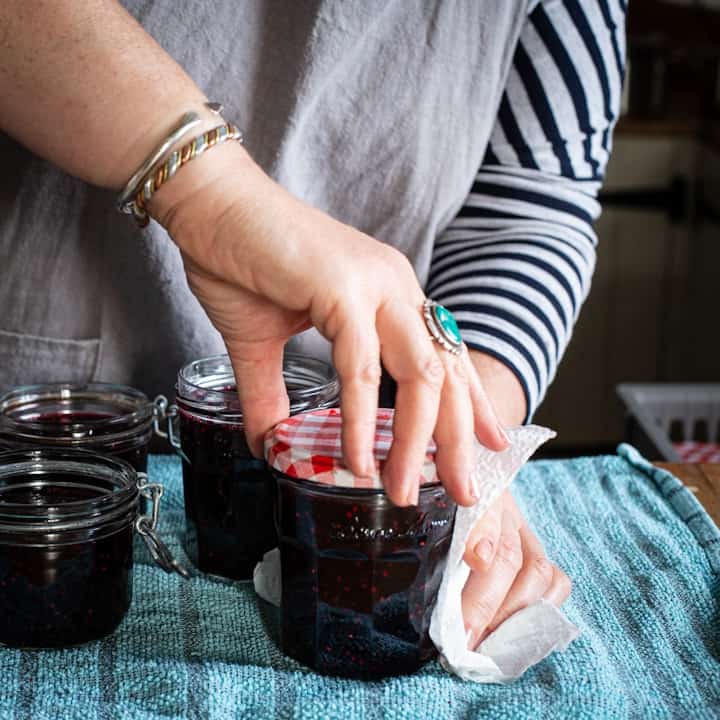
If any jam drips onto the rim of the jars, wipe off with a damp piece of kitchen roll.
Wipe inside the the sterile lids with a piece of fresh kitchen roll to remove any water hiding under the rim.
Place the lids onto the full, hot jars and twist on firmly. Leave somewhere safe for teh jam to cool.
As it cools you should hear the jam jar lids ‘pop’ as the cooling jam changes the pressure inside the jar.
When cool the properly sealed jars can be stored somewhere cool and dark for several months. Any jars that didn’t seal properly should be kept in the fridge and used first, or they can be re-heated and re-lidded.
Husnain says
Hi Jannie, I have been going thru your blog and found out that you possess great enthusiasm for food. I hope you continue this blog for better food knowledge and recipes. Xx
Jane Sarchet says
Thanks Husnain!
Janie x
Cathy says
Great recipe! My jam came out perfectly despite it being the first time making jam!
Jane Sarchet says
That’s great news Cathy, I’m so glad your first jammy experience was a tasty experience!!!
Jane x