These coconut rock cakes are so quick and easy to throw together and they taste amazing! Perfect to fill an after-school-hunger-pang or the corner of a sad looking lunch box. They’re yummy!
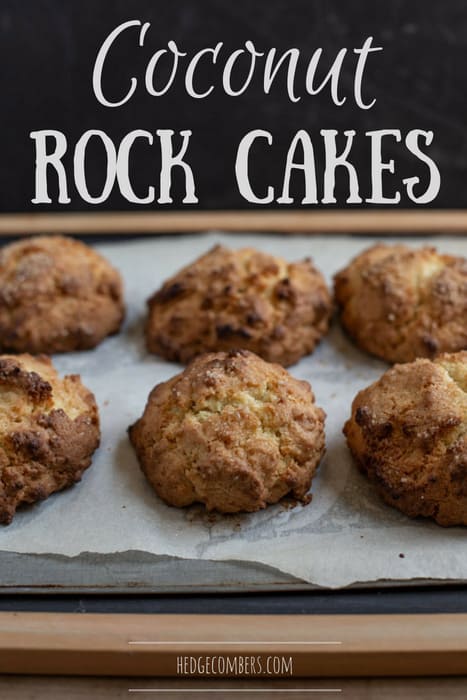
I love me some rock cakes!
We used to make them as kids, and the whole point of them is to not make them look perfect.
You want those knobbly, rough edges so that they get extra bronzed in the oven.
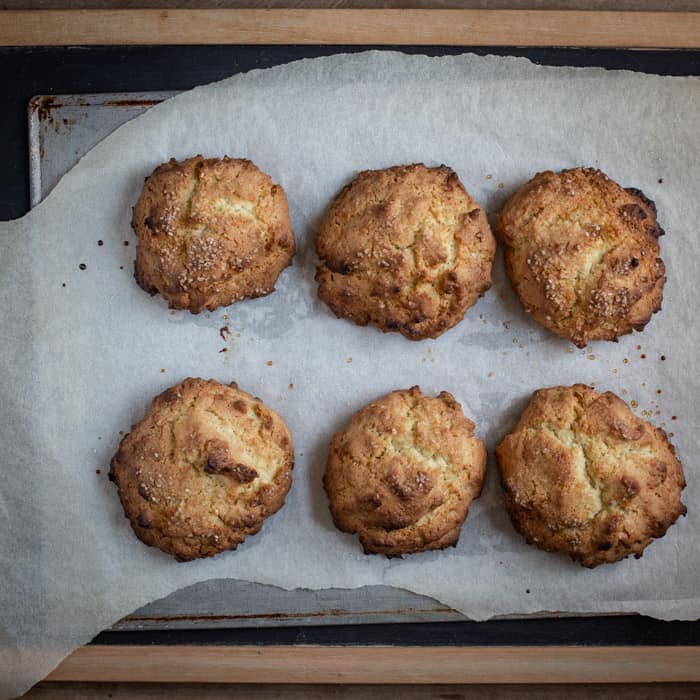
Rock cakes come in many flavours, but coconut rock cakes have long been top of my favourites list.
The desiccated coconut gives them a lovely texture.
And the smell as they are baking will drive you wild with anticipation!
What are Rock Cakes?
Rock cakes are an old fashioned favourite that require minimal sugar and eggs compared to most cakes or bakes.
This makes them extremely economical and as they use mostly store cupboard ingredients, they are quick and easy to throw together if you have unexpected guests.
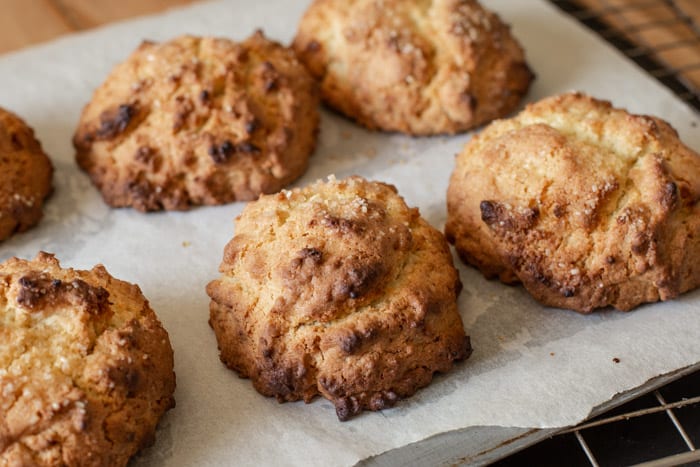
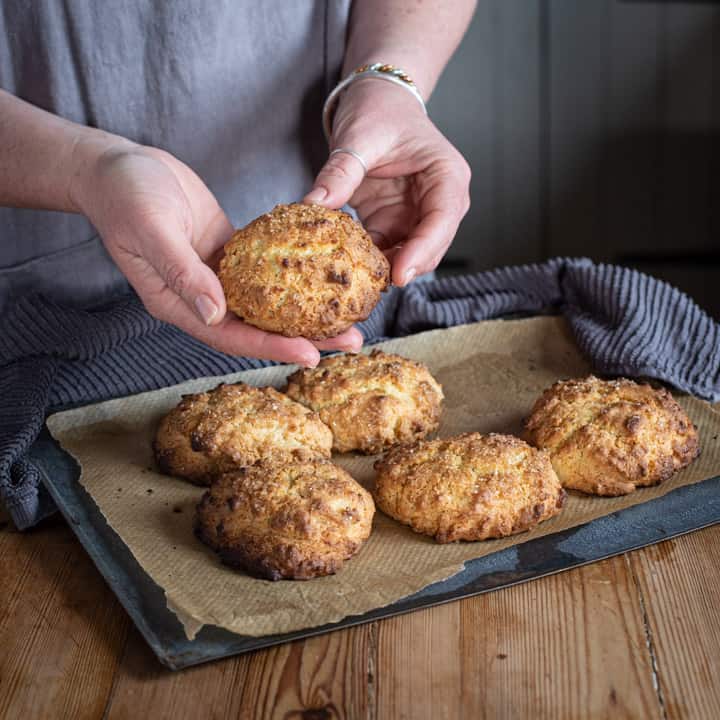
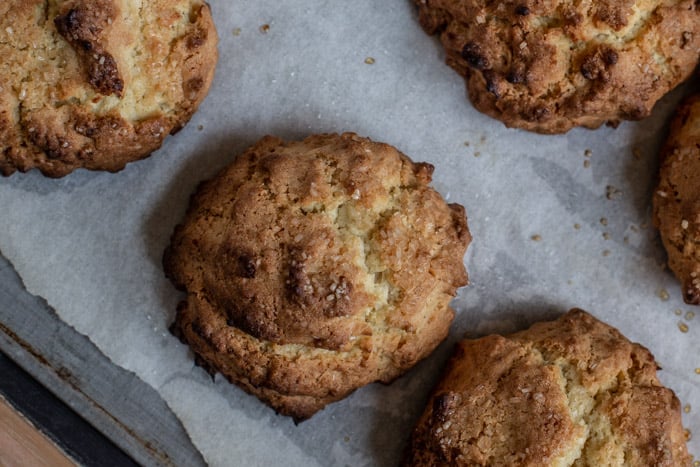
They are called rock cakes because of the rough texture. As they bake the rough edges get darker brown and they look really rustic!
You can eat them as they are. Or try spreading them with a little butter and jam if you need an extra treat.
How to Make Coconut Rock Cakes
Please scroll down to find the full recipe. But if you’d like me to walk you through the process first, here we go.
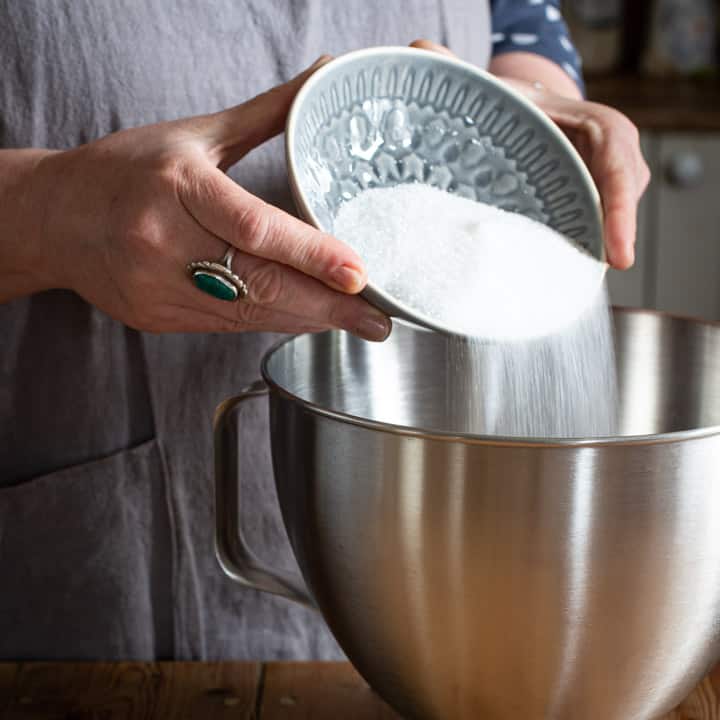
1/ Tip your butter, sugar and egg together into a large mixing bowl.
Cream together until smooth.
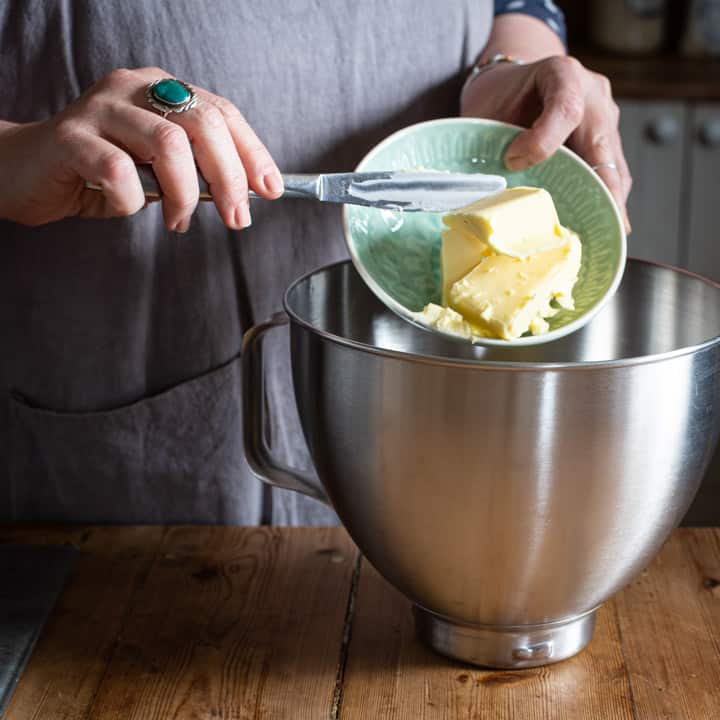
If your butter is cold and therefore hard, you can microwave it in 10 second bursts until it is soft enough to work with.
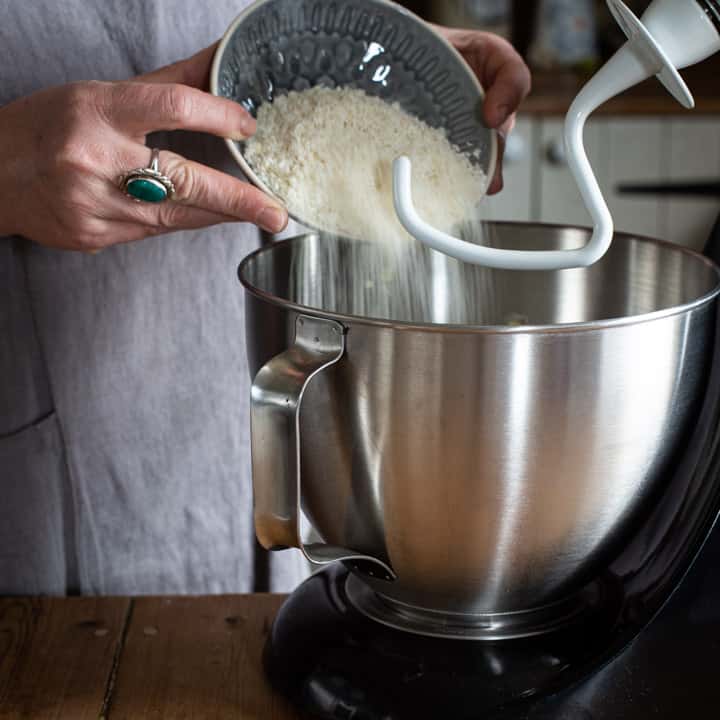
2/ Add in the flour, desiccated coconut, bicarb of soda (aka baking soda) and cream of tartar. Mix together well.
The dough is quite stiff and will give you a good workout if you mix it by hand!
If you have an electric mixer, I highly recommend using it for this recipe.
I used the whisk attachment to cream together the butter, sugar and egg.
Then switched over to the dough hook to mix the other ingredients in.
3/ Line a baking tray with a piece of baking or greaseproof paper.
Spoon on rough lumps of the dough, aiming for six pieces that are roughly equal in size.
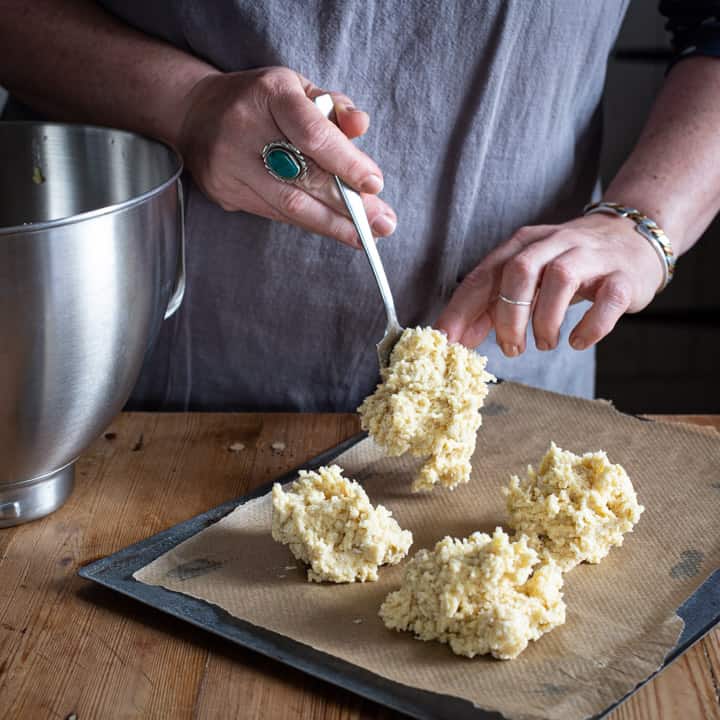
You want each cake to be in one ‘lump’ but don’t smooth out any rough edges.
A good rock cake is literally rough around the edges!
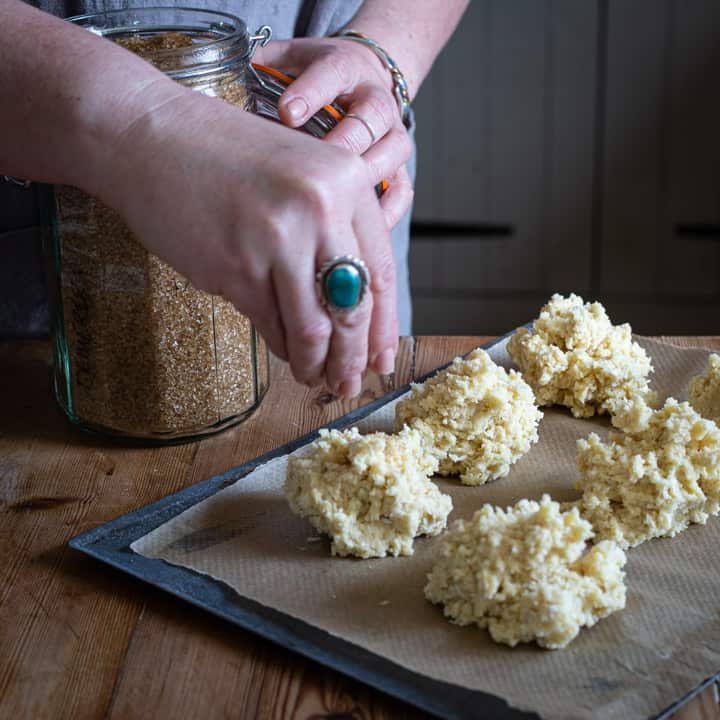
4/ Sprinkle each rock cake with a little brown sugar.
This will add a lovely crunchy topping to each cake.
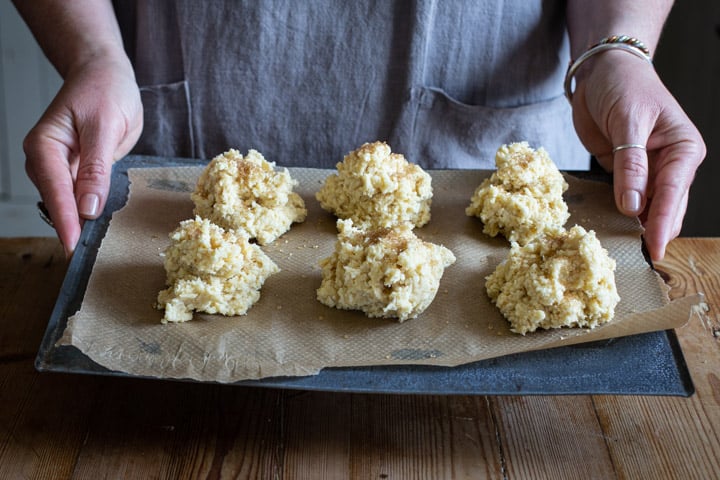
5/ Bake in a pre-heated oven for 15-20 minutes.
The top of each coconut rock cake should be golden brown, and the edges starting to get a little darker.
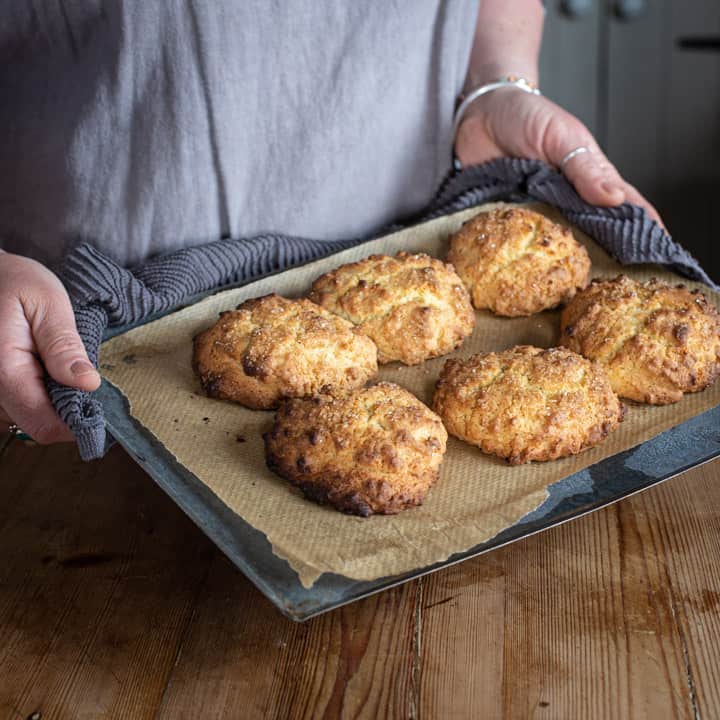
6/ Once they are cooked, remove them from the oven and let cool on a wire cooling rack.
If you are eating them warm, cut in half and spread with a little salted butter. So yummy!
Can I freeze Rock Cakes?
Yes, you can freeze rock cakes.
Firstly, ensure that are completely cool.
Then place inside a ziploc bag or a Tupperware tub.
You can also wrap each cake in a piece of cling film (saran wrap) if you prefer.
To defrost, remove from the freezer the night before you want to use them. Or place one rock cake in your lunch box frozen in the morning, and it will have defrosted by lunch time.
Can I add Fruit to my Rock Cakes?
Absolutely, yes!
My favourite choice would be to use glace cherries. I’d probably keep them whole, although you could cut them in half or even quarters to make them go further if you prefer.
And traditionally, a single glace cherry would be placed on top of each coconut rock cake. (Sadly my partner hates cherries with a vengeance, so I never get to bake with them any more!)
You could also mix a handful of mixed dried fruit through the batter before baking.
Or maybe try a couple of tablespoons of sultanas. They would add a lovely plump sweetness to the recipe.
If you’d like more cheap baking ideas, take a peep at my full collection of Frugal Recipes.
Enjoy the recipe!
Janie x

- 110 g butter
- 110 g sugar
- 200 g plain flour
- 75 g desiccated coconut
- ½ teaspoon bicarb of soda baking soda
- ½ teaspoon cream of tartar
- 1 egg
- a little brown sugar to top
- Preheat oven to 400/gas 6/200/180 fan
- Cream the butter, sugar and egg together in a large mixing bowl.
- Add the rest of the ingredients and, using some brute strength, mix it to a stiff consistency.
- On a greased baking sheet, pile largish mounds of the mix.
- You'll need to push each lump together ever so slightly, but you don't want to flatten out those rough edges.
- Lightly sprinkle with the brown sugar and bake for 15-20 minutes until golden brown and the edges are just starting to darken.
Chris at Hye Thyme Cafe says
You had me at coconut. I love it any way I can get it, and this way certainly looks/sounds delicious! :)
Jane Sarchet says
Coconutty. Me too :)
Janie x
Tammy/Our Neck of the Woods says
Ooooh delish! I used to dislike coconut when I was younger but I must say it’s growing on me :)
Michelle annear says
Made them today and they are delicious, made little dips in the centre and filled them with jam. Just to say if you are making them though they do spread on the tray so space apart whilst baking. Great recipe
Jane Sarchet says
Hey Michelle, thanks so much for your sweet message & glad you loved them!
Jane x
Rebecca says
Mine just flattened to biscuits!
Jane Sarchet says
Oh no! Did they at least taste good?
Jane x