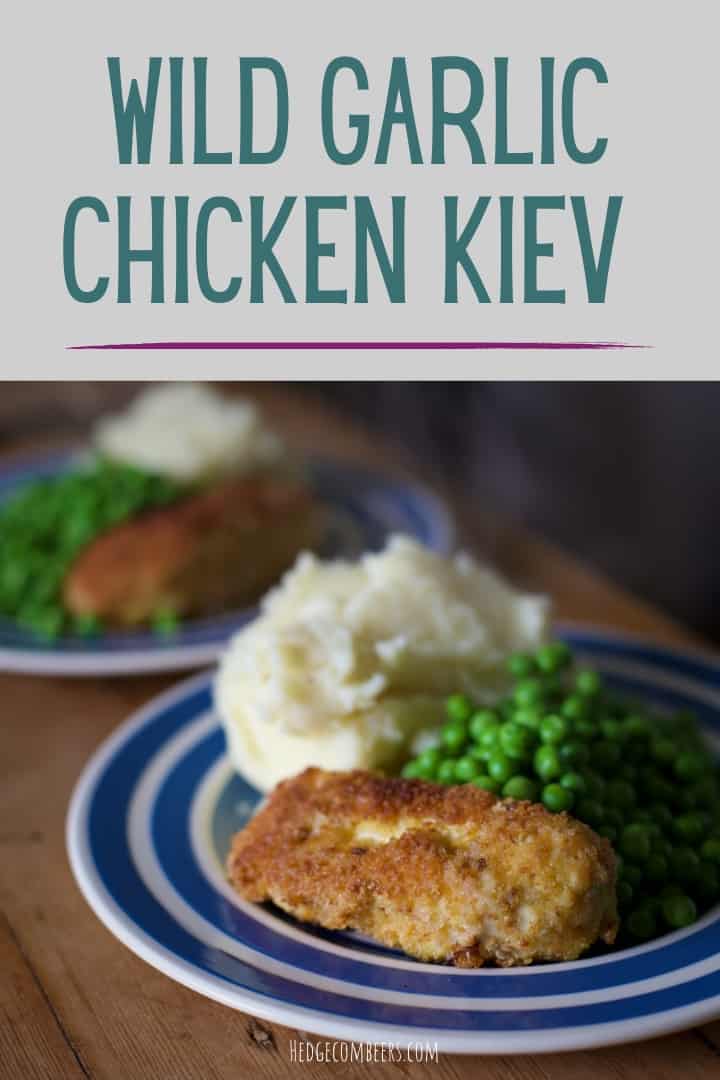
This Wild Garlic Chicken Kiev recipe is so easy to make, and a seriously impressive dish you’ll enjoy sharing with friends.
This recipe was originally published in 2015, but has been updated with shiny new photos in 2023.
It has been far too many years since I’ve had a Chicken Kiev, and I’m pretty sure I’ve only ever eaten the frozen, mass produced variety.
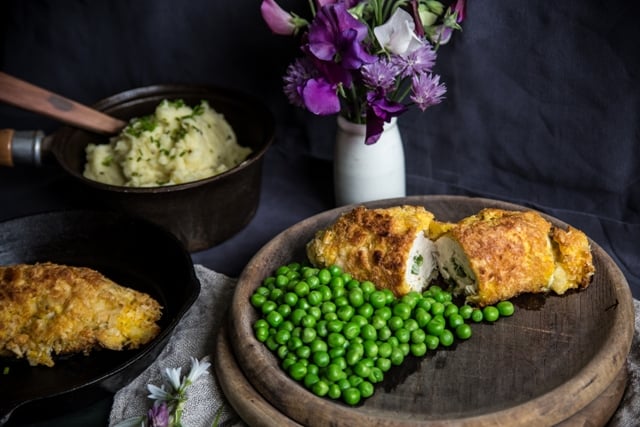
This homemade one has all the tasty characteristics you’d expect, with a seriously crunchy coating, and an oozy garlicky centre. But happily when you make them yourself, you get a bit more say over the quality of the chicken and other ingredients used.
Wild Garlic Chicken Kiev
Initially I just used wild garlic in the butter mixture but honestly, even before cooking, the flavour just wasn’t strong enough for my liking. So the next time I made them I added minced regular garlic to the butter too.
If wild garlic is out of season, or you just can’t source any wild garlic, feel free to leave it out altogether.
Although you’ll be missing out on that lovely fresh jade like colour in the heart of your Wild Garlic Chicken Kiev.
How to make a Wild Garlic Chicken Kiev
1/ make the wild garlic butter
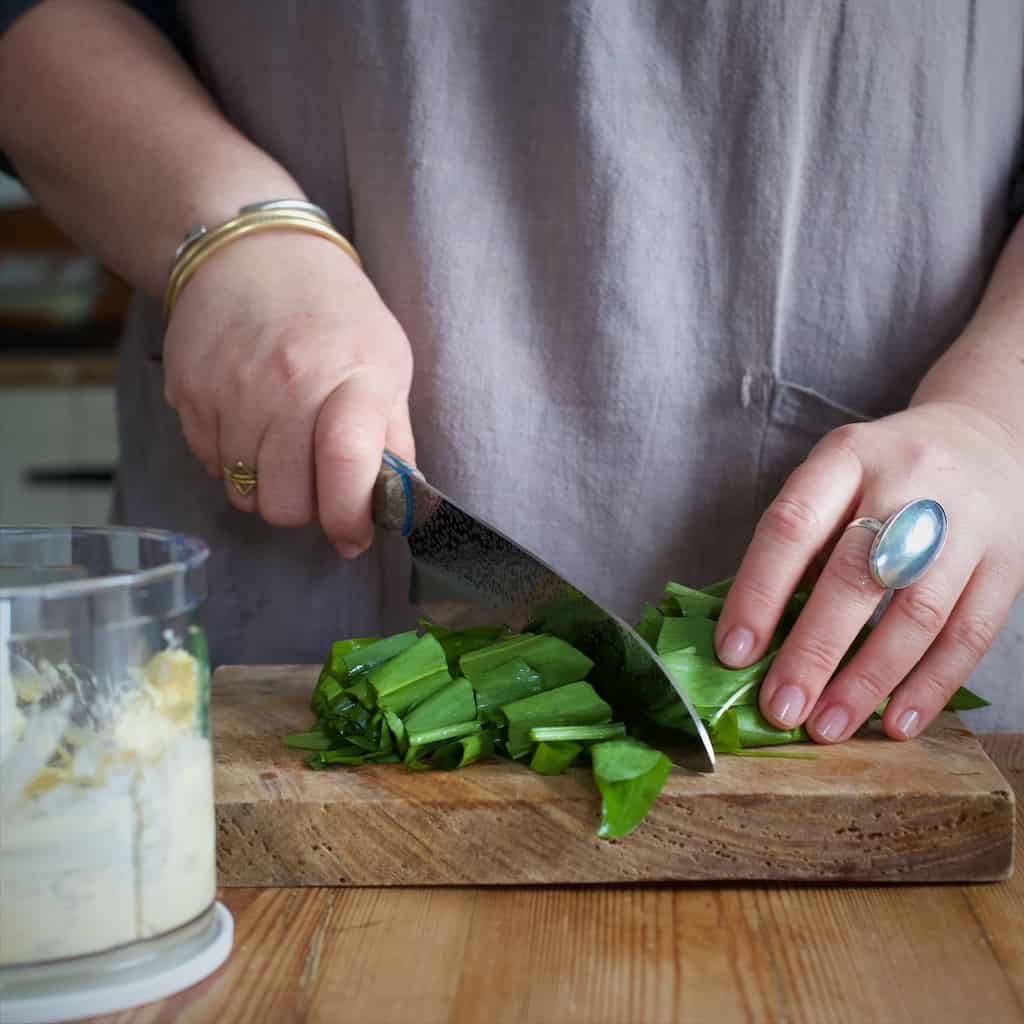
Firstly, let’s make the wild garlic butter that sits at the centre of a chicken Kiev.

Ideally you’ll use a small food processor or blender to mix them together. But if you don’t have either of these, simply chop the wild garlic as fine as you can with a sharp knife, then mash it into the softened butter with a potato masher or fork.
Adding the garlic cloves is optional but will give you a much heartier garlic flavour than using the wild garlic alone.
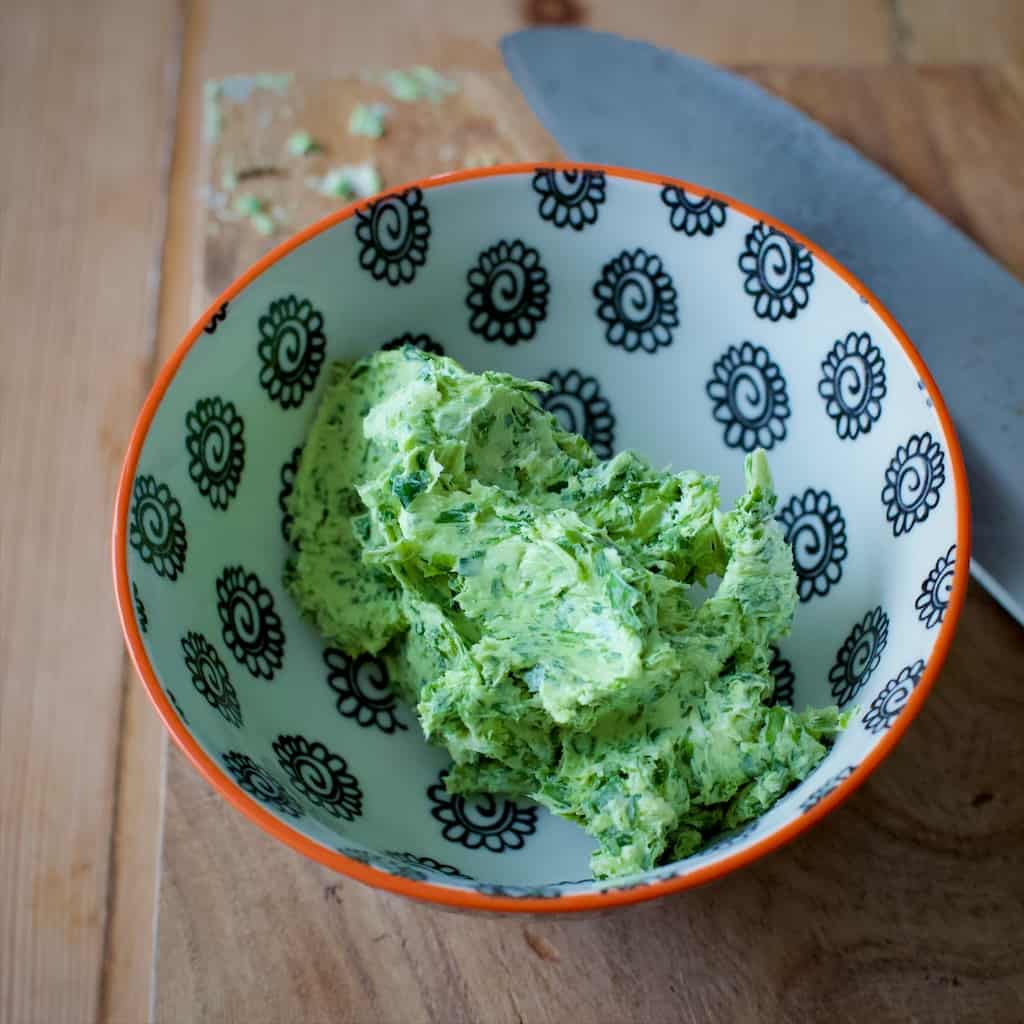
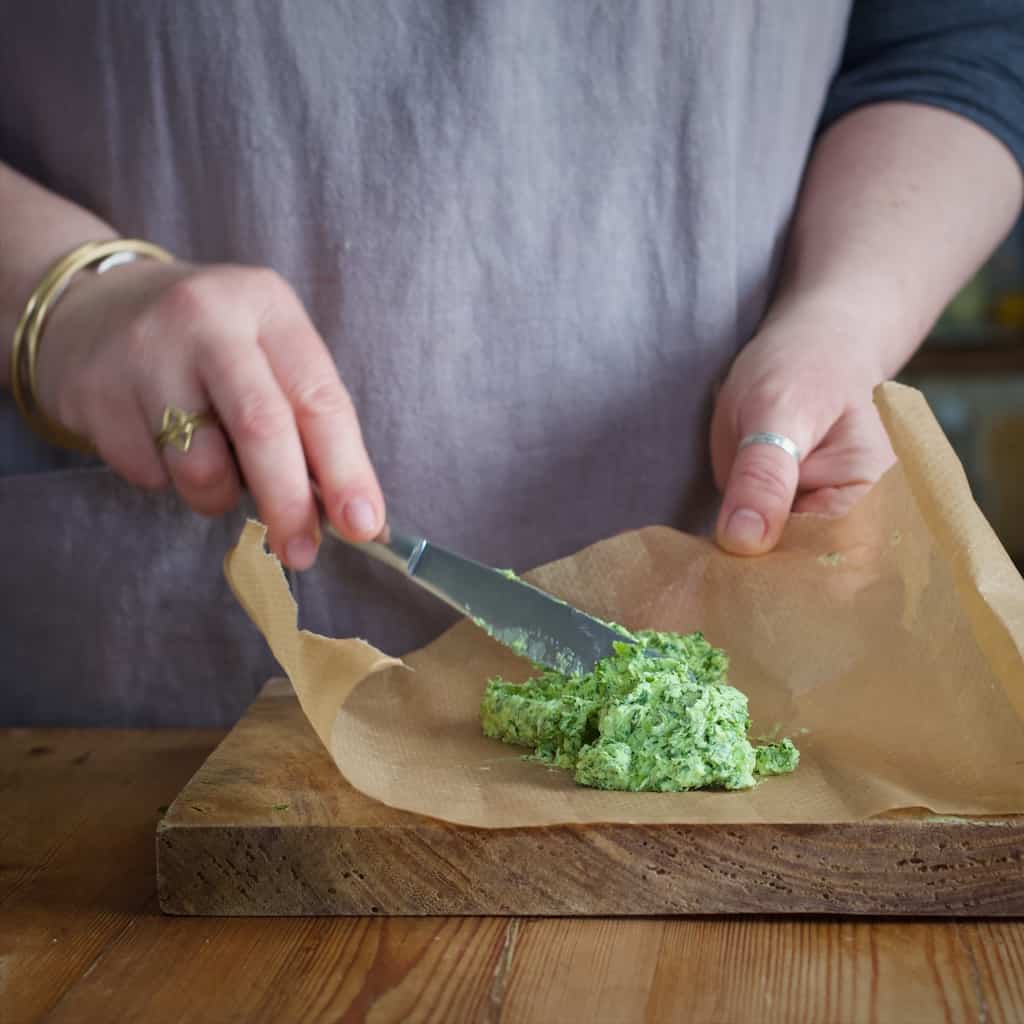
Once it’s all mashed together, scrape it onto a piece of baking paper or cling film.
Squish it into a sausage shape, then wrap it up in the paper/film. Place this in the freezer for 10 minutes to firm up.
2/ butterfly the chicken breasts
Whilst the butter is firming up, let’s get the chicken ready.
Lay the skinless chicken breast out onto a chopping board. Starting at the thinner side, hold your sharpest knife horizontally and carefully slice through the piece of chicken.
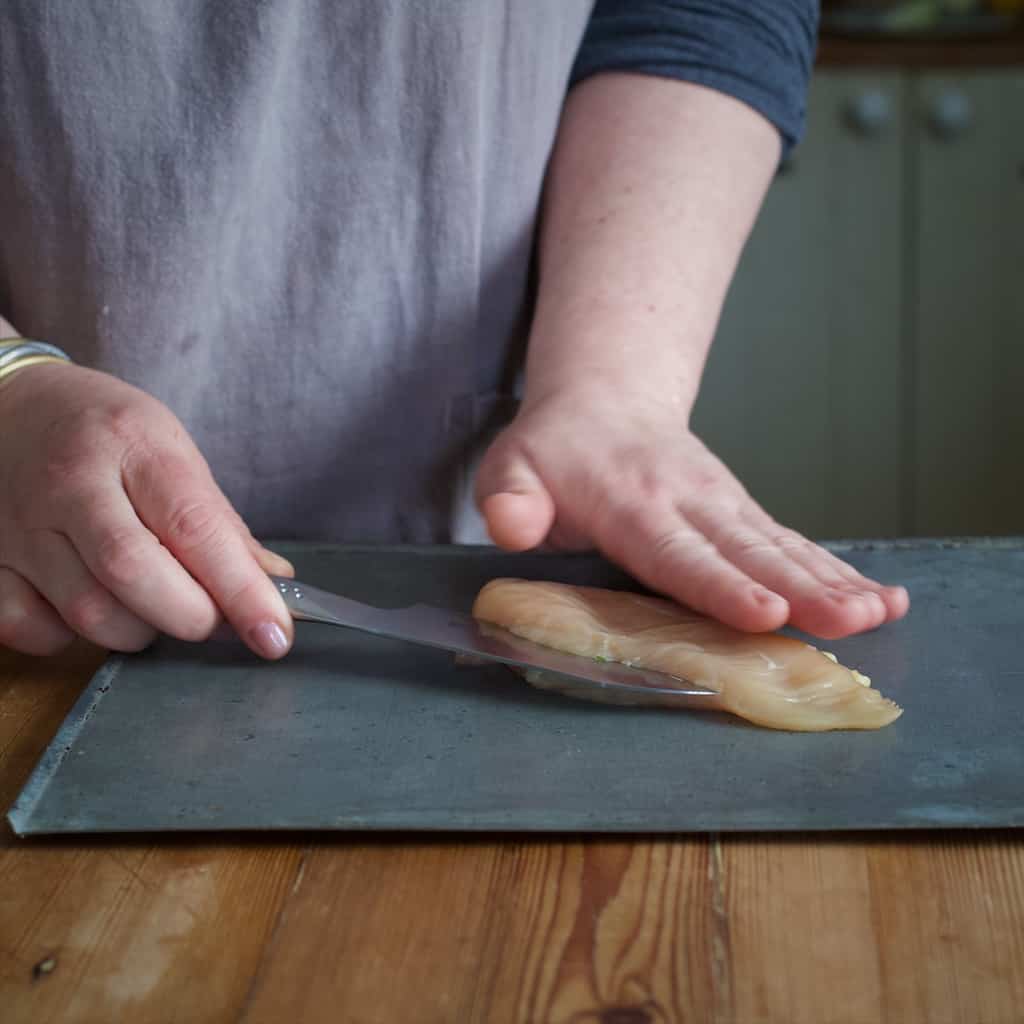
You’re aiming to cut almost to the other side so you can open the two halves out like you’re opening a book.
Be careful not to cut yourself, and try not to make any holes in either sides of the chicken, or to cut right through the opposite side.
Any holes will allow the butter to ooze out of the Kiev, and that would be sad!
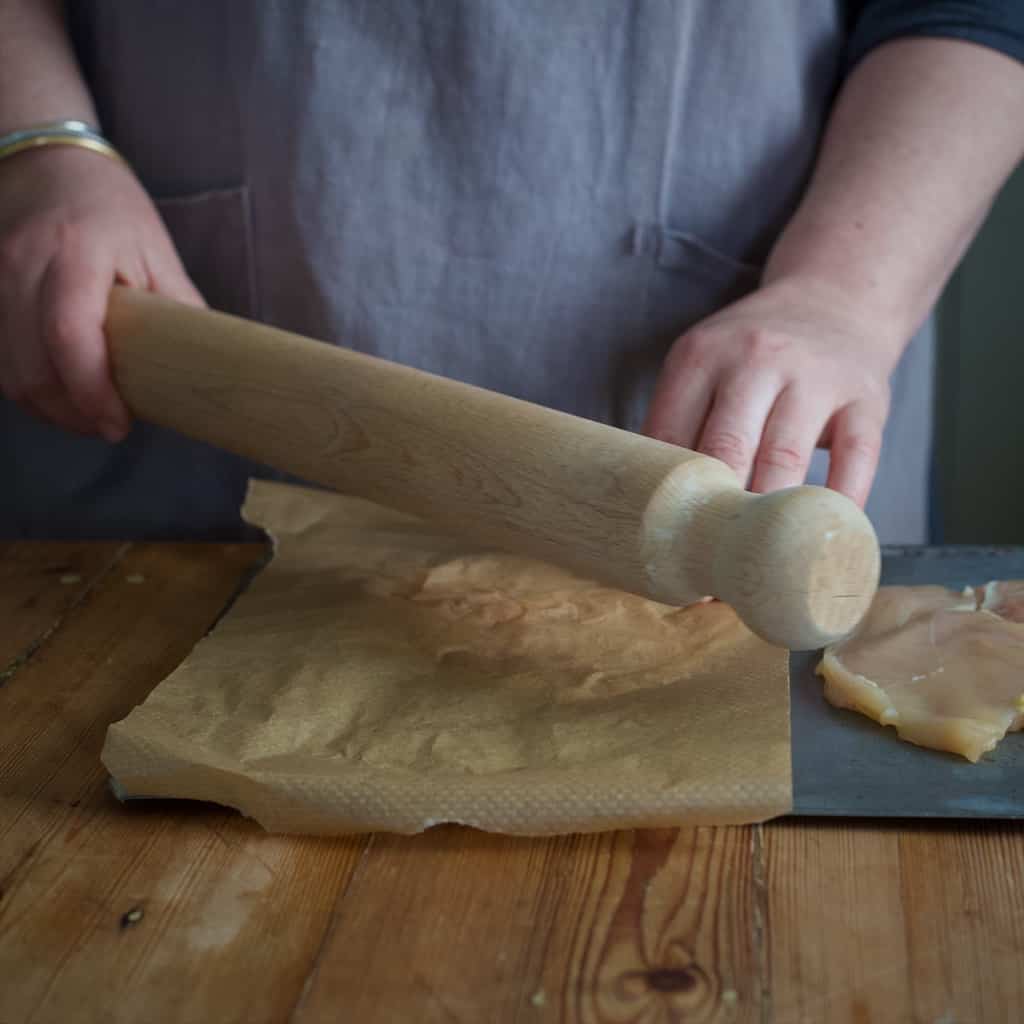
When you’re happy with butterfly cuts, place a piece of baking paper or cling film over the meat and gently beat it with a rolling pin or meat tenderiser to flatten it.
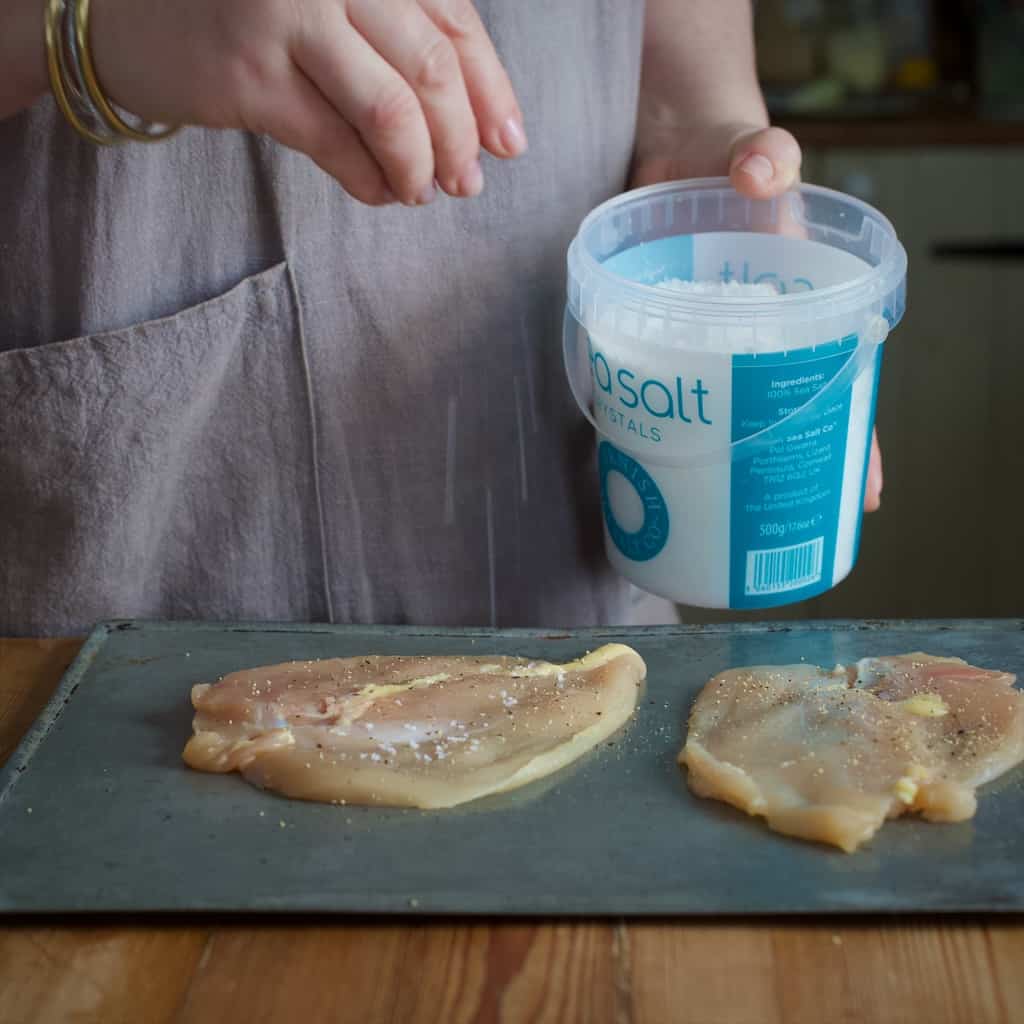
Season both sides with salt and pepper.
3/ stuff your chicken Kiev
By now your garlic butter should be nice and firm.
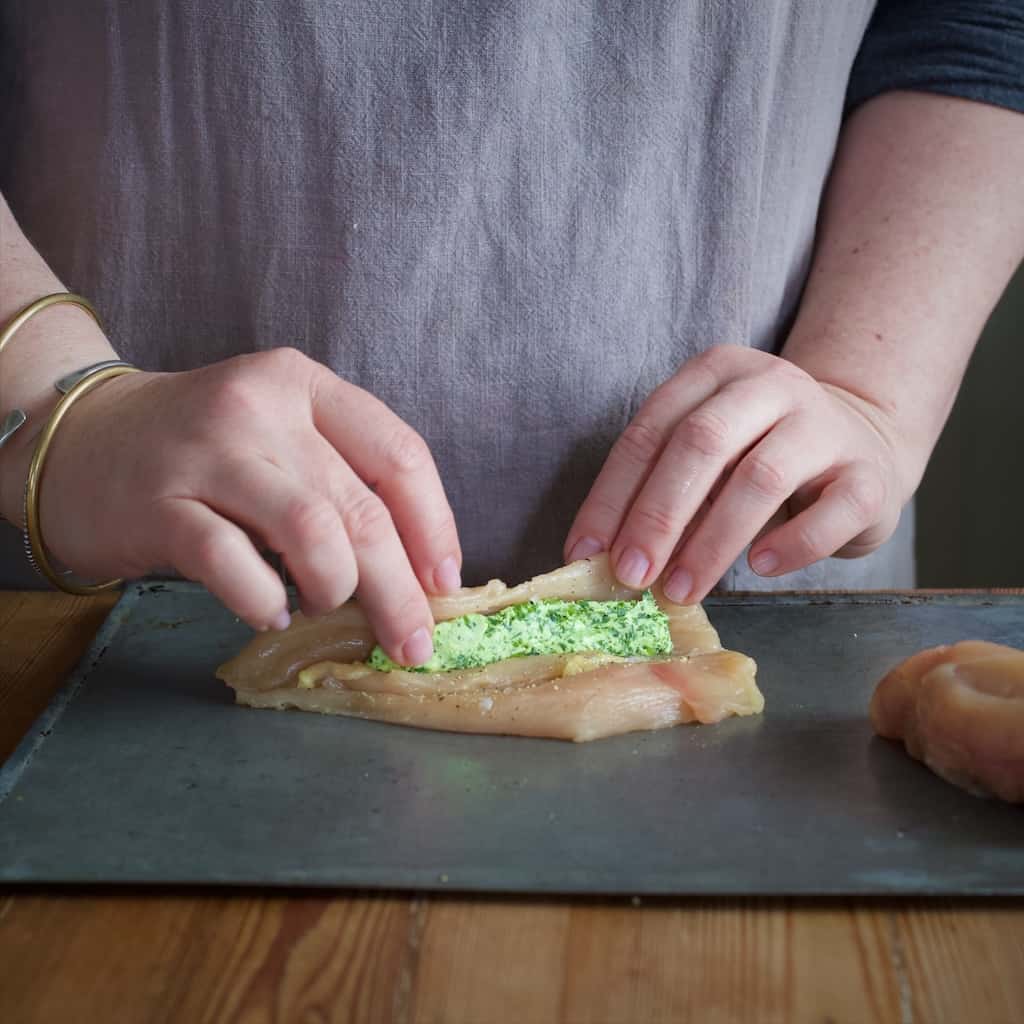
Unwrap it and slice lengthways. The chicken breasts I’m using in these step-by-step photos were teeny tiny so I couldn’t fit half of the butter inside them! Instead I used about a quarter, laying it out along the length of the chicken.
Any leftover garlic butter can be re wrapped and stored in the fridge or freezer until you need it.
Next, you want to roll the chicken around the butter, tucking in the ends as you go.
4/ breadcrumb the chicken Kiev
Next, we’re going to coat each Kiev in breadcrumbs.
To do this, set up three bowls. In the the first one place 2 tablespoons of plain flour.
In the second bowl, beat an egg.
And in the third bowl add two or three tablespoons of breadcrumbs.
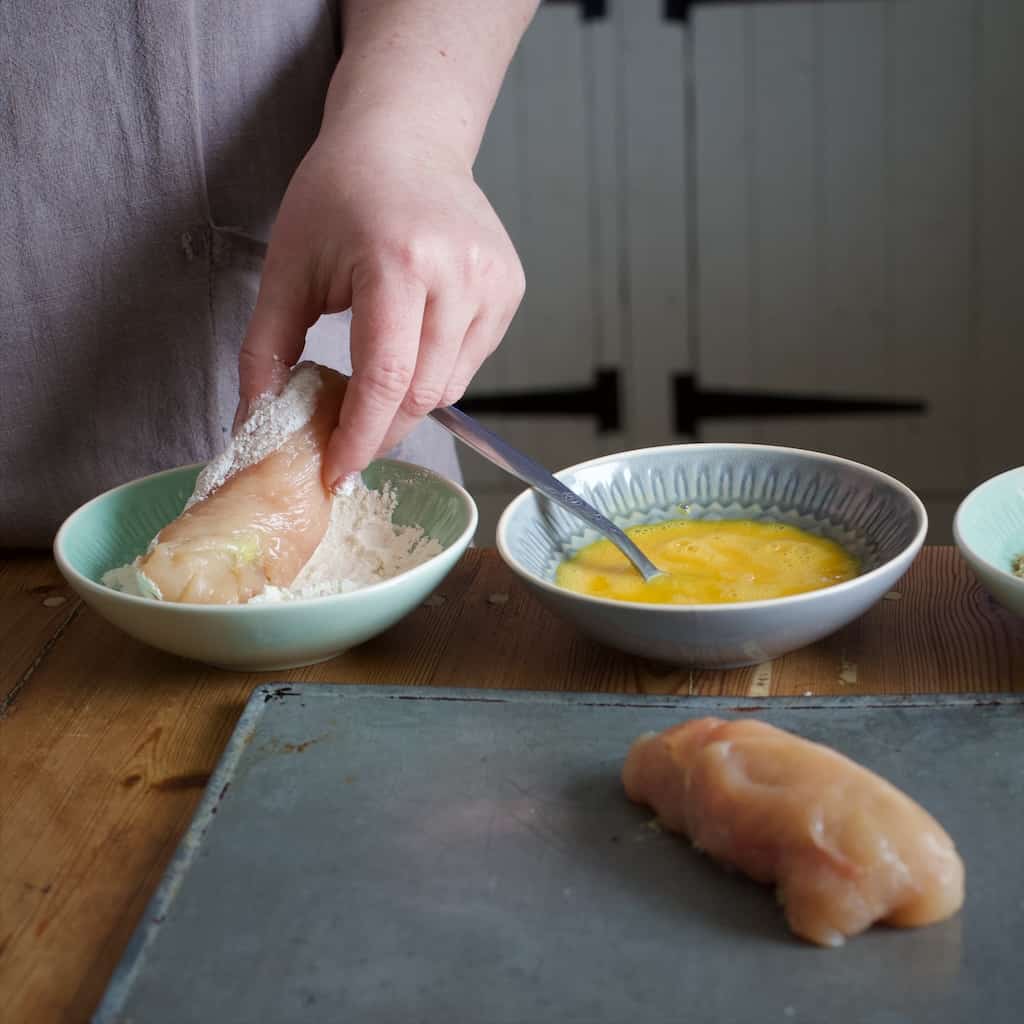
Working with one Kiev at a time, carefully roll them in the flour.
Then place them into the bowl with the egg and turn them over until they’re fully coated. Pick the Kiev up and allow any excess egg to drip off.
And finally, place the chicken into the bowl of breadcrumbs and coat evenly.

If you have remaining ingredients in the bowls, feel free to repeat the process through all three bowls. If you do it a second time you’ll get an even crunchier crust.
5/ how to cook wild garlic chicken Kiev
Preheat the oven.
Place a heavy frying pan or skillet over a medium high heat.
When it is hot, add the oil, swirling it around the pan.
Place the Kiev into the oil and leave for a few minutes. When the underneath has become golden and crispy, carefully turn them over and repeat on the other side.
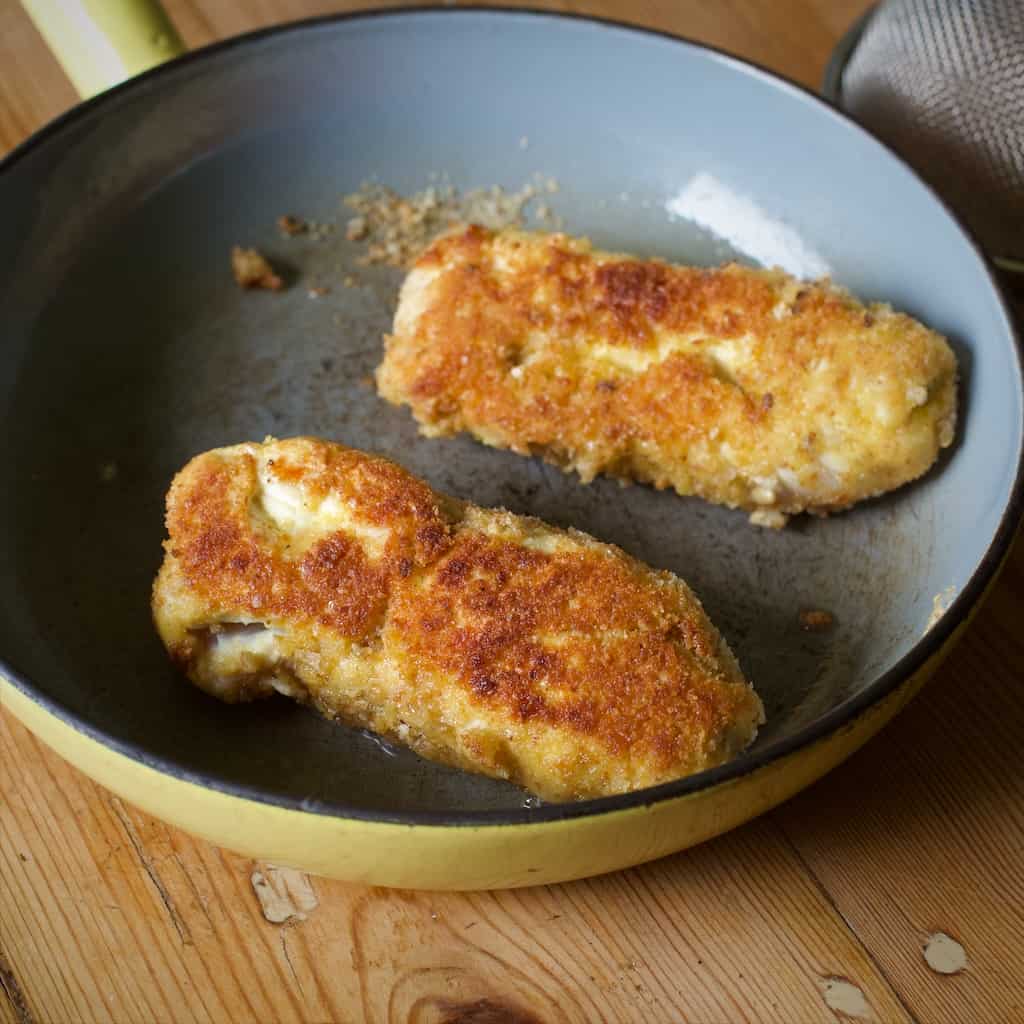
Place in the oven and cook for around 20 minutes, or until the internal temperature reaches 74C (165F).
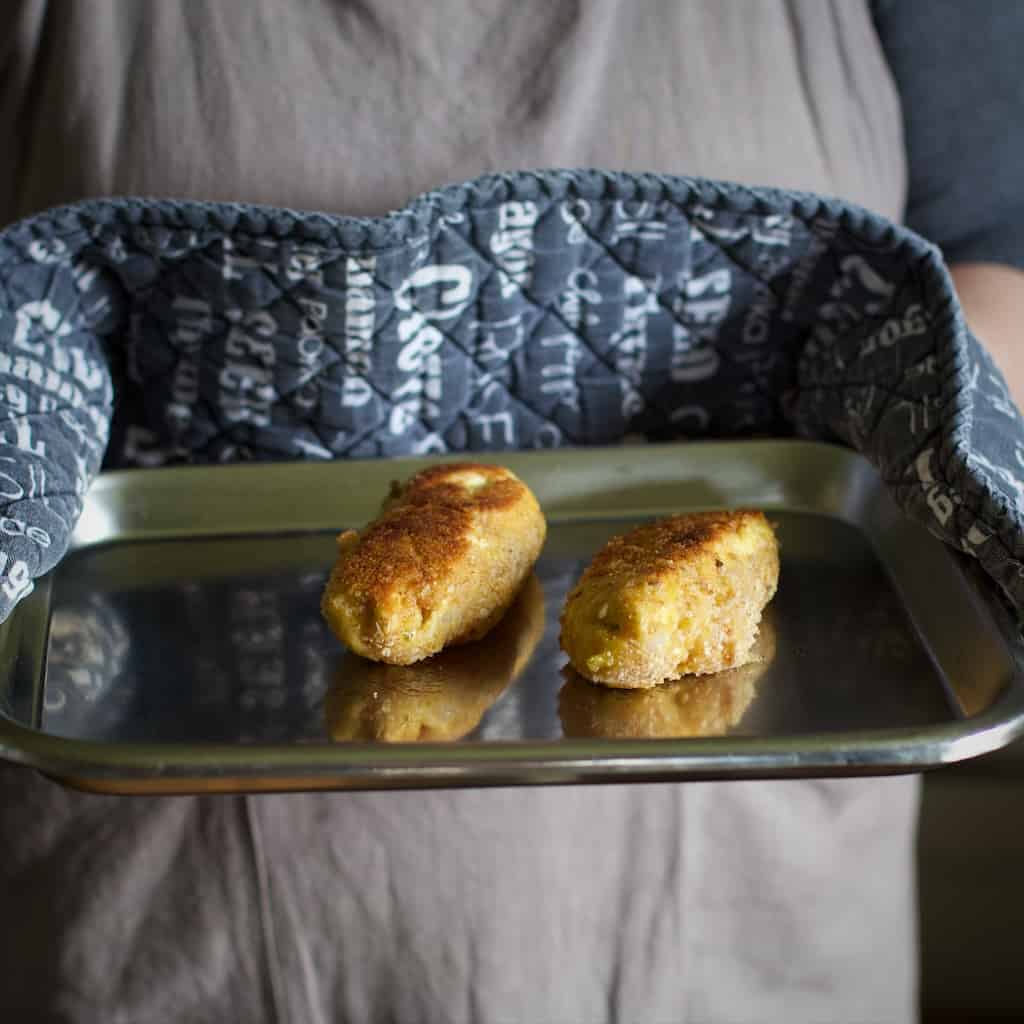
At these point your delicious homemade wild garlic chicken Kiev are ready to devour!
I hope you love them as much as we do :)
- 60 g salted butter
- 3 tbsp wild garlic - a mix of leaves, flowers and stems. Finely chopped
- 2 cloves garlic - finely minced
- 2 chicken breasts - skinless and boneless
- pinch salt
- pinch pepper
- 3 tbsp flour
- 2 eggs - beaten
- 3 tbsp breadcrumbs
- 2 tbsp oil
Remove the butter from the fridge and bring up to room temperature.
Ideally use a blender (or a wooden spoon and elbow grease!) to blend the softened butter, minced garlic and chopped wild garlic together into a bright green butter.
Scoop the butter out onto a sheet of cling film and roll up tightly into a sausage shape.
Place the garlic butter in the fridge for an hour, or the freezer for 10 minutes to harden.
- Preheat the oven to 180/350/Gas 4.
Butterfly a chicken breast by carefully slicing through the thinnest part of the breast and opening it up like a book. Don't cut right through.
Pop the chicken breast between two large pieces of cling film.
Using a rolling pin or mallet (meat tenderiser) bash it evenly all over until it is a thin, even sheet.
Be careful not to overdo it and create holes in the meat as you'll lose the garlic butter as it cooks.
The thinner it is, the better, but my first one was pretty chunky (about half an inch in places) and amazingly the butter stayed in situ perfectly even though it didn't roll up particularly neatly.
Season both sides of the meat sheet with salt and pepper.
Cut the sausage of garlic butter in half lengthways, and roll one half of it up in the chicken.
Aim to tuck the sides of the chicken in if possible.
Repeat with the second breast and rest of the butter.
(If you have any garlic butter leftover, you can re-wrap it in clingfilm and store it in the freezer.)
Place three bowls on your kitchen counter.
In the the first one add the flour, in the second one the eggs, and the final one the breadcrumbs.
Carefully pick up a stuffed chicken breast and dust it in the flour.
Then place it in the beaten eggs, turning it over to coat all sides.
Hold the chicken over the bowl to let the excess egg drip off, then roll it around in the breadcrumbs, coating all sides.
For an extra crispy crust, return the chicken to the egg mixture and finally the breadcrumbs.
Set aside and repeat with the second piece of chicken.
Ideally use a heavy frying pan you can use in a hot oven. A cast iron skillet is ideal for this.
Heat the pan on the hob over a medium high heat.
Add the oil and gently fry the Kiev’s until they are golden brown.
Place the skillet into the preheated oven (or onto a baking sheet if not using an oven proof pan) and bake for 20 minutes.
On removal from the oven, you can test the internal temperature to ensure the chicken is at, or above, 75C (167F).
I like to serve my chicken Kiev with mashed potatoes and green beans or peas.
When the crusty Kiev is cut into, a pool of molten garlic butter in released onto the plate flavouring all the other items on the plate. It’s heavenly!
Billyboy says
Looks delicious. Was going to be picking some this weekend anyway so will make sure I get extra!
Jane Sarchet says
You won’t be disappointed Billy!
Janie x
Billyboy says
Do you do anything with the seeds Jane? I’m looking for more ways to use them…
Dannii @ Hungry Healthy Happy says
This looks yummy! We love making our own chicken kievs, it was on of my favourite things to eat when I was a kid.
Jane Sarchet says
They are good fun to make, I’m deffo hooked!
Janie x
Emma @ Supper in the Suburbs says
Oh wow that looks seriously delicious! Chicken Kievs are one of my favourite forms of comfort food :-) wild garlic gives it that extra special touch! Thanks for sharing.
Jane Sarchet says
Aww, thanks Emma!
Janie x
Glamorous Glutton says
Oddly enough I hadn’t had a Kiev for ages either until last night. It’s on the menu at Tom Kerridge’s The Coach and I was reminded how wonderful the flavour is in a good quality home made chicken Kiev. Fresh garlic flavour, not garlic powder and that wonderful green from the wild garlic would be amazing. Great recipe and great timing for me. GG
Jane Sarchet says
How funny GG! I don’t think I’ve ever seen a homemade Kiev on a restaurant menu, nice to see them coming back!
Janie x
Choclette says
I used to love chicken kiev. I somehow think yours would top any I ever tried. Gorgeous photo too Janie. And getting two meals out of one batch of cooking is soooooooo the way to go.
Jane Sarchet says
Absolutely Choclette! And it made great leftovers to boot #WinWIn!
Janie x
peter @feedyoursoultoo says
Love, love, love chicken kiev. Your dish looks great. Also, great photography work on your site.
Jane Sarchet says
Thank you so much Peter! Really kind of you to take the time to leave such a sweet message :)
Janie x
Jen says
Delicious! Have never made my own kievs before but now you’ve told me how good they are as cold leftovers I want to make some just for that reason :)
Jane Sarchet says
Hahaha, I find that I’m making bigger meals just for the leftovers it offers Jen, kind of a kitchen BOGOF :D
Janie x
Karen says
One of my favourite “retro classic” recipes Janie and yours looks LUSH! Would love it if you added it to Cooking with Herbs as the theme is WILD GARLIC! Karen xxx
Jane Sarchet says
Oh is it, I shall pop right over and join the party :)
Janie x
jayne says
Thanks for sharing this really helpful