I love burning pure beeswax candles. They emit a soft honey scent as they burn, the burn time is supposedly longer than for paraffin wax and the smoke is clean and soot free. You can also add colour & fragrance if you choose.
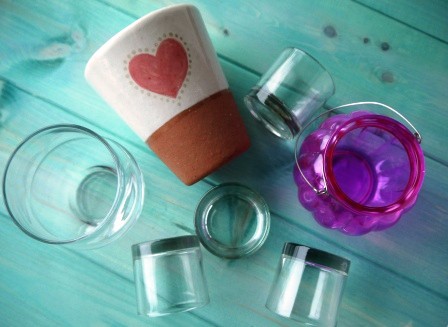
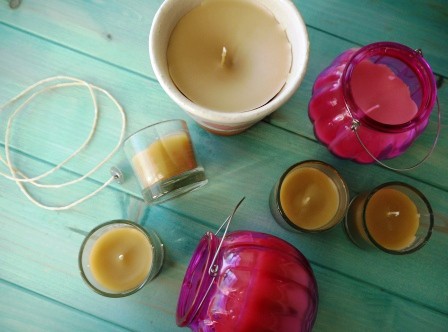
Gather up some pretty jars, pots or old candle containers, avoiding any with cracks or those made of very thin glass. Clean them well. Scrape off any old wax with a blunt knife, and hot soapy water and a bit of elbow grease gets rid of any old sooty residue.
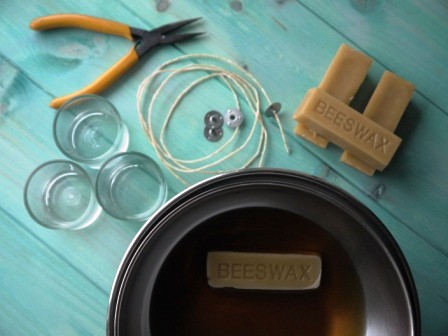
You know those little metal discs you find in the bottom of tealights? They are called wick sustainers, and you can find them in craft shops or on ebay. Get yourself some proper wick too – you can make your own but it is really cheap to buy and after all, life is short.
When it comes to choosing wick – it’s good to know that it comes in different sizes. If you want big, chunky candles you’ll need the thicker stuff, as you need the flame to be big enough to melt the wax across the whole surface. My jars are only little so I’m using a thinner wick. Avoid the really thin stuff though, as it’s designed for paraffin candles that burn quicker than beeswax.
Thread the wick through a sustainer, squashing it tightly in place with a pair of pliers and trimming the wick. You want the wick to be roughly the same height as the jar.
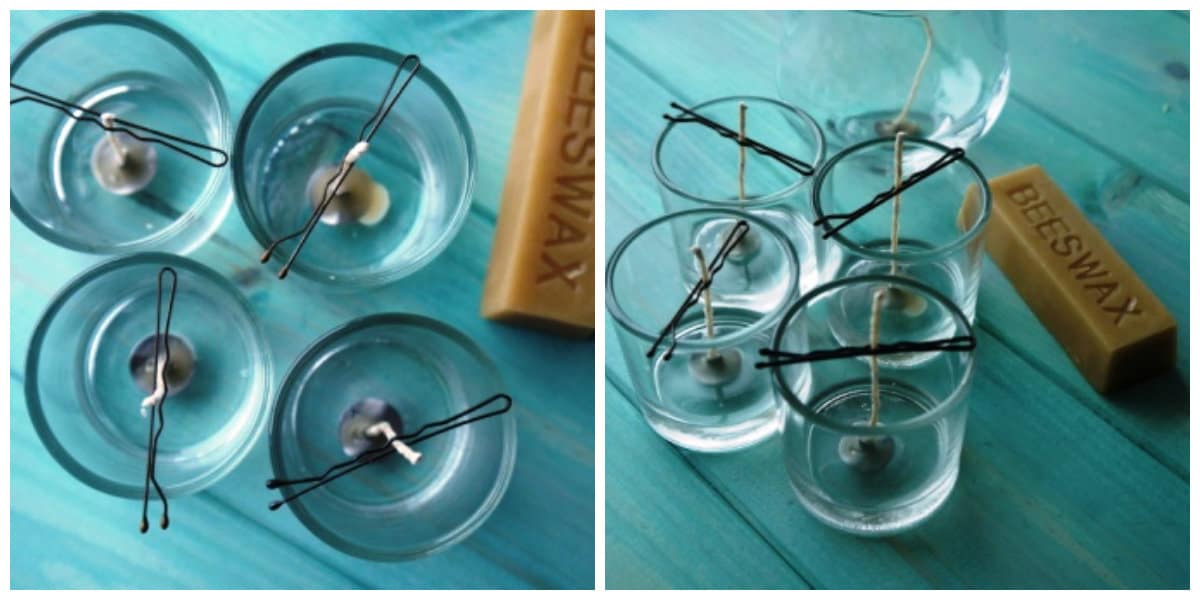
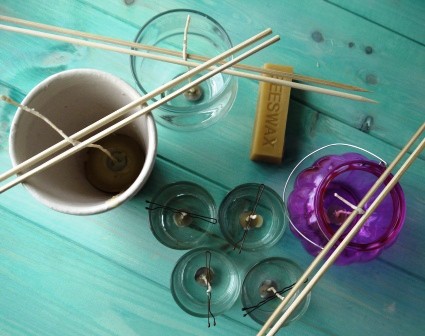
Next, dab a spot of glue or hot wax in the middle of the jar, and quickly pop the flat side of the sustainer on it. When it’s dry, you need to centre the actual wick. Mould it with your fingers as straight as possible, then hold in place with a hair pin, chopsticks or wooden skewers. When the candle is poured you need the wick to stay in place so it’ll burn better.
When you’ve got everything ready, you need to get melting the wax.
I use a bain marie, but I have heard of people using a slow cooker or microwave to melt candle wax. Whatever you use, remember this stuff is highly flammable and you must never heat it in a pan directly on the stove. Not only could you burn your wax, but you could set fire to the whole kitchen whilst you’re at it.
When all the wax has melted, add your fragrance & colour if you’re using it. Stir it in well and carefully pour it into the waiting jars. Be aware that if the glass is cold it may crack, so heat them first by standing them in hot water or blasting with a hair dryer.
Let them dry and set for a day or two before burning or gifting and enjoy!
Tammy/Our Neck of the Woods says
Great tutorial! These would make perfect gifts. I love the idea of using unexpected jars for the candles.
HedgeComber says
Thanks Tammy! It’s funny, cos once you start looking, you see all sorts of different containers you could use!
xx
narf7 says
What a great tutorial. We have an elderly man who lives around the corner from our property who keeps bees and sells wax. We bought some huge chunky blocks of it from him when we made homemade floor polish for our wooden floors and have quite a bit left over. I might make some of these lovely candles to scent our home, cheers for a wonderful post :)
HedgeComber says
Cheers to you for such a lovely comment! I hope you get a chance to make some candles up, it’s the perfect time of year for it!
Janie x
Mistie says
Great photos! I also love how you used bobby pins to hold the wick on the little Beeswax tea light candles. I am definitely going to try this.
Jane Sarchet says
Thanks Mistie! Do let me know how you get on :)
Janie x