This easy homemade Strawberry Vodka Liqueur is the perfect way to preserve the beautiful scent and flavour of fresh summer strawberries into a smooth, velvety drink to enjoy in the winter months.
Whether you make this homemade liqueur with homegrown strawberries, or you find a great deal at the farmers market like I did, this will become a favourite summer recipe.
And if you can make a few extra little bottles, it makes the most wonderful homemade Christmas gift for loved ones.
How to make homemade strawberry vodka liqueur
To make this quick & easy strawberry vodka, you simply soak fresh strawberries in a vodka and sugar solution for about a month.
Then strain out the berries and bottle up the resulting liqueur! It’s that easy!
In case you’ve never made anything like it before, I’ll walk you through it with step by step photos just below.
However, if you’re eager to get started, the full written recipe (including both metric and US measurements) is at the bottom of the post, below the photos.
Let’s go!
1/ prep your strawberries
Place your strawberries into a sieve or colander and rinse under running cold water for a couple of minutes to clean.
Carefully lay the berries out onto a clean tea towel.
Gently roll around to mop up as much of the water as you can.

Hull the strawberries by removing the stalk and any leaves.
Place the berries into a large glass or ceramic jar, ideally one with a tight fitting lid.
Don’t use plastic or metal as the vodka may react with it.

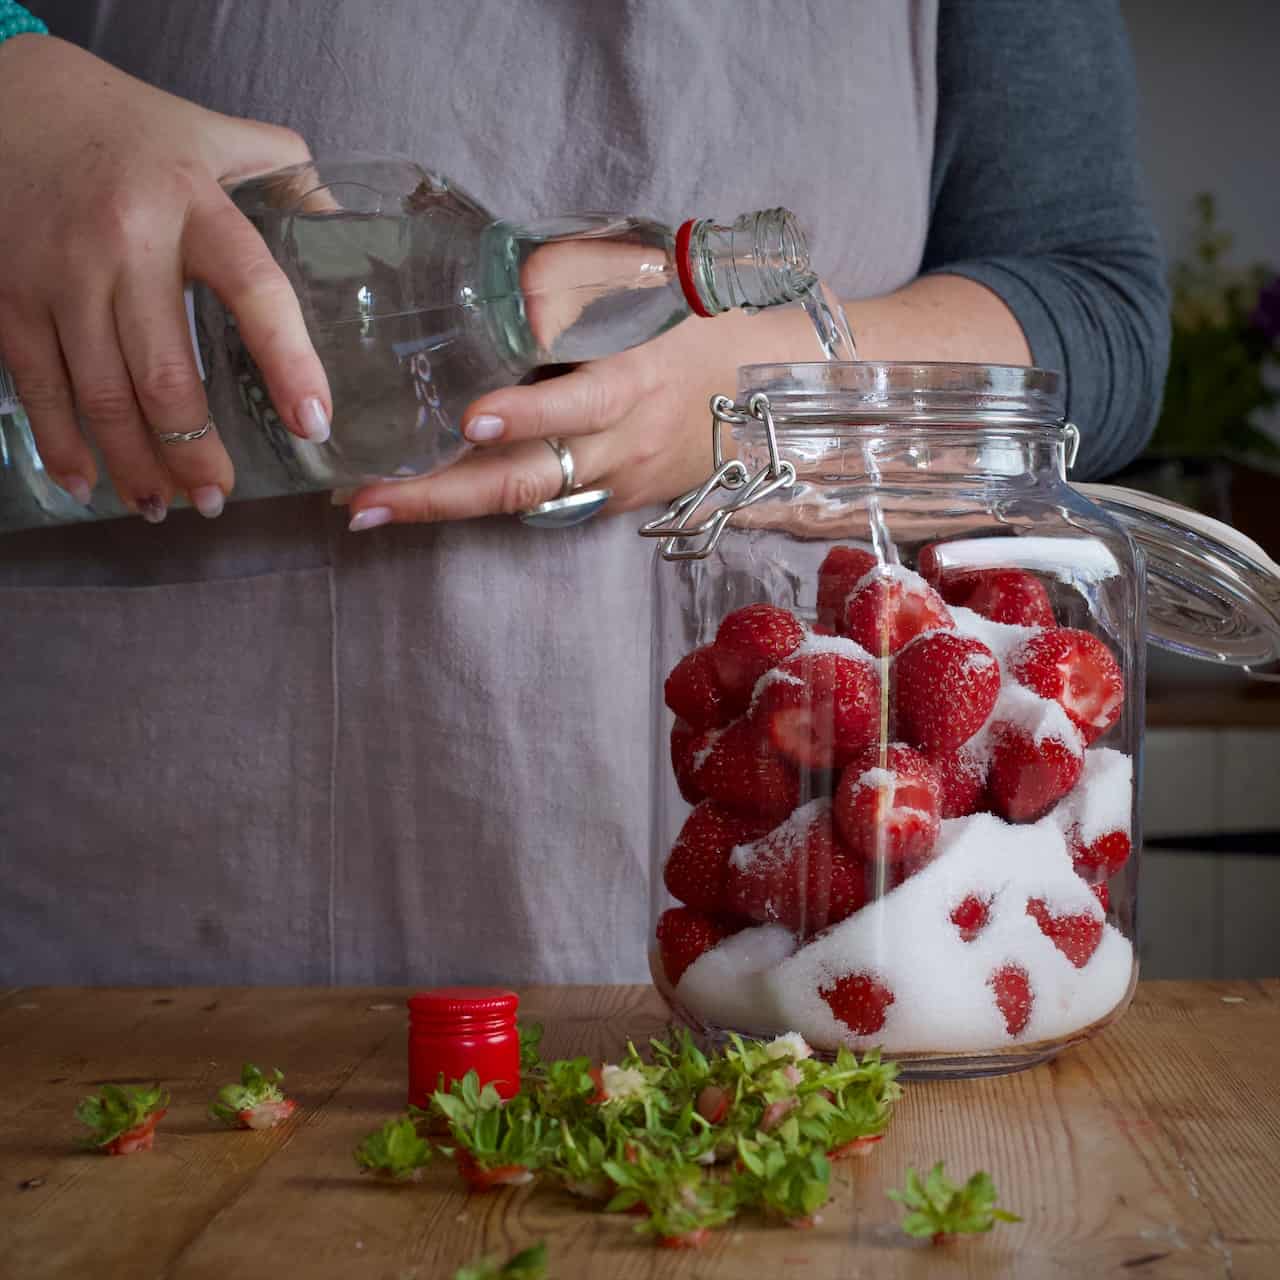
2/ combine the ingredients
Pour the sugar into the jar, on top of the strawberries.

Next, pour in the vodka.
As we’re flavouring the vodka quite strongly with both the fruit and the sugar, I’m quite happy using a cheap supermarket brand of vodka for this (and all) my fruit vodka recipes.
However, if you have a more refined vodka palette, you may prefer a more expensive brand.
Halfway through filling the jar, I used the handle of my potato masher to gently mash a few of my berries.
This isn’t essential, the vodka will leach all the colour and flavour from them in time, but this will help kick things off.
Just be sure not to be too rough and crack the glass jar!
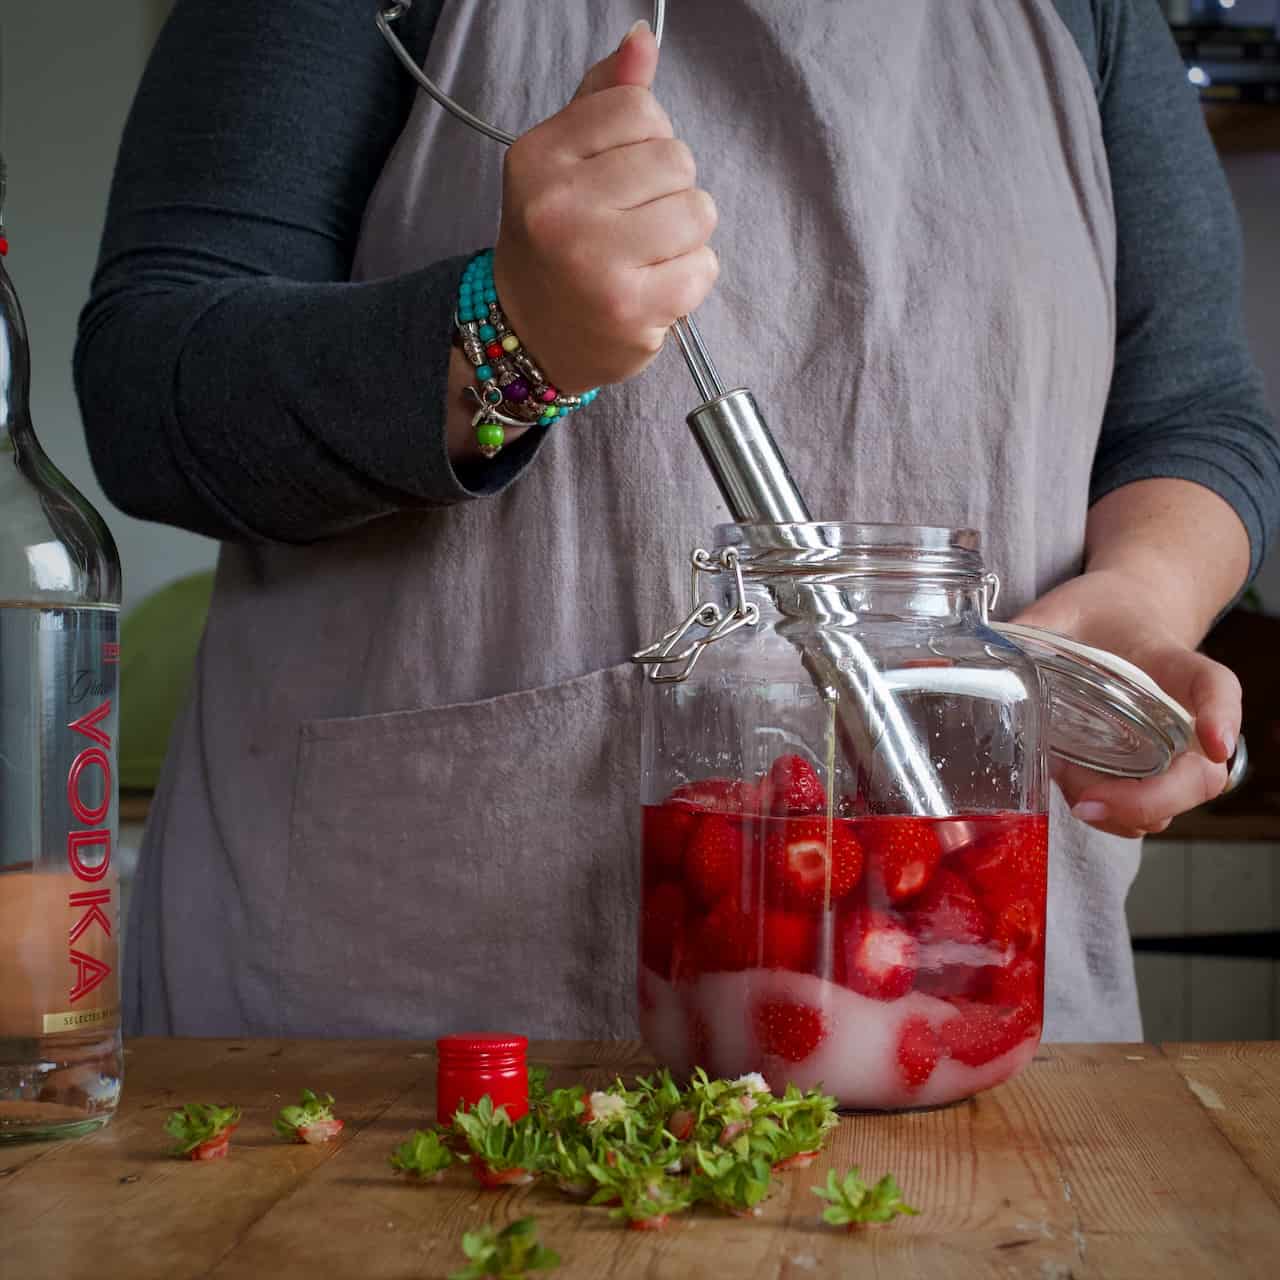
Finally, top the jar up with the vodka and seal the jar.
If your jar is watertight, give it a good shake to help the sugar start to dissolve in the vodka.
If your jar might leak if shaken, give it a good stir with a stainless steel spoon instead.
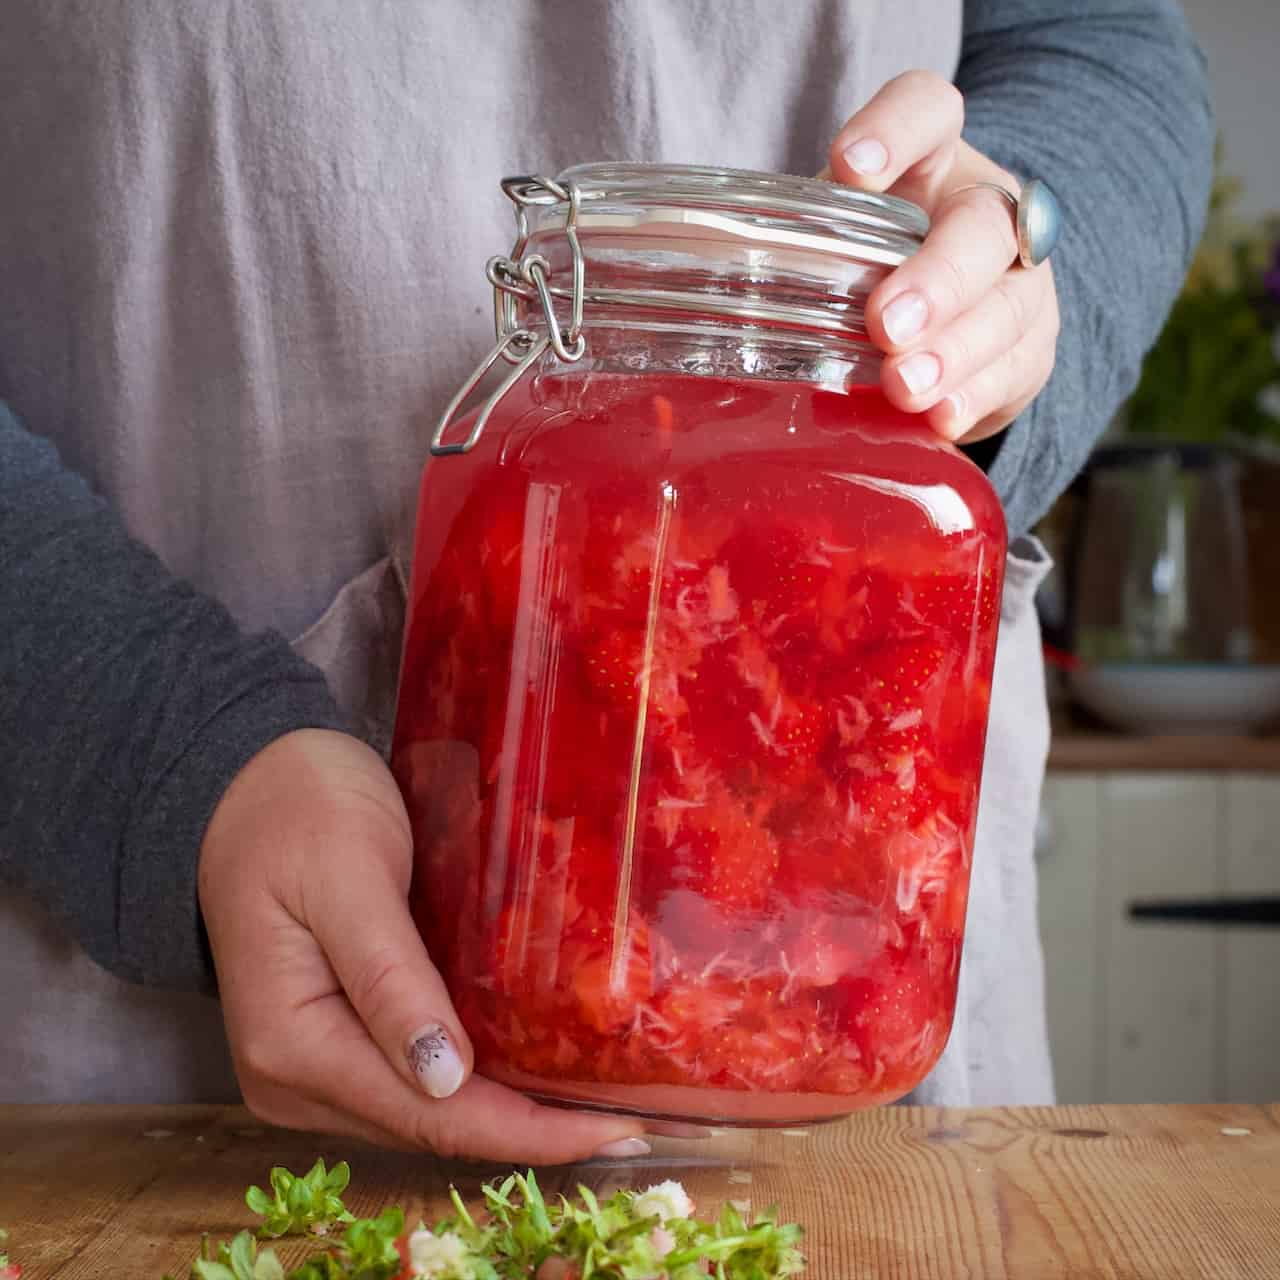
3/ steep the strawberry vodka
The contents of the jar will now need to stand and steep for about a month.
For the first week I like to stand the jar on a sunny windowsill in my kitchen. This is for two reasons:
a/ being in sight reminds me to give the jar a shake every day
b/ it helps leach the fruit juices out and into the vodka.
After a week I then move the jar to my pantry where it will sit quietly until I’m ready to strain the fruit out.
Please note: the sunny windowsill is not essential in getting a tasty strawberry vodka.
You can instead move it straight into the pantry if you prefer. Just try to remember to shake the jar regularly in the first week or so.
4/ strain and bottle your strawberry vodka
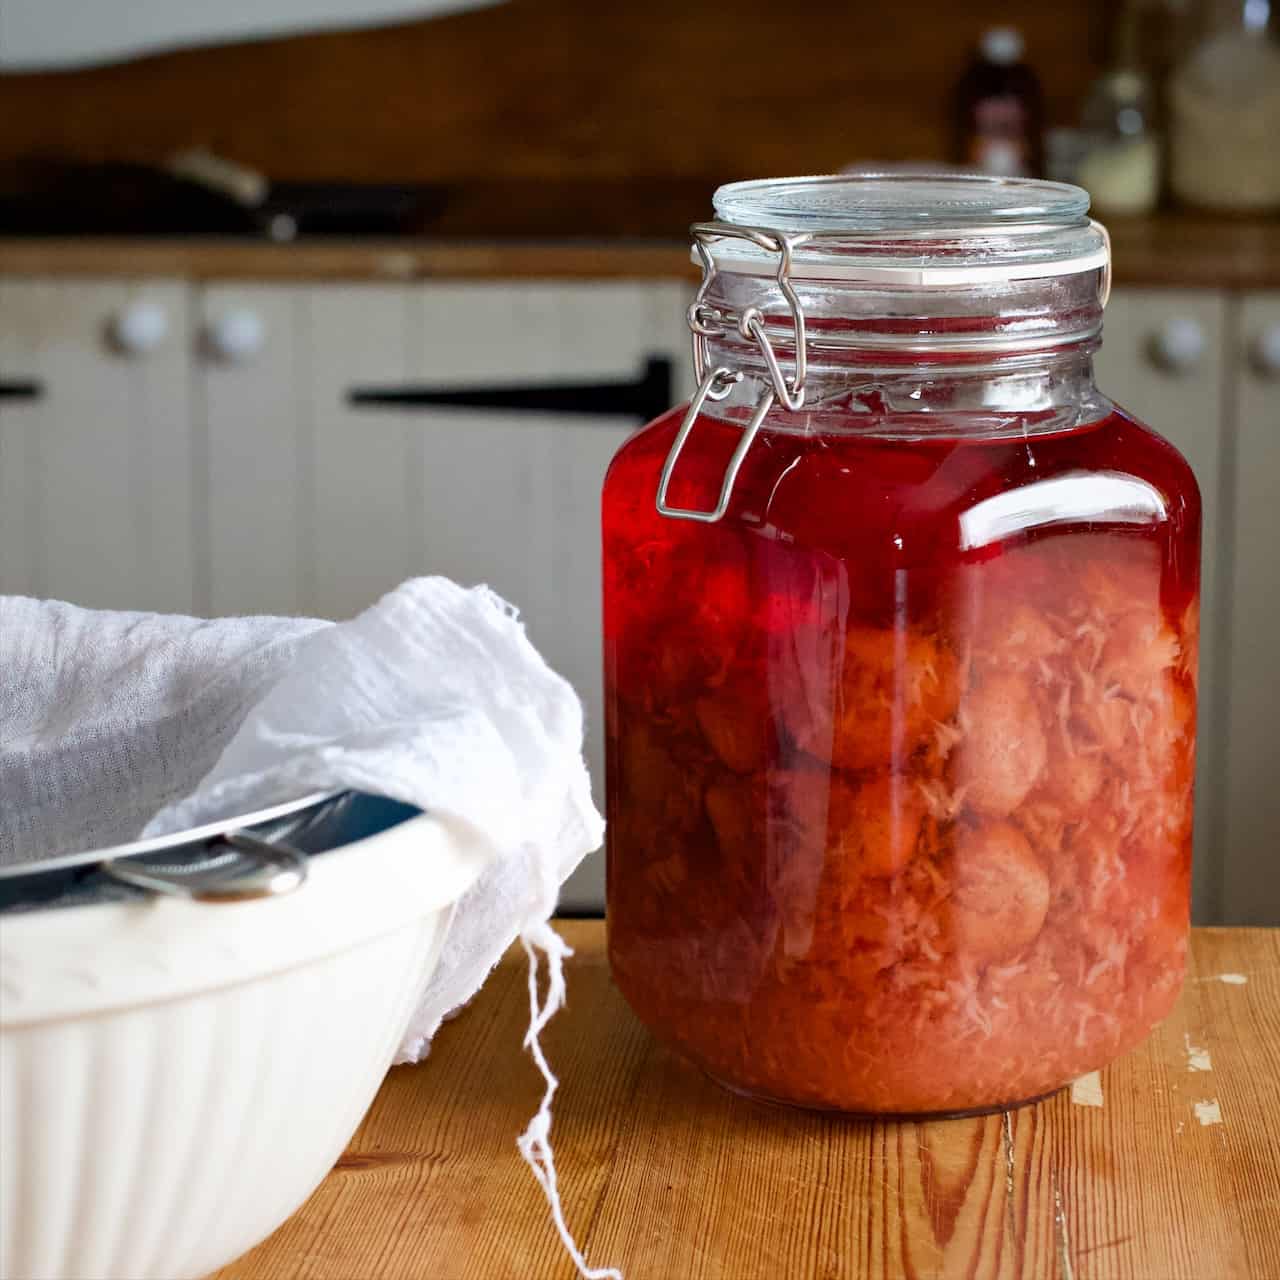
After about a month, your fruit will look much paler, and your vodka much pinker!
To strain the strawberries from the vodka, place a clean sieve over a large bowl or jug. Line the sieve with a clean piece of muslin or similar cloth.
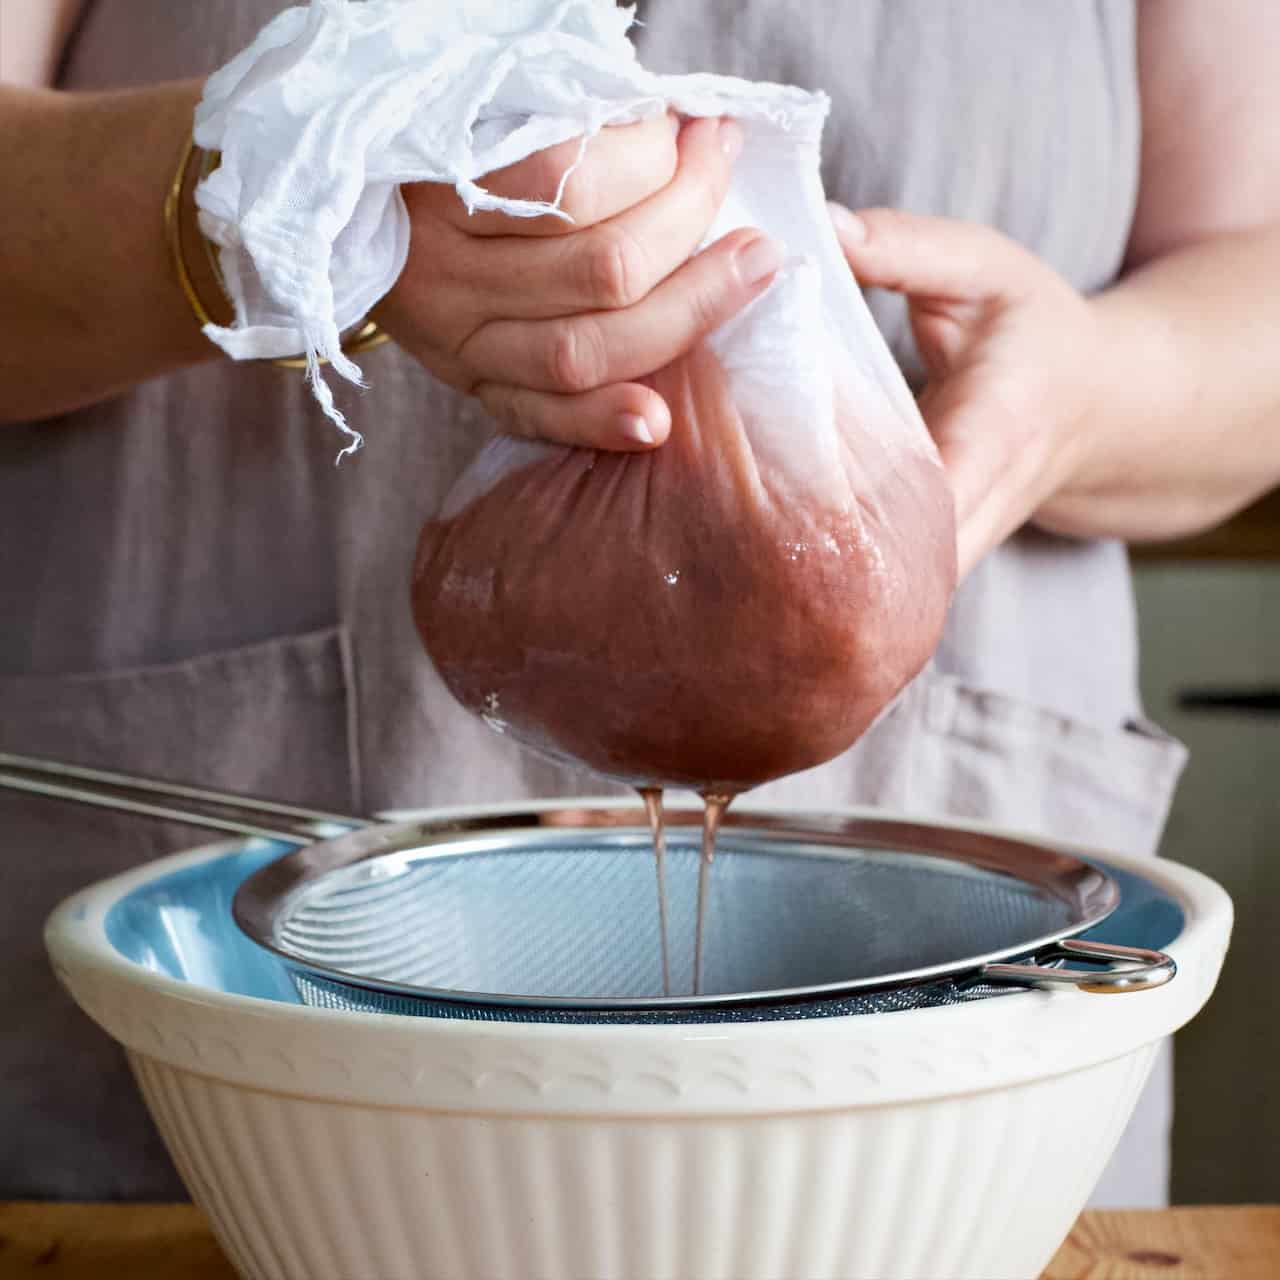
Carefully pour the vodka & berries into the muslin. Let sit for a while to drain into the bowl.

I was tempted to squeeze the muslin bag to speed things up, but previous bathces of homemade booze has taught me that this can lead to a muddy and cloudy looking finished drink.
So instead I moved the sieve to drain over a jug whilst I bottled up the bulk of my vodka.
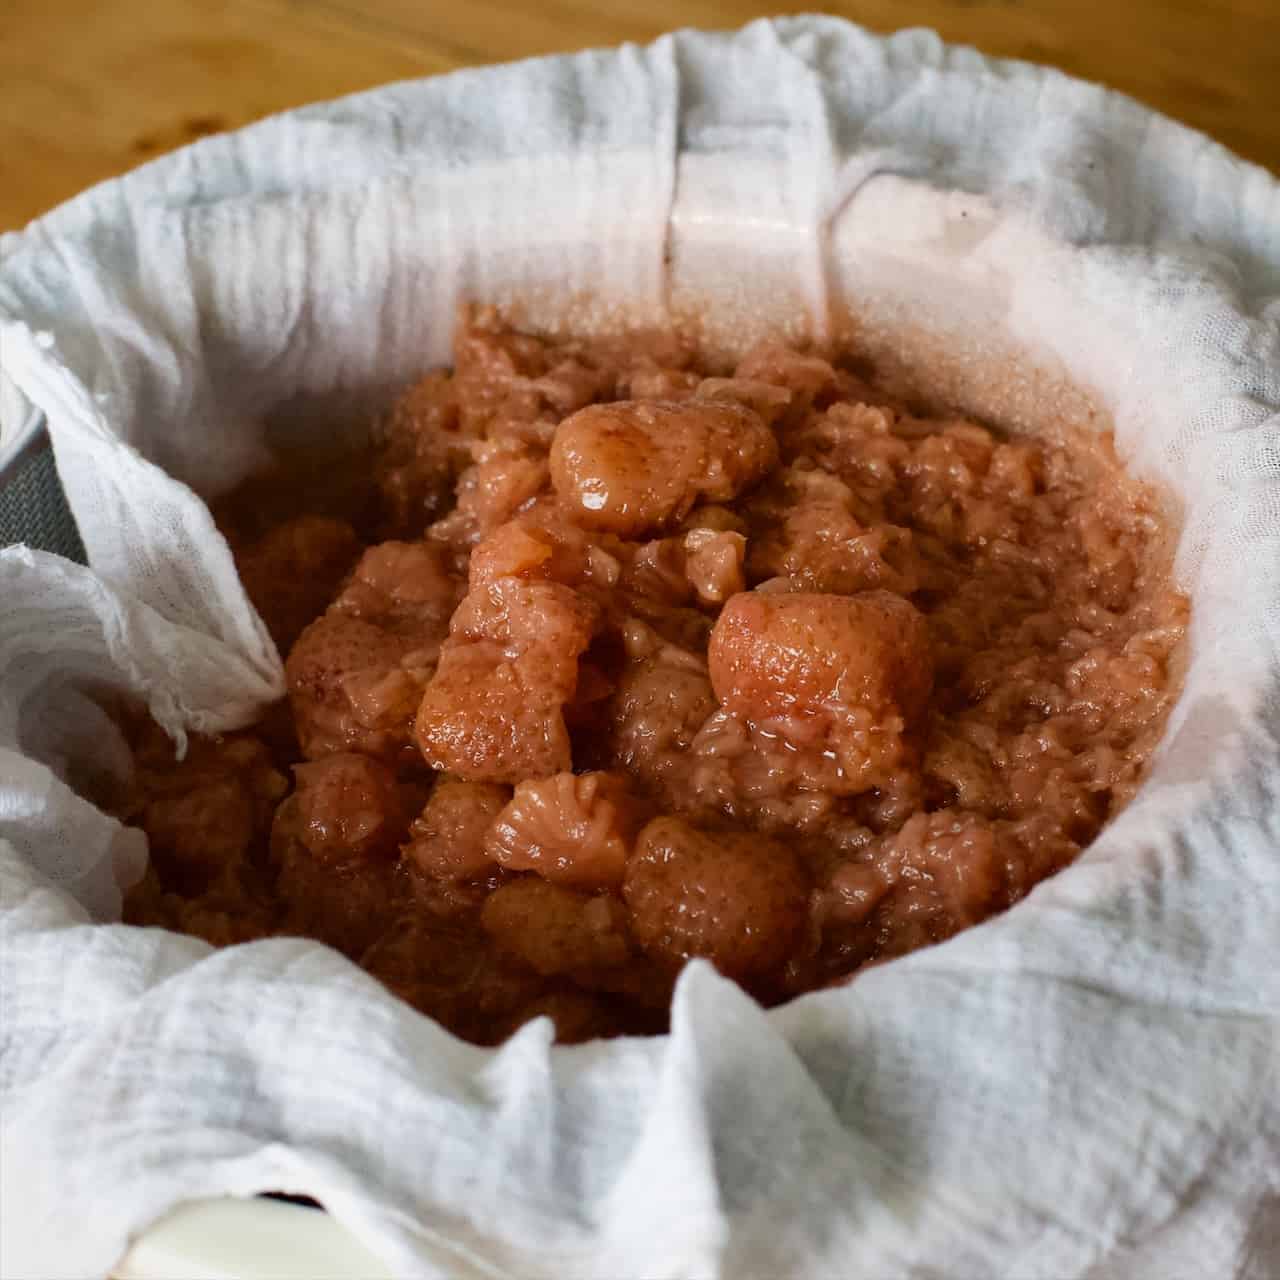
The leftover berries look quite muddy and unappetising once all the colour and flavour has been leeched from them!
However, these can be used up in a crumble, pie or jam if you’d like to put them to further use. Just don’t expect them to add much colour!
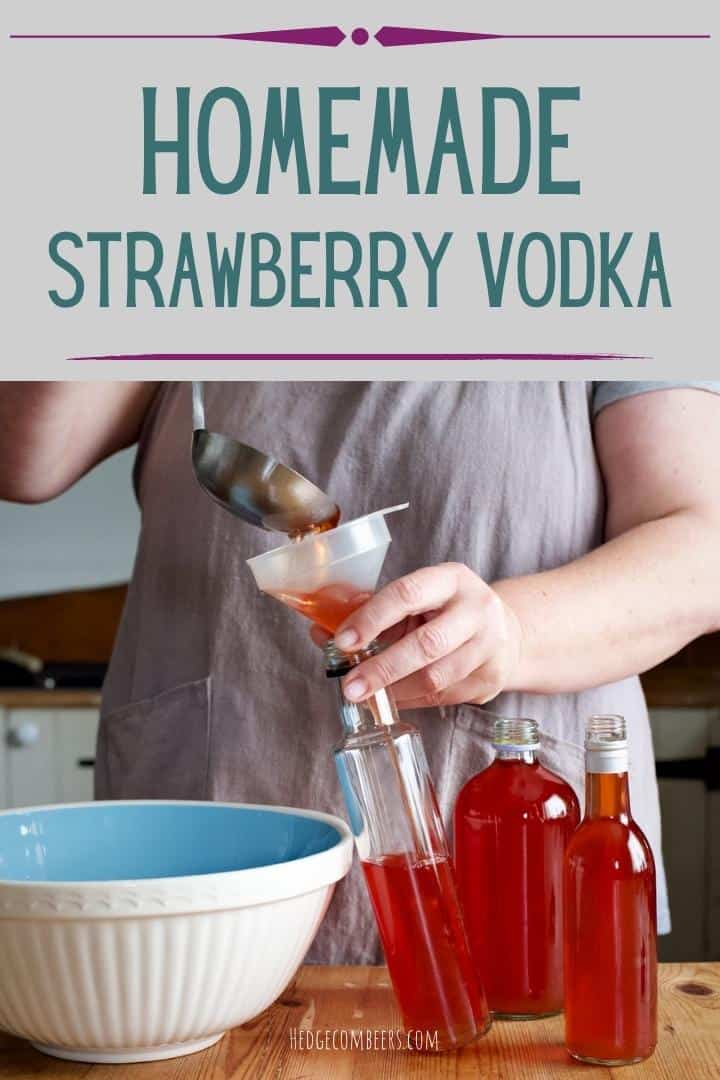
Finally, you need to bottle up your homemade hooch!
Because I enjoy making homebrews so much, and especially giving them as gifts, I save these little individual glass bottles throughout the year just for this purpose!

I clean them, remove the labels along with any glue, then run them through the dishwasher to sterilise as I collect them.
Once completely dry I replace the lids and store them in my pantry.
On brew day, I simply remove the lids and pour in the vodka. (Because both sugar and alcohol are strong preserving agents, I don’t feel the need to re-sterilise my bottles).
If the bottles you’re using have never been sterilised, simply run them (and the lids) through the dishwasher on a hot wash first.

And that’s it! Another little stash of homemade strawberry vodka ready for my pantry!
If you give this recipe a go, please feel free to tag me in any photos you share of the process online. I love to see my recipes being made around the world and I try to share all that I see. You can find me pretty much everywhere as @hedgecomber.
Enjoy, and cheers!
Janie x

- 500 g strawberries - fresh and ripe
- 120 g granulated sugar
- 1 litre vodka
Wash the fresh strawberries by placing in a colander and running under the cold tap for a few minutes.
Place them on a clean tea towel on the kitchen counter to mostly dry.
Remove any green parts from the top of each strawberry, and place them into a large glass jar.
Tip in the sugar, and pour over the vodka.
Seal the jar and give a good shake to combine all the ingredients and start the sugar dissolving.
If your jar doesn’t have a watertight lid, simply give it all a good stir with a stainless steel spoon.
Set the jar on a sunny windowsill, or somewhere obvious in your kitchen. Every day for the first week shake (or stir) the jar to agitate the contents.
After one week, the jar can be move to the pantry for the following three weeks. An occasional shake/stir after week one would be good, but not essential.
Once the vodka has leached colour and flavour from the strawberries, it is ready to strain.
Place a piece of clean muslin over a sieve, that is balanced over a bowl.
Gently pour the contents of the jar into the sieve and leave for about an hour for all of the juices to drip through.
Pour the finished strawberry vodka into recycled glass bottles that have been pre-sterilised by running through a dishwasher on a hot cycle.
Once sealed, the vodka will last for at least one year unopened.
Leave a Reply