This two part hammock underblanket tutorial will show you how to turn a cheap, second hand sleeping bag into a cosy blanket to keep you warm when sleeping in a hammock. Part one of this tutorial is here.

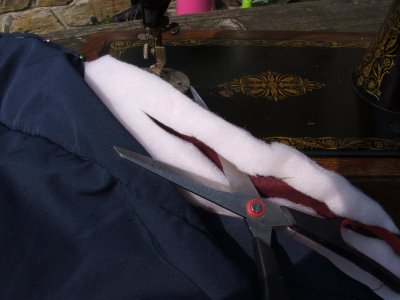
If there is too much wadding to allow the cord to pass though just cut a bit out.
You now have something that looks like this… The sides are all sewn up but the ends are still open.
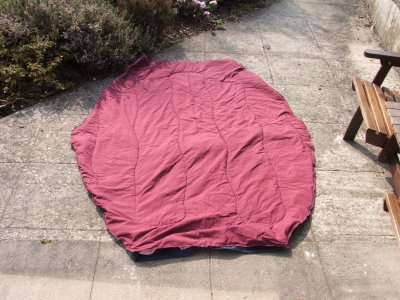
I want to add some short straps to each end of the underblanket so I can tie it off to a tree or even the hammock to keep it taut. So as I sew up the ends I pop 2 straps in and sew them in place.
Please don’t think pink straps are compulsory, paracord would work just as well ;)

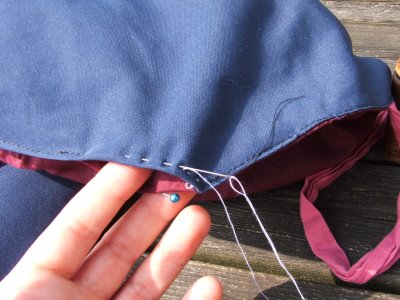
At the head end of the sleeping bag there was no zip so you’ll have to unpick a few of the stitches to slip the strap in and then sew it back up.

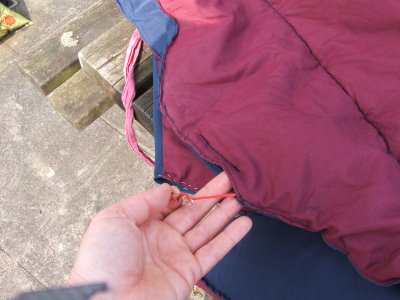
Now, every part of the blanket should be sewn up apart form a 2″ gap at the end of each diagonal. I couldn’t think of a better way of finishing this so for the time being I have just hand stitched them.
I think it kinda adds to the overall rustic charm.
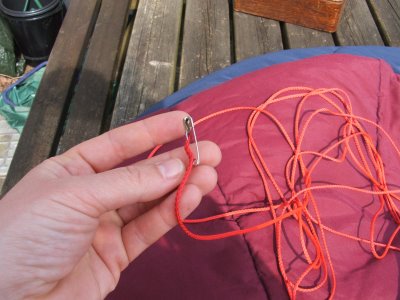
Now the really exciting bit! Get your cord, cut the 8 metres in half. Melt the ends to stop them fraying.

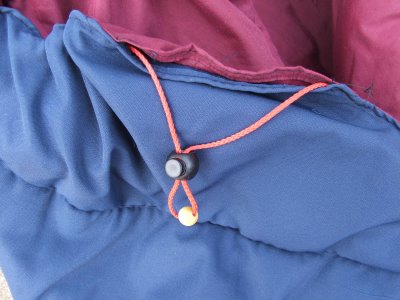
If you scoot back up to the posh Snugpack pic above you’ll see that their toggles have 2 holes whereas mine only have one. Not a problem, I just needed to womble a bead to improvise.
Thread the toggle & bead on, and thread the cord up to the other end of the blanket.
Lace hearts says
I am very impressed indeed – you must’ve been so pleased it worked! x