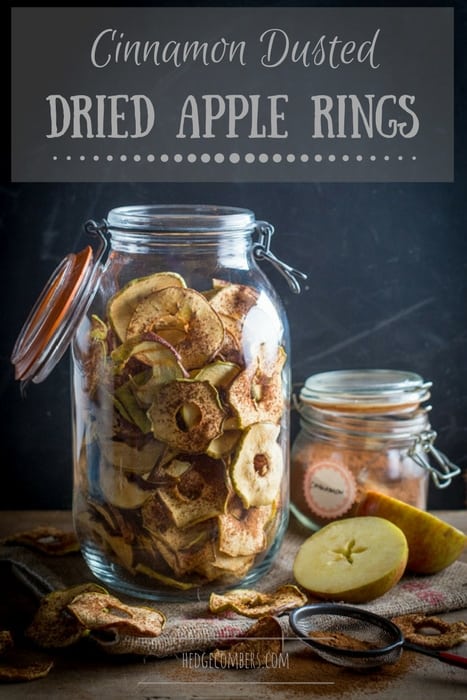
These (two ingredient) Cinnamon Dusted Dried Apple Rings taste just incredible. They’re a super healthy snack and make a much appreciated homemade foodie gift.
This recipe post was last updated in October 2022.
We are lucky enough to have two orchards here on our little farm.
Right next to the farmhouse is the old orchard which I imagine to be hundreds of years old (to put it into perspective, I believe the oldest part of the farmhouse was built in the 12th century). The trees are twisted and gnarled and covered in moss and lichen.
One tree has long fallen over, but continues to grow from its horizontal position down among the daffodil bulbs and snails.
It still produces a surprising crop of apples for such a chilled out old tree!
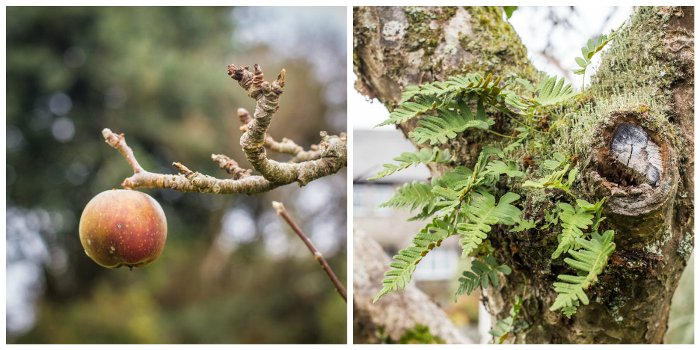
This old orchard doesn’t have an eating apple in sight, instead bearing the sourest, sharpest fruit imaginable.
The apples are classed as ‘cookers’ and are destined for pies served steaming from the oven with a crusty, sugary shell. Or comforting apple crumbles sweetened with sugar and juicy, plump sultanas.
The second, newer, orchard is the one my Dad planted, maybe 20 years ago. No records were kept of the varieties he planted, but it has a good selection of ‘eaters’.
Some have vibrant bright red skins, some with green, and some with a hazy blush of both. Those are my favourites.
Pluck one straight from the branch and the skin will burst under your teeth, flooding your mouth in sparkling sweet juice that makes your soul smile.
So what do we do with all these apples? Good question.
Honestly, the vast majority feed the slugs and mice that forage the orchard floor.
In warmer weather you also find feisty wasps getting drunk on the fallen fruit too.
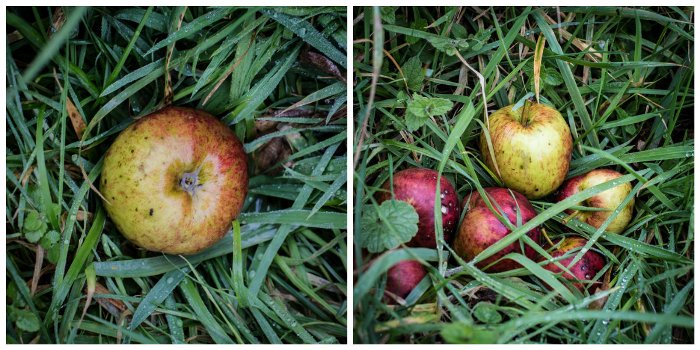
However we try to do one or two apple sweeps a year.
Armed with wheel barrows, we collect up all the good fruit, then wash, core, chop and freeze the fruit in one of our massive farm freezers.
It’s a time consuming hobby, but it does mean we haven’t bought fruit pie contents for years.
We usually mix the cookers and eaters together as they’ll all be cooked down anyway.
However, those rosy cheeked eaters deserve some extra special treatment. So they get washed, cored, sliced (on the mandoline, so they’re all of a nice even thickness) and dusted with cinnamon before getting all the moisture sucked out of them in the dehydrator.
How to Make Cinnamon Dried Apple Rings
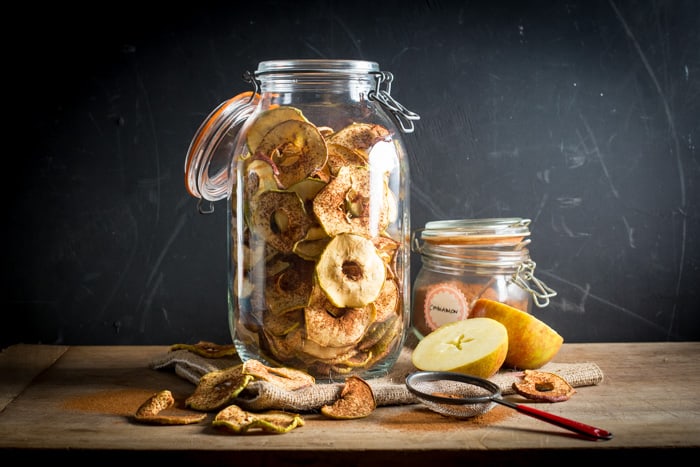
When it comes to dehydrating apples, you don’t need to add the cinnamon.
They’ll still taste darn delicious without. But it does add another layer of autumn to a very autumnal snack.
Oh, and the smell of them as they dehydrate is utterly intoxicating.
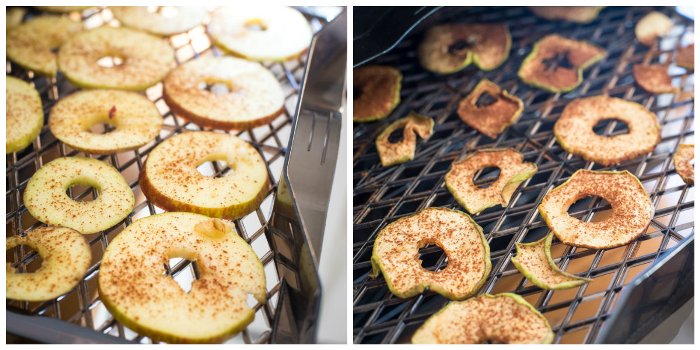
Once the cinnamon dusted dried apple rings are dry, let them completely cool before storing in airtight jars or tubs where they will stay edible for many months (if they last that long!).
Here’s a photo tutorial in the very simple art of dehydrating apple slices. However, if you prefer the written word, scroll to the bottom of the page for the full recipe.
1/ prep your apples
I recommend washing your apples first if you’re planning to keep the peel on (which I do!)
If they’re store bought apples, you have no idea what they’ve been sprayed with. And if they’re home grown apples you have no idea what’s recently pooped on them!
So carefully wash your apples, trying not to bruise them, and lay them out on a clean tea towel to dry.

2/ slice your apples
Ideally, if you have an apple corer, remove the core from the apple first.
An apple corer is a simple, round blade that you push through an apple from the top (stalk), right through to the bottom (calyx).
It removes the stalk, seeds and calyx in one easy motion leaving just the edible parts of the apple intact.
Mine is very old, but you can find similar ones here on Amazon (affiliate link).

If you don’t have a corer, you can still slice your apples into rings, and then simply cut out the core with the tip of a sharp knife.
To keep my apple slices nice and even, which in turn ensures they dry at a similar rate, I like to use a mandoline.
My mandoline is an old hand me down, but here’s a link to a similar one on Amazon that has great reviews (affiliate link).
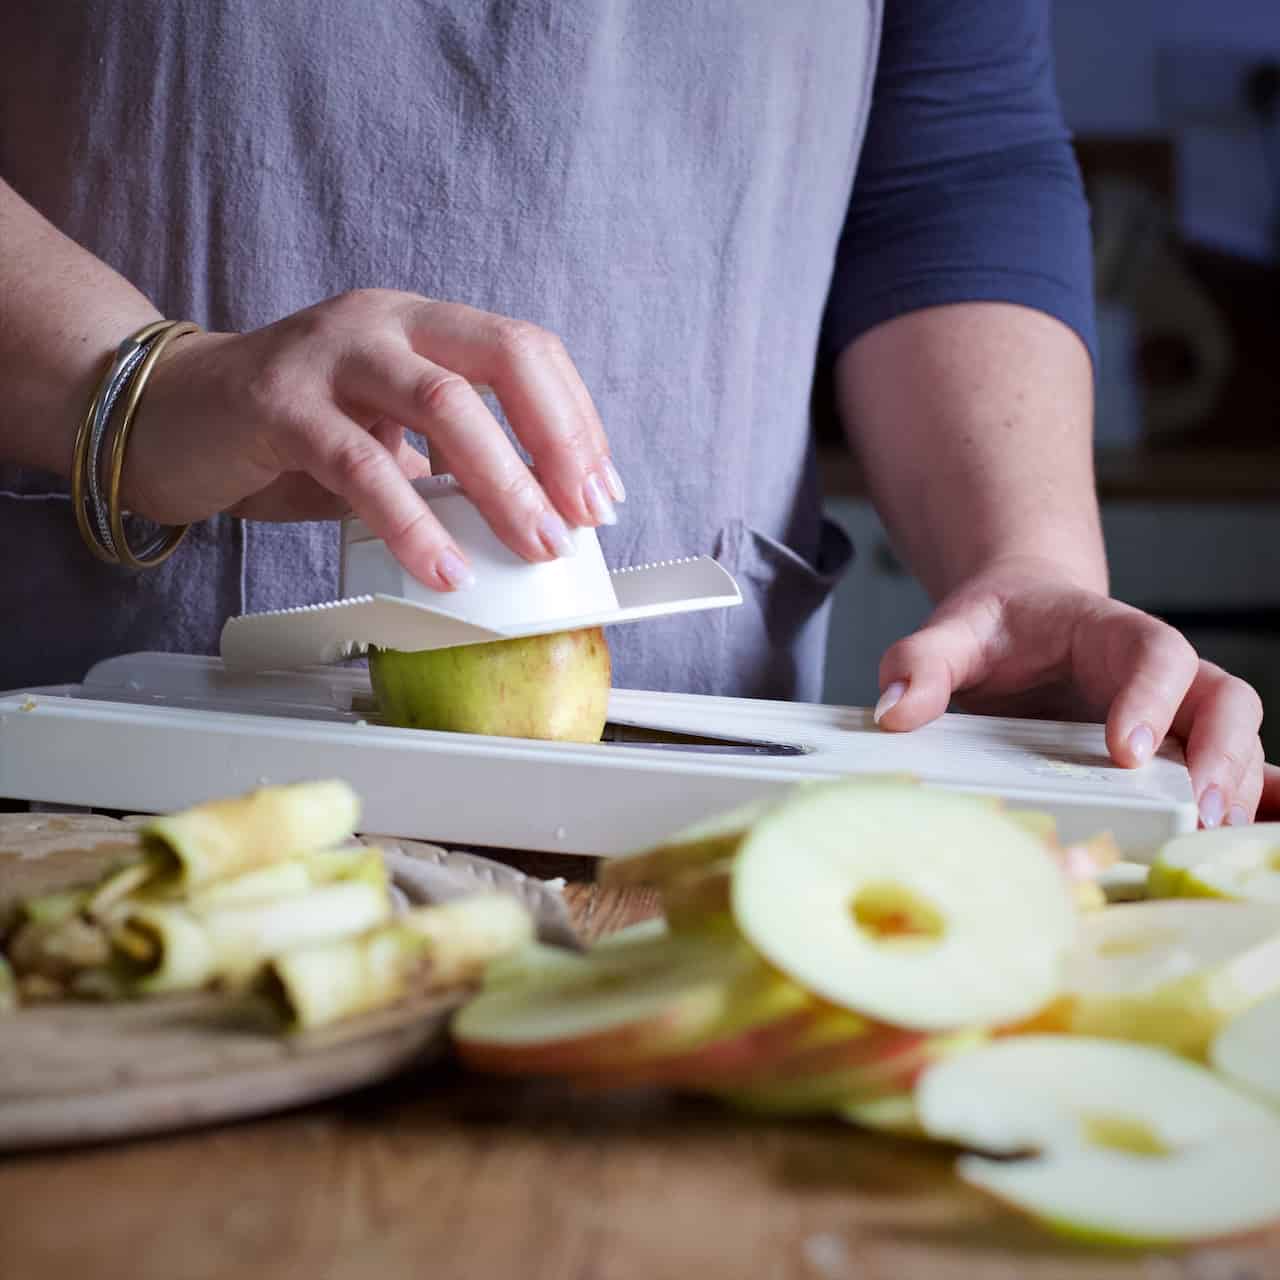
Once sliced, use a sharp knife to carefully cut away an blemishes or bruises from the apple slices
Lay your apple rings out on the drying racks, fitting as many as you can on one tray, without them touching.
As a side note some folk spray or rinse their apples slices with lemon juice first to stop them browning. However, I don’t find this step necessary at all.

3/ dust apples with cinnamon
The trick with making these dried apple rings pop, is to get the layer of cinnamon as even as possible.
So have a look at any sieves and tea strainers you may have knocking around, and choose the one that has the smallest holes.
For me, it’s this cute metal vintage tea strainer. Having the holes really small will ensure a really fine dusting of cinnamon powder, giving you far more control over where it lands.
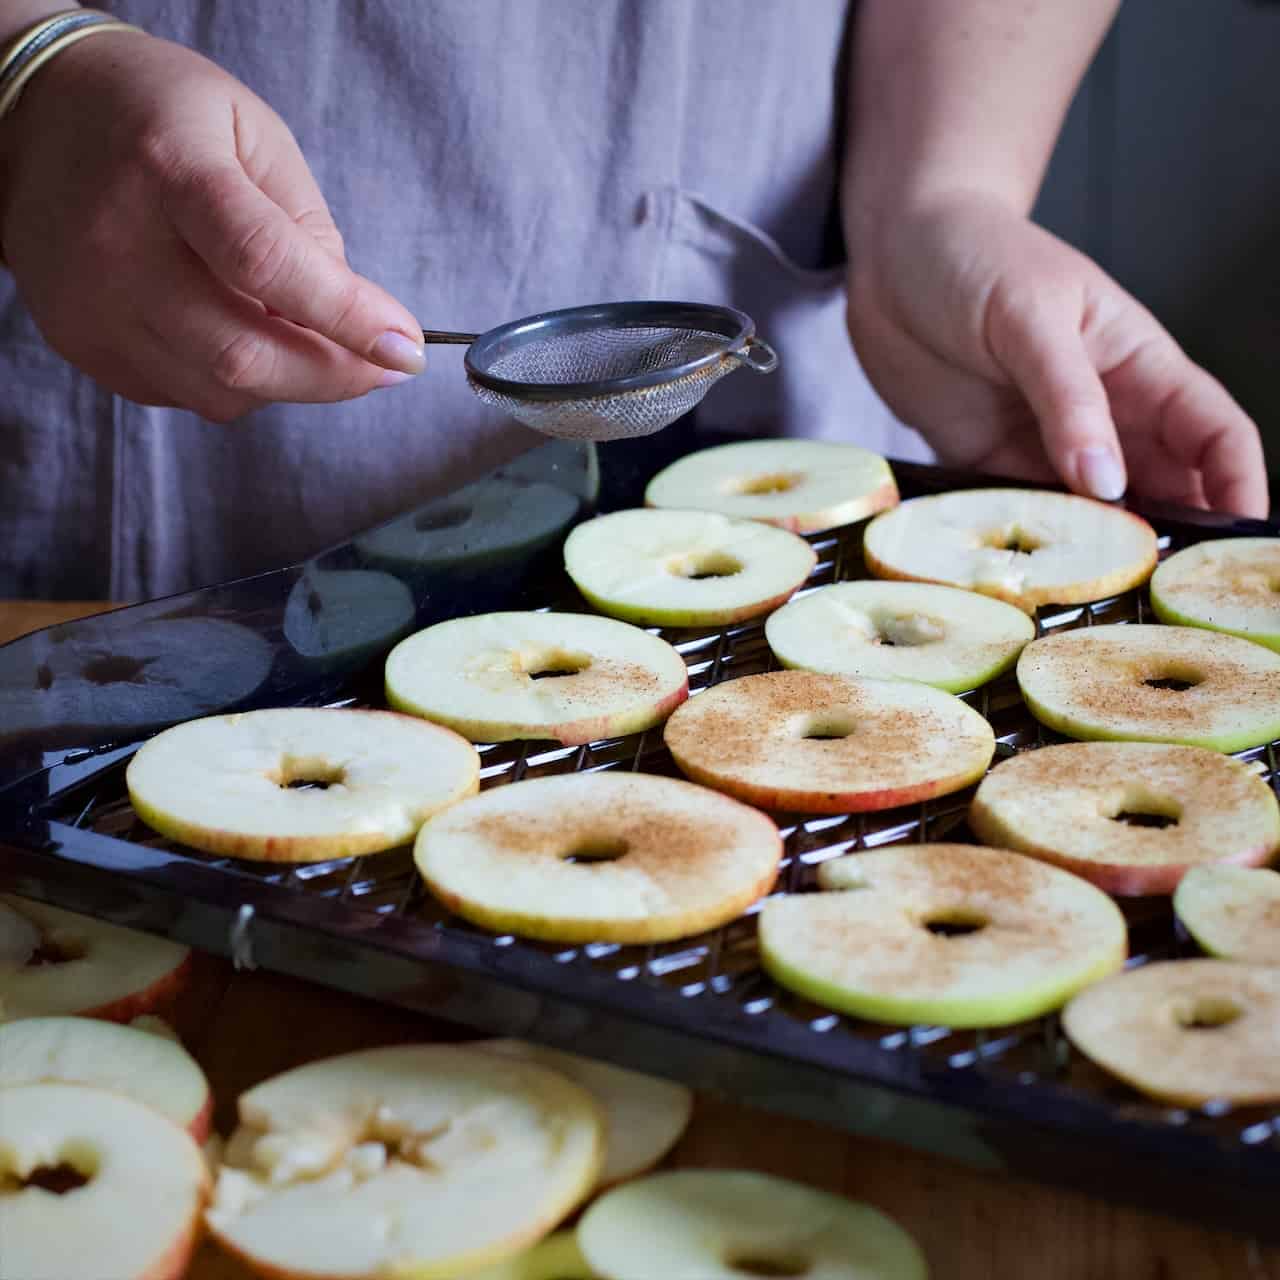
Carefully (and slowly!) sprinkle the cinnamon onto the top side of the apple slice.
You can turn the slices over and repeat on the second side, but I never bother.
I find I get enough of the lovely cinnamon flavour by just dusting one side.
4/ dehydrate apples
Now it’s time to dry your apple rings.
I’m using an electric dehydrator but you can also dehydrate tings using an oven. However with soaring energy prices, I would avoid using an electric or gas home oven for this as it will work out very expensive.
If you have a wood fired oven like an Aga or Rayburn, then certainly use your oven. Be sure to crack the oven door open a little for the entire drying time so that the steam can escape.
But for anyone using a regular gas or electric oven I would urge you to research buying a dedicated dehydrator.
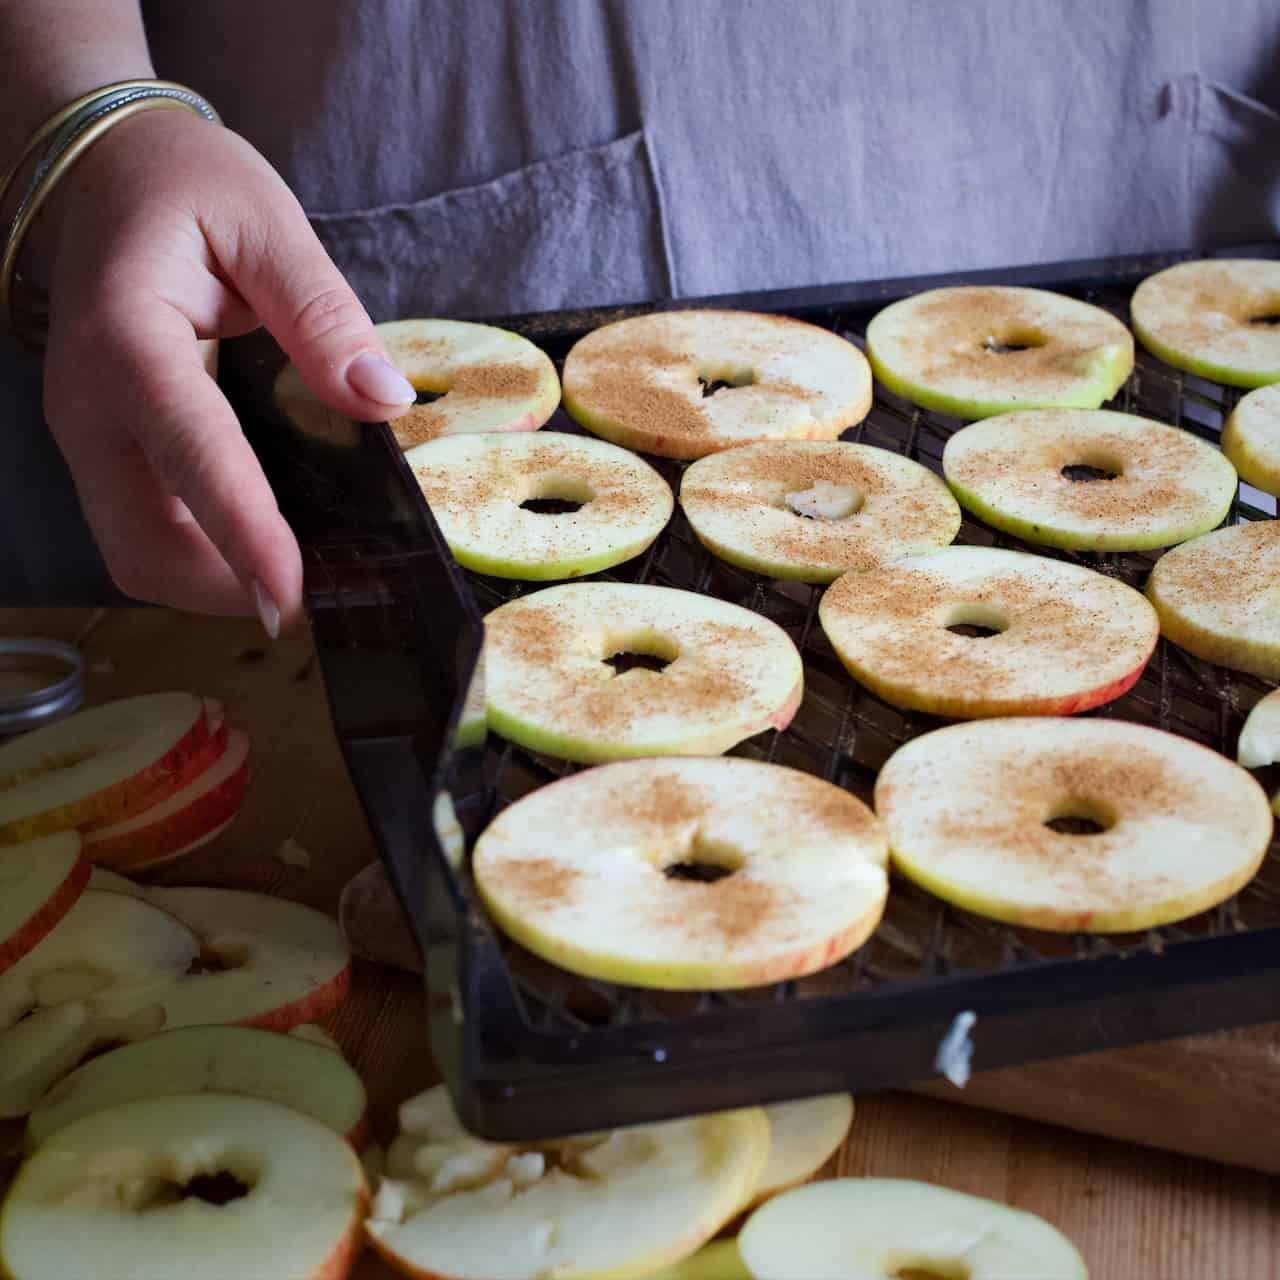
Dehydrators can be cheap as chips, or you can go to town and buy a very fancy one.
Sadly mine is no longer in production so I can’t link to it, but take a look at the vast amount of dehydrators available over on Amazon (affiliate link). I recommend looking for one that’s not only in your budget, but that has great reviews too.
An adjustable temperature dial is very useful for drying different types of foods too. Although I worked successfully with a cheap dehydrator for many years that didn’t have this function.
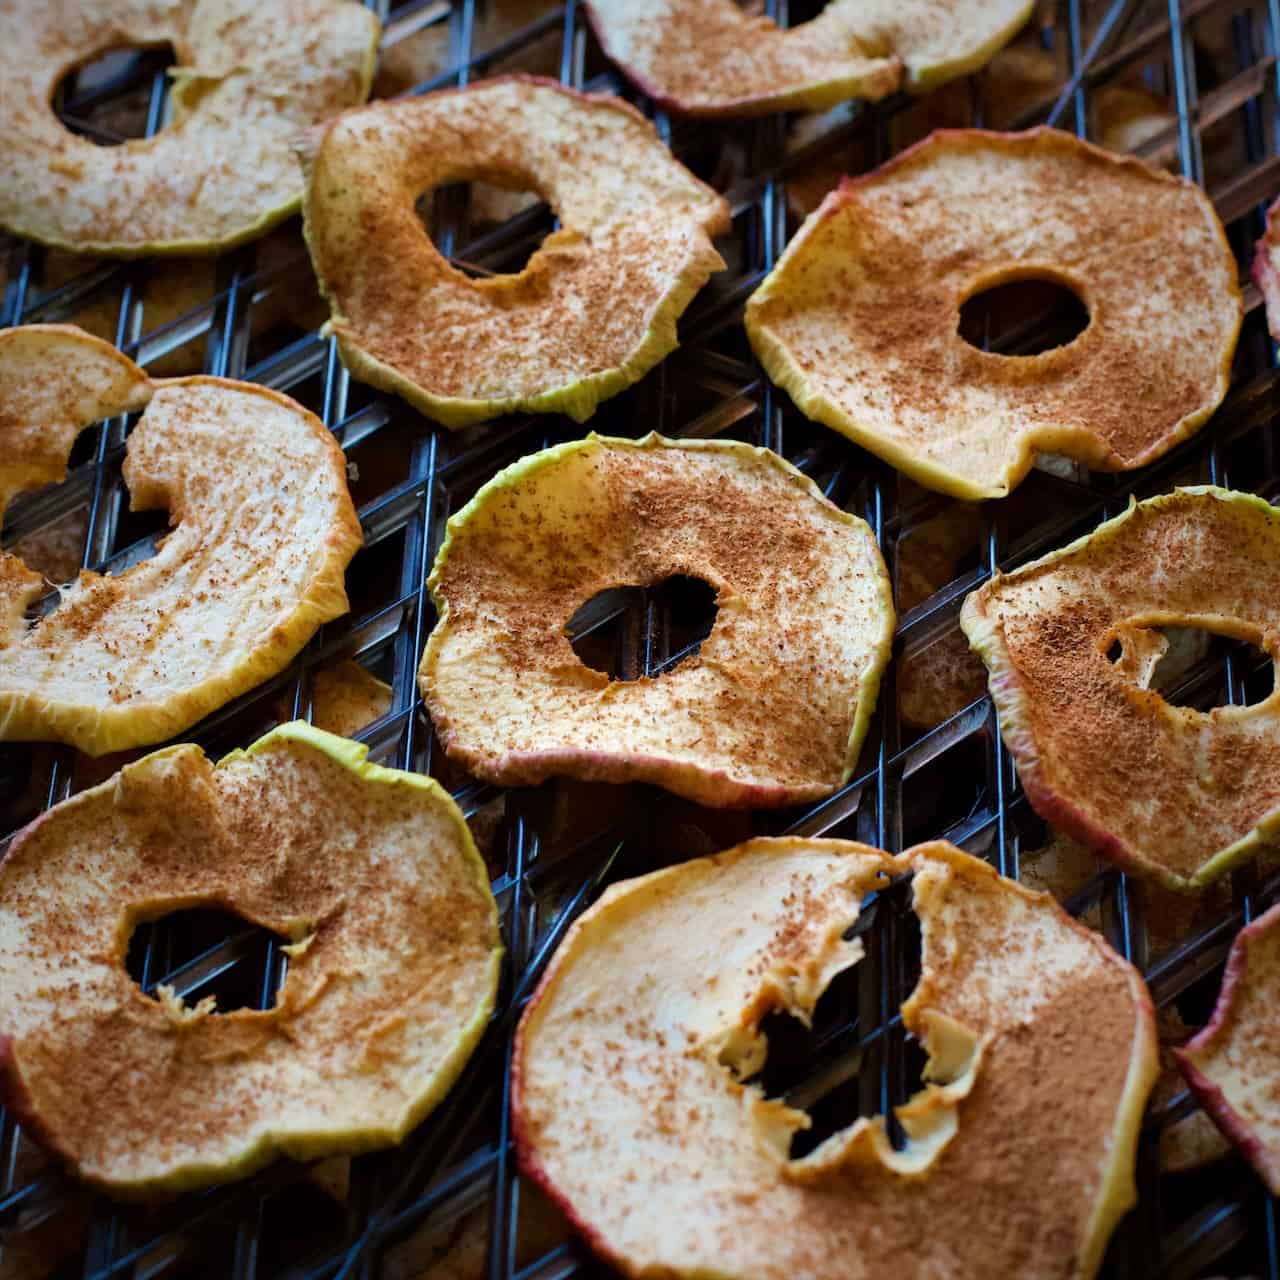
How long to dehydrate apples, and what temperature?
To dry apples, I like to set the dehydrator to between 57°C – 63°C (134°F – 145°F).
This seems to be the perfect balance between getting fruit dry quickly, whilst keeping the maximum nutrients intact.
When apple chips are dry they are leathery and bend a little. Some of the smaller pieces may snap when bent.
How Should I Store dehydrated Apple Rings?
Once dried, remove the trays of apple rings and place them somewhere cool and airy to bring them down to room temperature.
Once completely cool, place them into an airtight jar, tub or Ziploc bag. If there is any heat left in the apple slice when it’s packed away, it will likely sweat, and the cause mould to spoil your whole batch.
Here they’ll last for months (assuming no one eats them first!)
If you have any questions about the drying, storing or gifting of these yummy dried apple rings, please drop a comment below.
If you give this recipe a go please feel free to tag me in any pics you share online. You can find me pretty much everywhere as @hedgecomber. I try to share all the pics I see!

Dehydrate your homegrown apples to enjoy their flavour and nutrients all winter long.
- 12 apples, organic preferably ripe but firm with no bruises
- 1-2 tablespoons ground cinnamon
Wash, core and slice your apples into rings of uniform thickness (I used a mandoline on its thickest setting - about 3mm thick)
Lay the apples out on your dehydrator racks, or on metal cooling racks if you're using an oven.
Pop the cinnamon into a small sieve, and gently tap the sieve over the fruits to get an even dusting.
Pop the oven on to its lowest setting.
Stack the cooling racks on top of each other, ensuring air can circulate around each apple ring.
Leave the oven door slightly ajar to let any steam escape and let dry. They are done when the rings are dry, leathery and some thinner ones may snap when bent.
Please note, this may take anything up to 24 hours so may not be an economical option if you are using an electric or gas oven.
Fill the machine up with the trays and check your fruit at around 6 hours. There are lots of variables when drying foods (climate, thickness & water content of the fruit etc) so keep checking every hour or two thereafter.
Mine were done after 9 hours.
Store in airtight bags or containers and check regularly that there is no mould present. If you are planning to store mid to long term then use a vacuum sealer to remove all the air from the bag or jar.
Tammy says
Ooooh yum! These sound like the perfect snack. Now all I need is the apples!
HedgeComber says
Shop bought ones are fine Tammy, just make sure they don’t have any soft or bruised bits :)
Heather says
Yum! I think I am going to make some of these today, although I will be using my oven since I don’t have a dehydrator. At least my house will smell delicious!
HedgeComber says
It certainly will Heather, I hope you enjoy them! I just had a handful of them instead of biscuits, I FEEL SO VIRTUOUS!!!
Janie x
Lisa @ Flour Me With Love says
These look so good and healthy! Thanks so much for sharing :)
HedgeComber says
Hi Lisa, thanks for stopping by, hope you get a chance to make them!
Janie x
Erika @ Slowly Natural says
Yummy!!!
HedgeComber says
:)
Meredith says
Yum! I am pinning this. I think my kids would love them (and I would too! :)
HedgeComber says
Enjoy! :)
Heather @ourcultivatedlife says
These look so yummy and easy! I love the way they look in the jar!
Blessings to you!
HedgeComber says
Thank you Heather, they do look cute huh? Thanks for stopping by
Janie x
Carrie - younglivingoillady says
I will have to try these in the oven.. awesome! Thank you for sharing with us at healthy 2day Wednesdays. Carrie http://younglivingoillady.com
HedgeComber says
Do it! You won’t be disappointed, I promise!
Thank you for your lovely hop
Janie x
Kathy, The Chicken Chick says
Amazingist IS absolutely a word now! LOL
Thanks for linking up with the Clever Chicks this week. Have a great weekend!
Cheers,
Kathy Shea Mormino
The Chicken Chick
http://www.The-Chicken-Chick.com
HedgeComber says
Ha! Thanks Kathy :)
Love your hop, see you there next week!
Janie x
Judy @Savoring Today says
What a great snack and so easy to make! Perfect time to make it with the new apple crops. Thanks for sharing on Hearth & Soul Hop. :)
HedgeComber says
Hi Judy, absolutely! See you next week & thanks for taking the time to pop by and comment :)
Janie x
Miz Helen says
My creative brain is going crazy, these Apple Rings would make a great gift for the upcoming holidays. Great Recipe! Have a fabulous weekend and thank you so much for sharing with Full Plate Thursday.
Come Back Soon!
Miz Helen
HedgeComber says
Hi Miz Helen! These would make a great gift, if you could stop the family wolfing them down first! Thanks for dropping in to say hi!
Janie x
Mama Rosemary says
These look great! My youngest would LOVE them. Might make some this afternoon. Thanks for sharing this tasty idea on Natural Living Monday!
HedgeComber says
Hey Mama Rosemary, you’re welcome! Thank you for taking the time to visit, I’ll see you all next week!
Janie x
Mama Rosemary says
Yeah!!
Nancy says
These look and sound delicious! Thanks for the inspiration. xo
HedgeComber says
Hello Nancy, thank you for stopping by :)
See you next week!
Janie x
Natalie says
Oohhhh! These look so good! I love crispy apple rings – so healthy and delicious ♥
Jane Sarchet says
Thanks Natalie! They do make a great snack, huh?!