Making a Cheese and Bean Toastie is so easy that even the kids can do it!
Follow my step by step process to get this quick mini meal on the table in minutes.
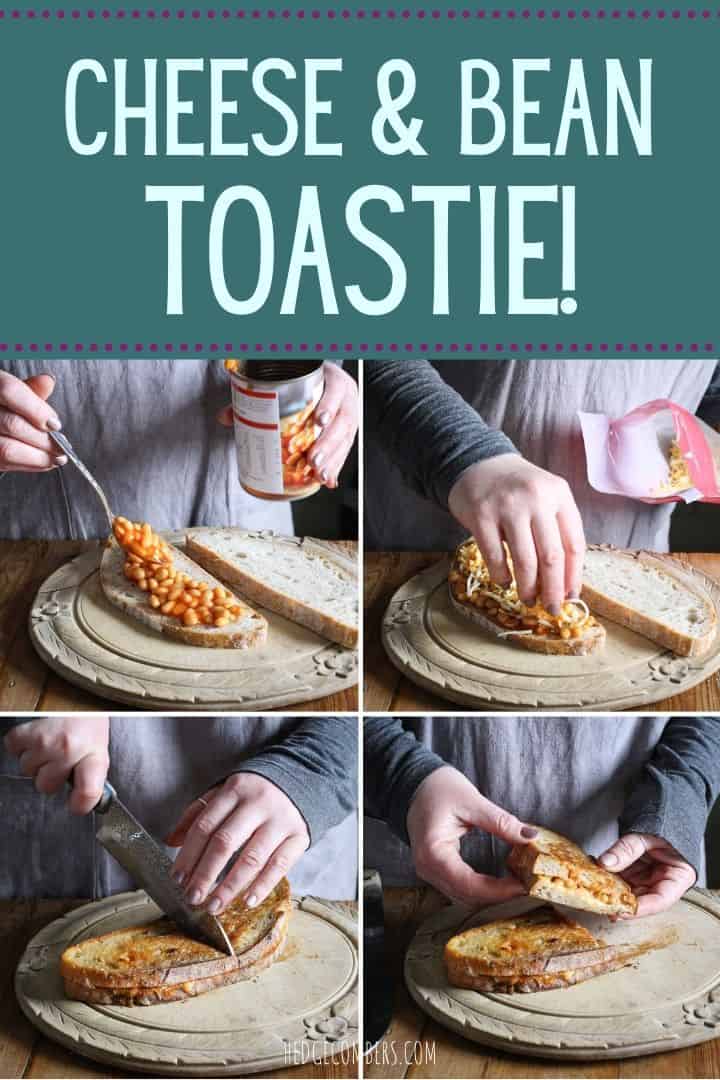
This quick little how-to is a great starting point for new cooks, young or old, to get a tasty classic under their belts.
Cheese toasties were a staple in our house growing up.
And the best bit is you don’t even need a sandwich toaster machine to make them!
How to Make a Simple Cheese and Bean Toastie
1/ avoiding a soggy bean toastie
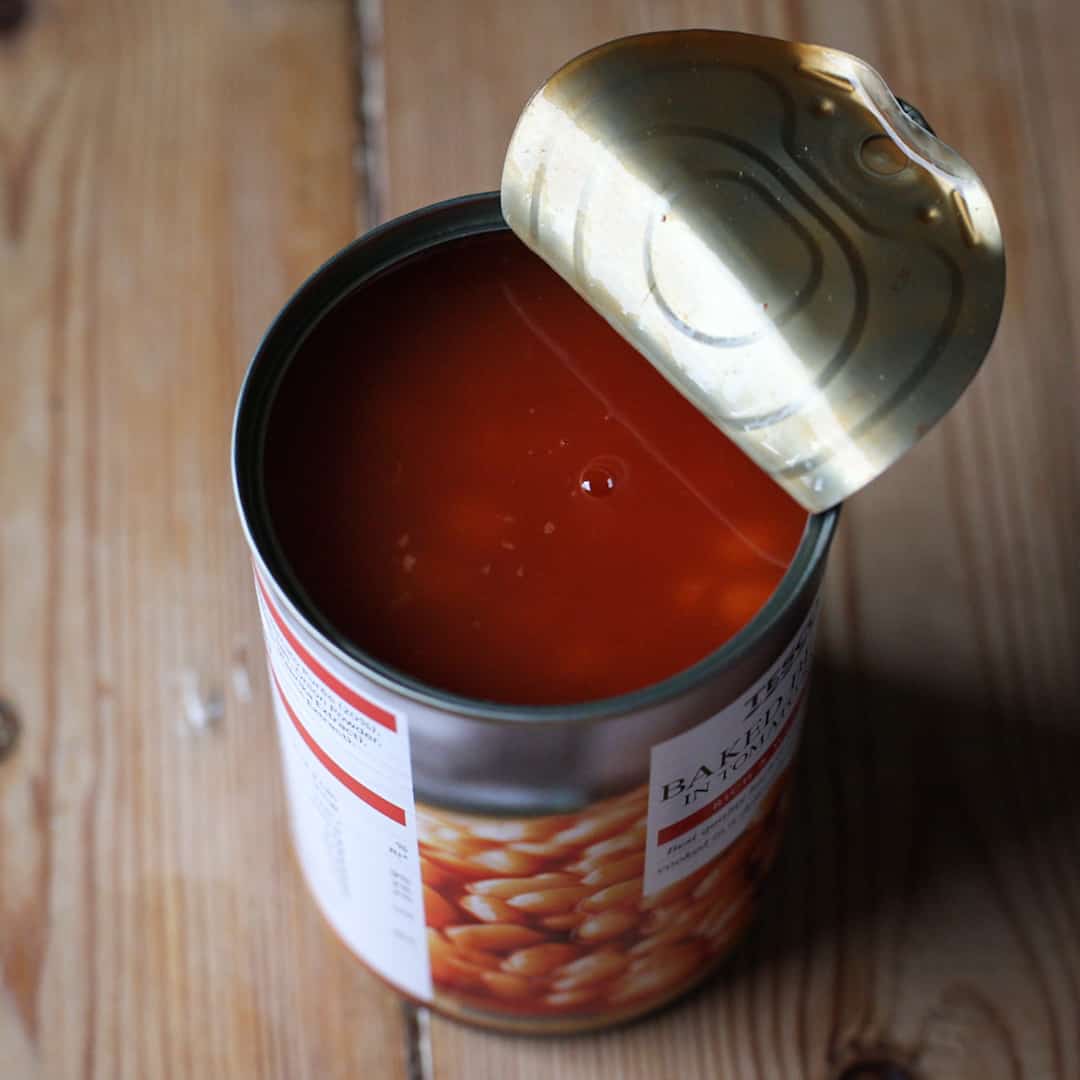
When you first crack open a can of baked beans, you’ll likely see a puddle of bean juice on the top of the can.
Whilst this is delicious, if you add it to your toasted sandwich, it’ll become wet and soggy.
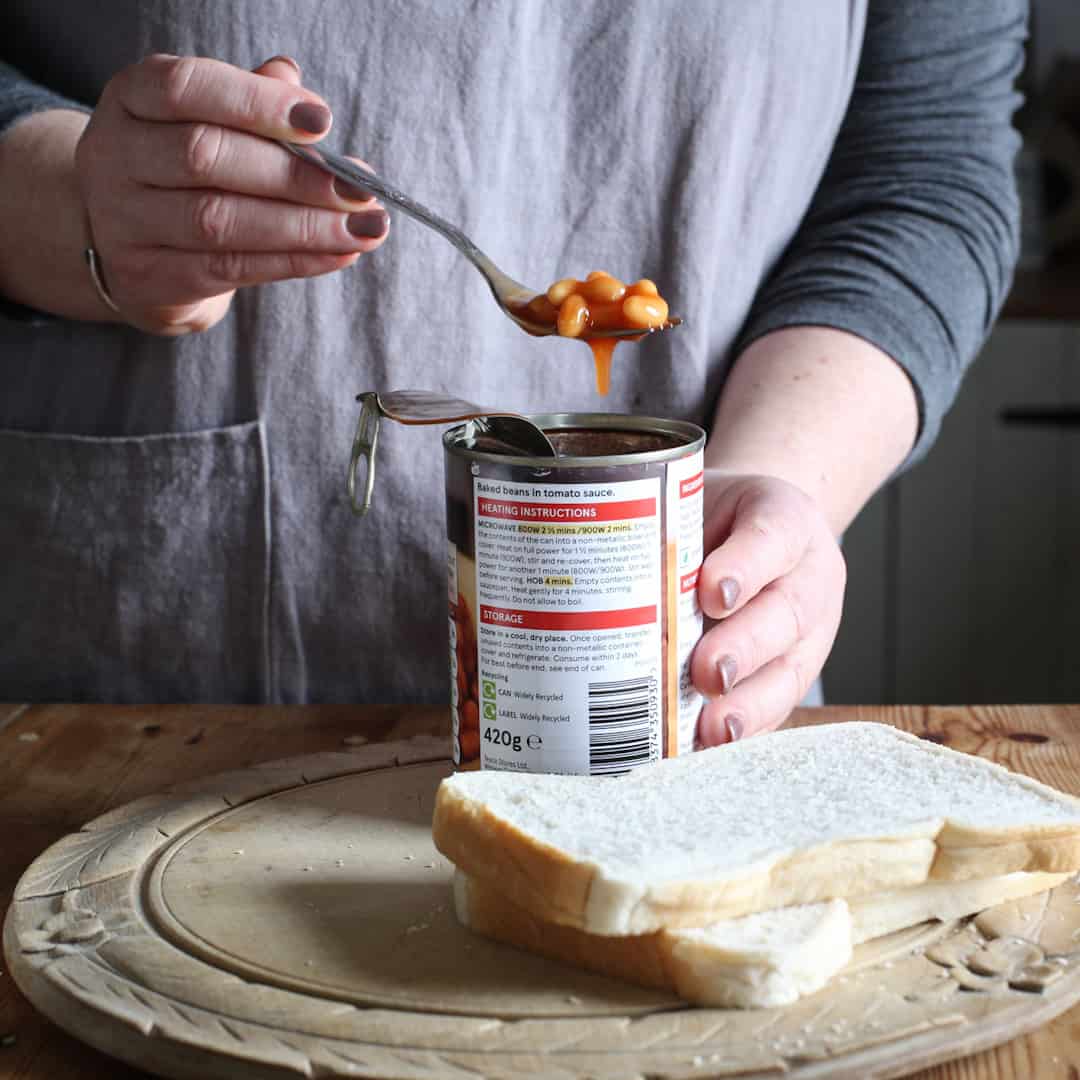
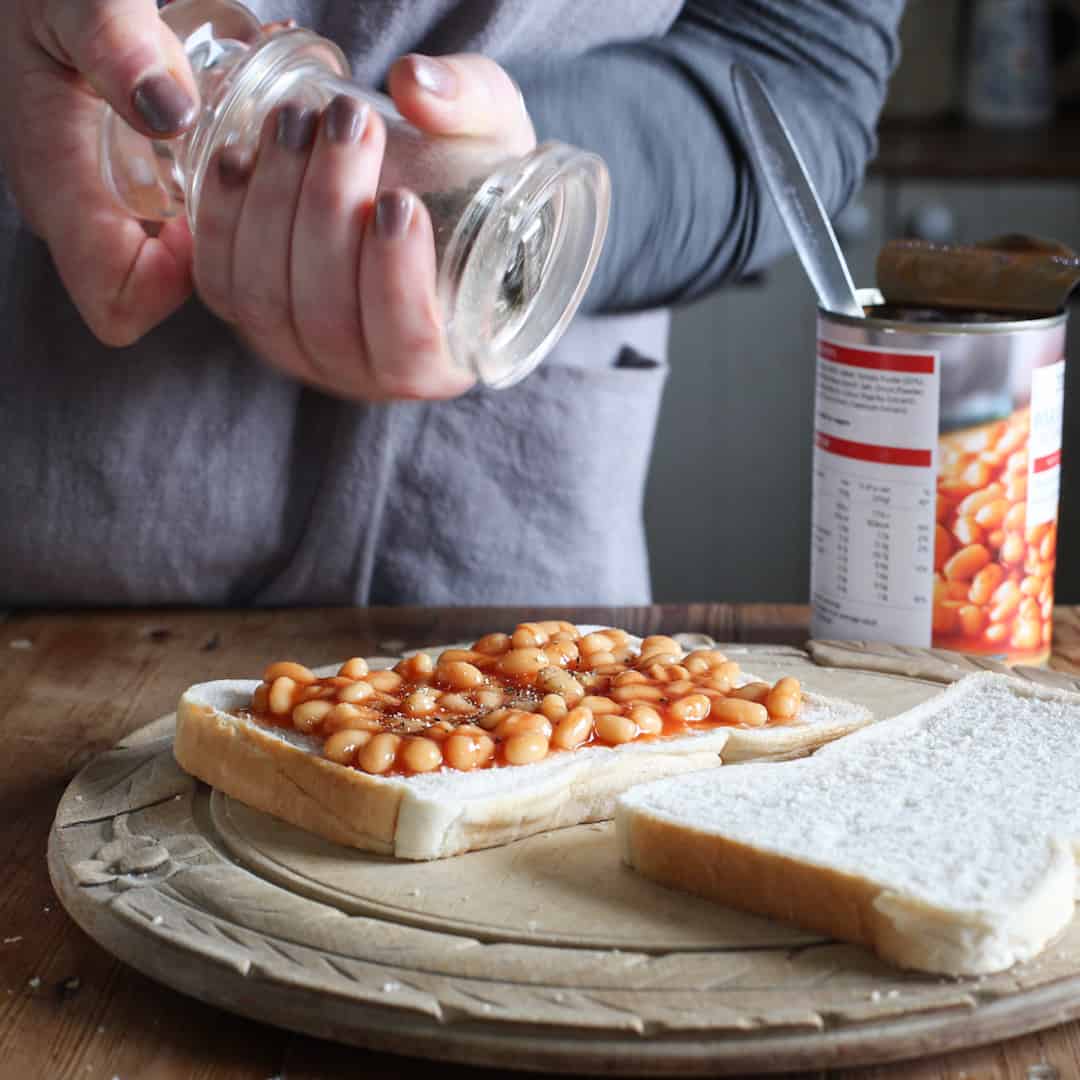
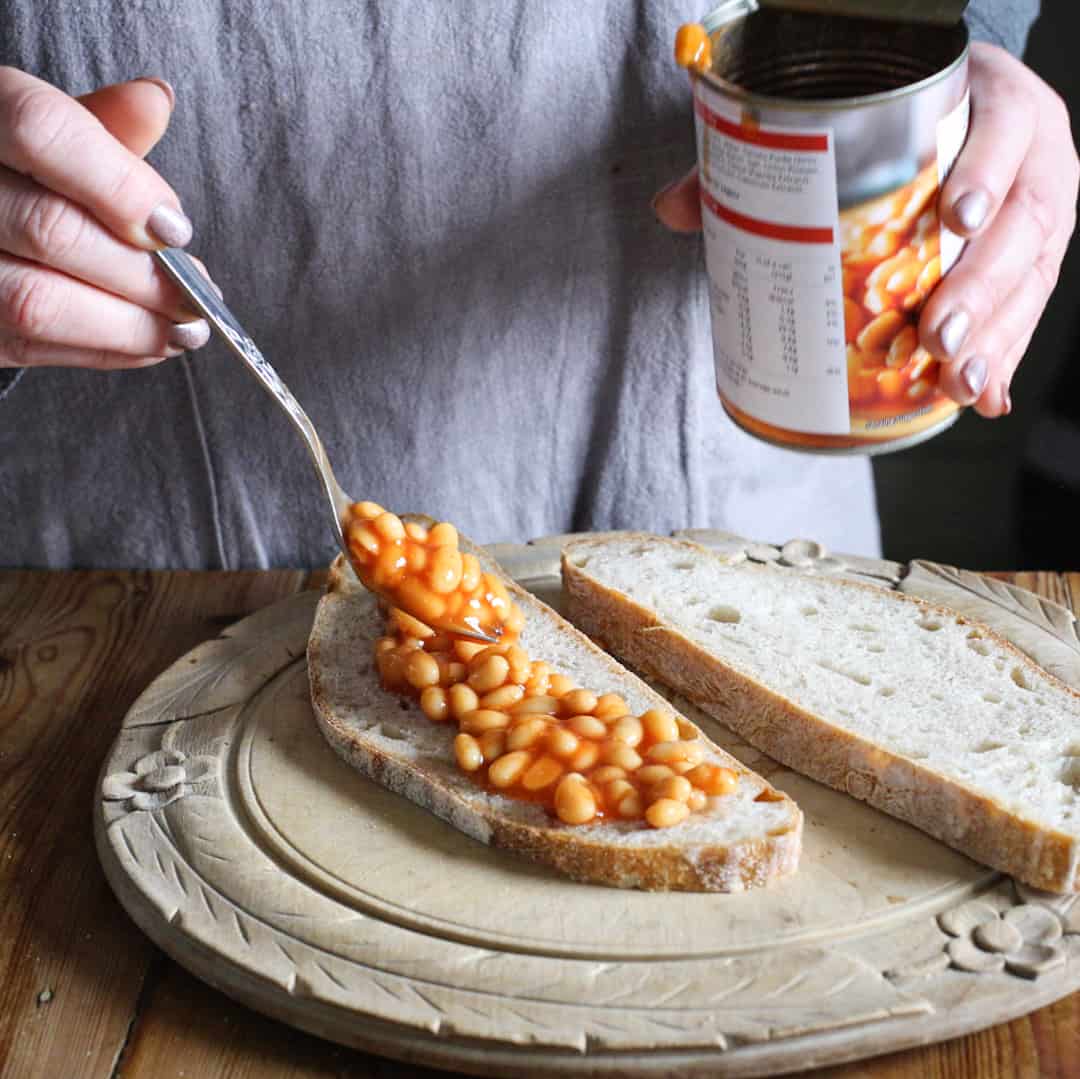
So I like to scoop the beans out of the can using a fork, letting the bean juice drain back into the can.
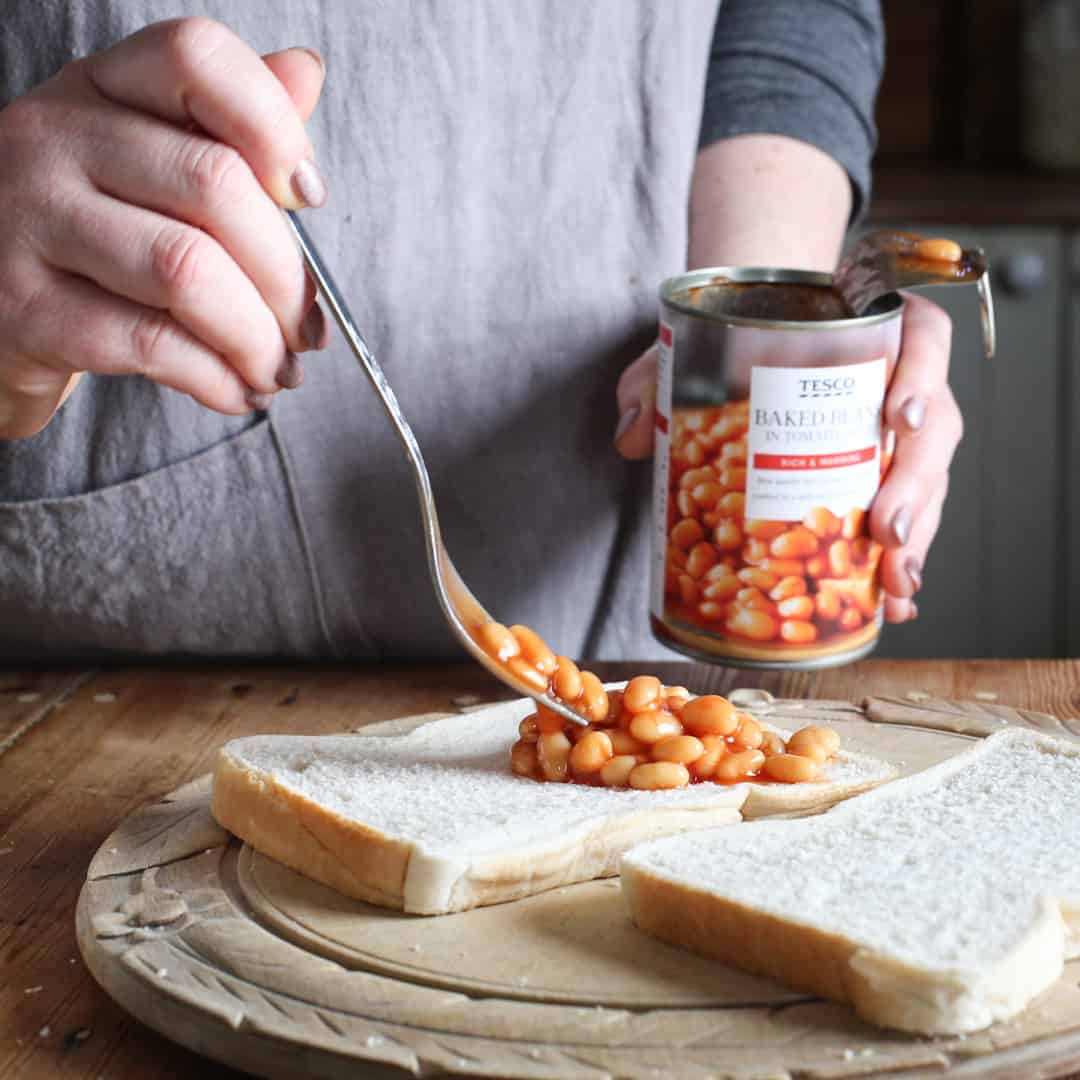
This then gets added to one slice of your bread, and smushed out into an even layer.
2/ season your baked bean toastie
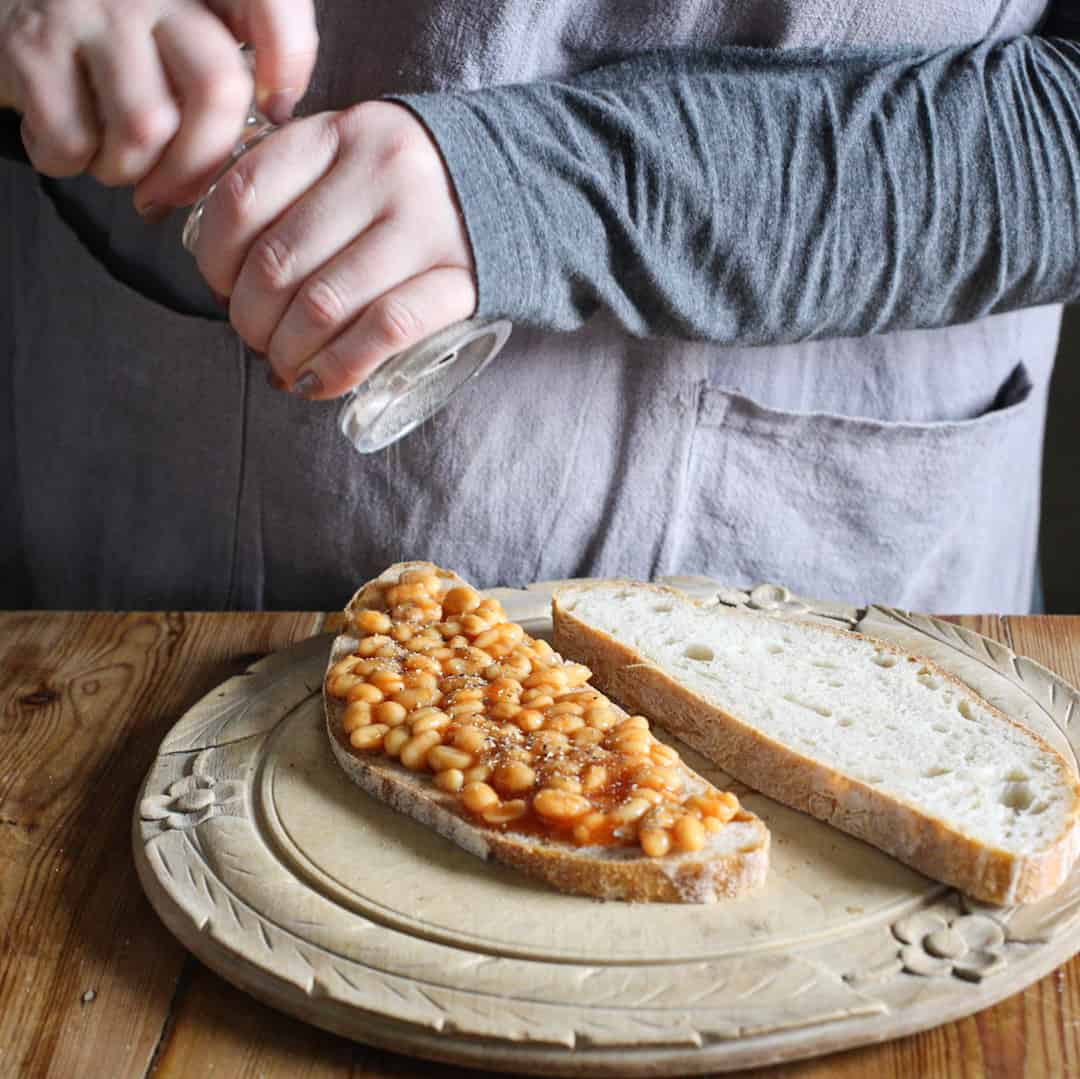
I like to add a grind of black pepper to anything with baked beans as they go together so well.
However feel free to skip this part of you’re not a fan, or switch out the pepper for your favourite seasoning.
Maybe try hot sauce, mixed herbs or fresh basil leaves?
You likely won’t need to add salt as most canned baked beans already contain plenty. They usually contain sugar too, so I would avoid using something like sweet chilli sauce as your toasted sandwich might become a bit too much like dessert!
3/ add the cheese
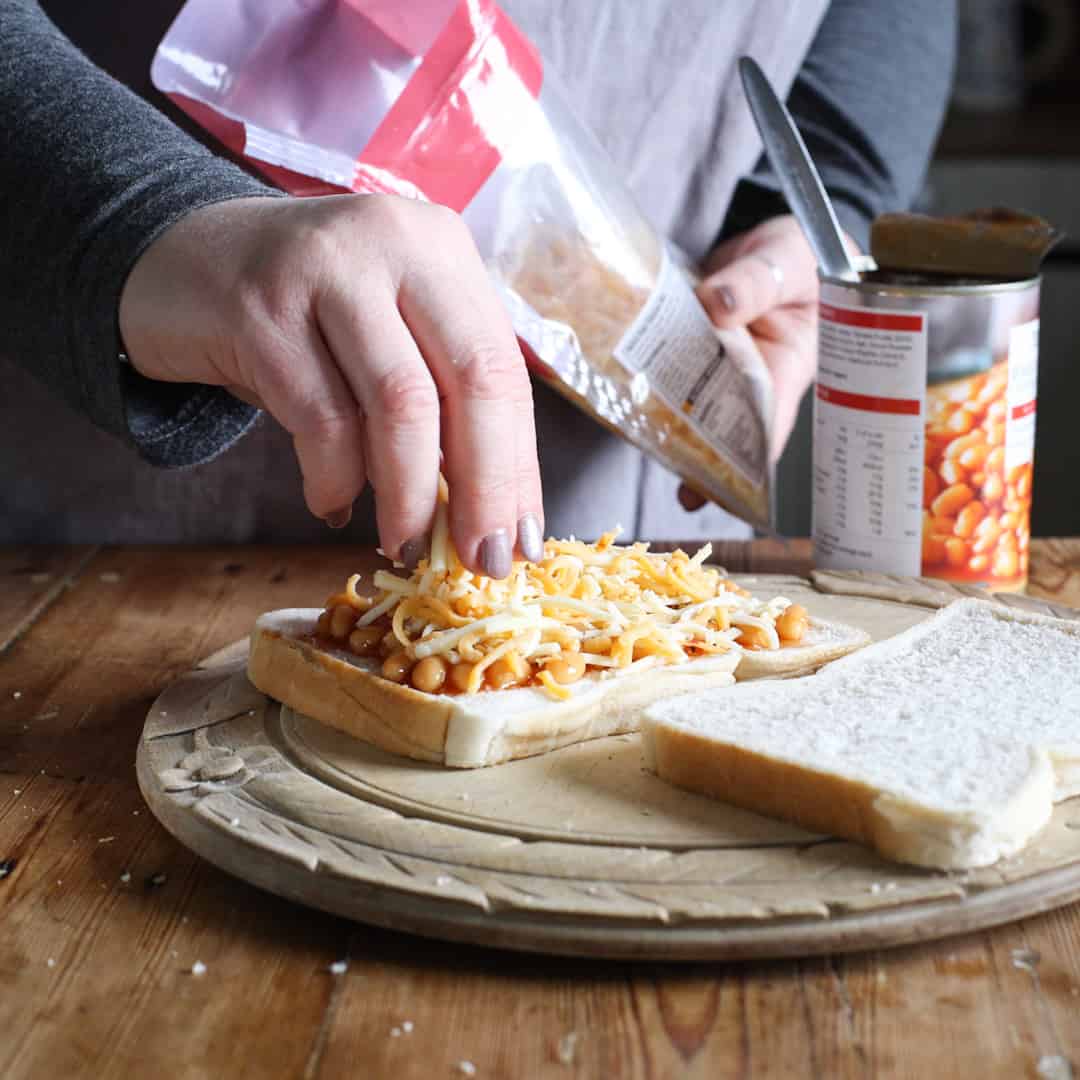
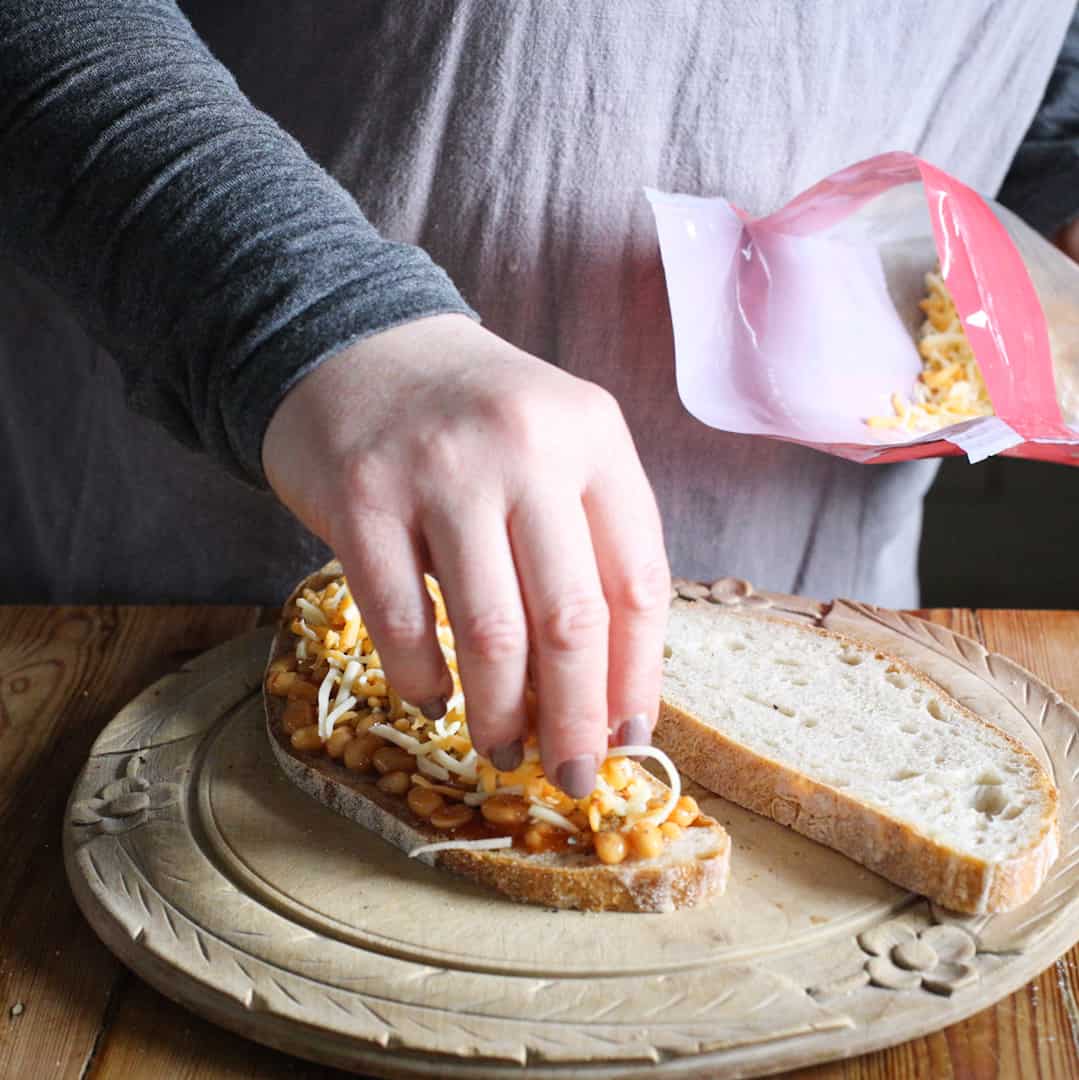
You can thinly slice your favourite hard cheese, or add it grated like I am. Keep it dairy free by choosing a vegan cheese if you prefer.
In the photo below I’m using a Mexican grated cheese which adds a lovely little bit of heat.
4/ create your sandwich
Once your fillings are all in place, top with your second slice of bread and gently press together.
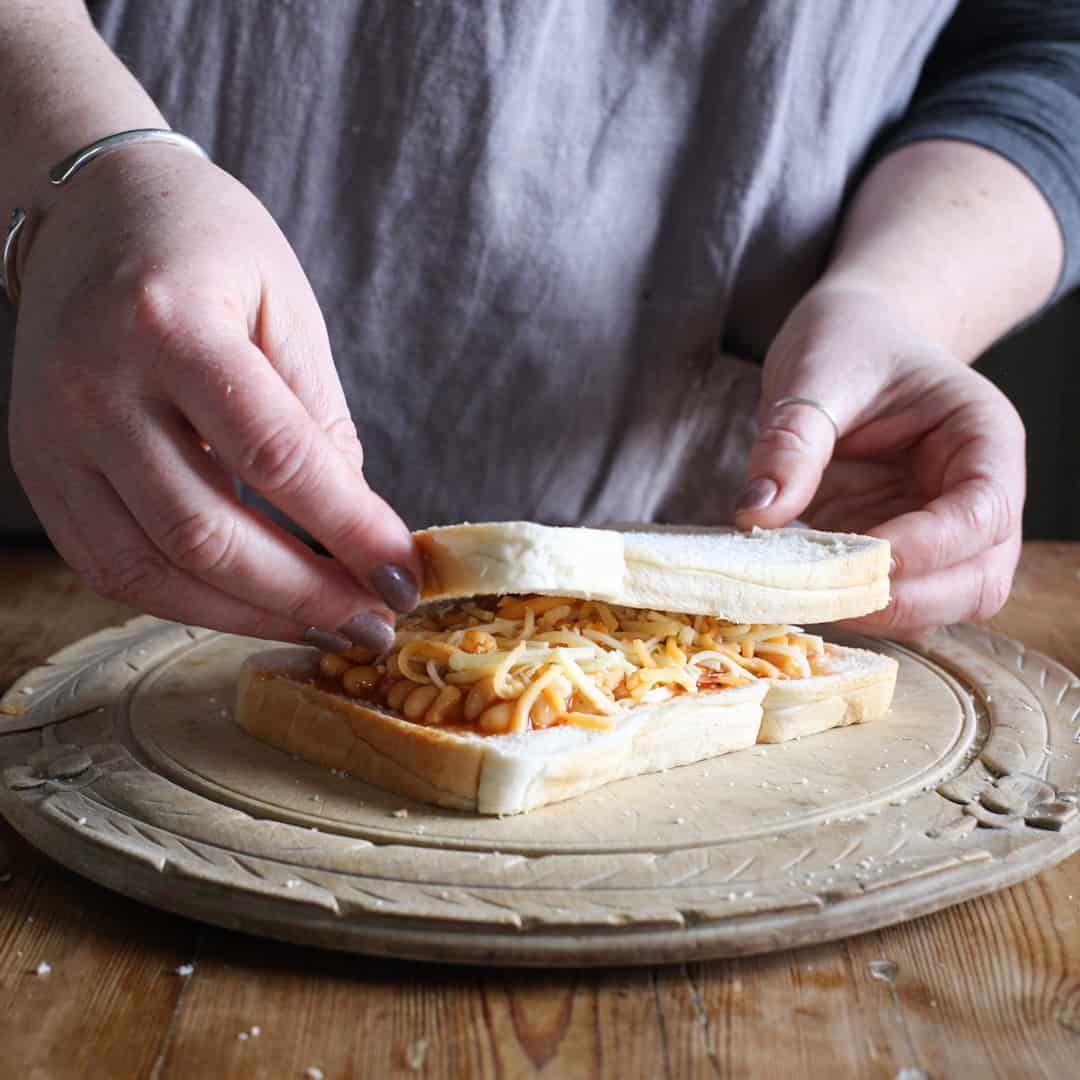
In this sandwich I’m using a cheap sliced white loaf (which I think makes such a good toastie!).
To make sure all the fillings stay in place you can ‘squish’ the bread together using your fingers.
Just pinch it all the way around, just inside of the crust, and it will seal shut like a little pie.
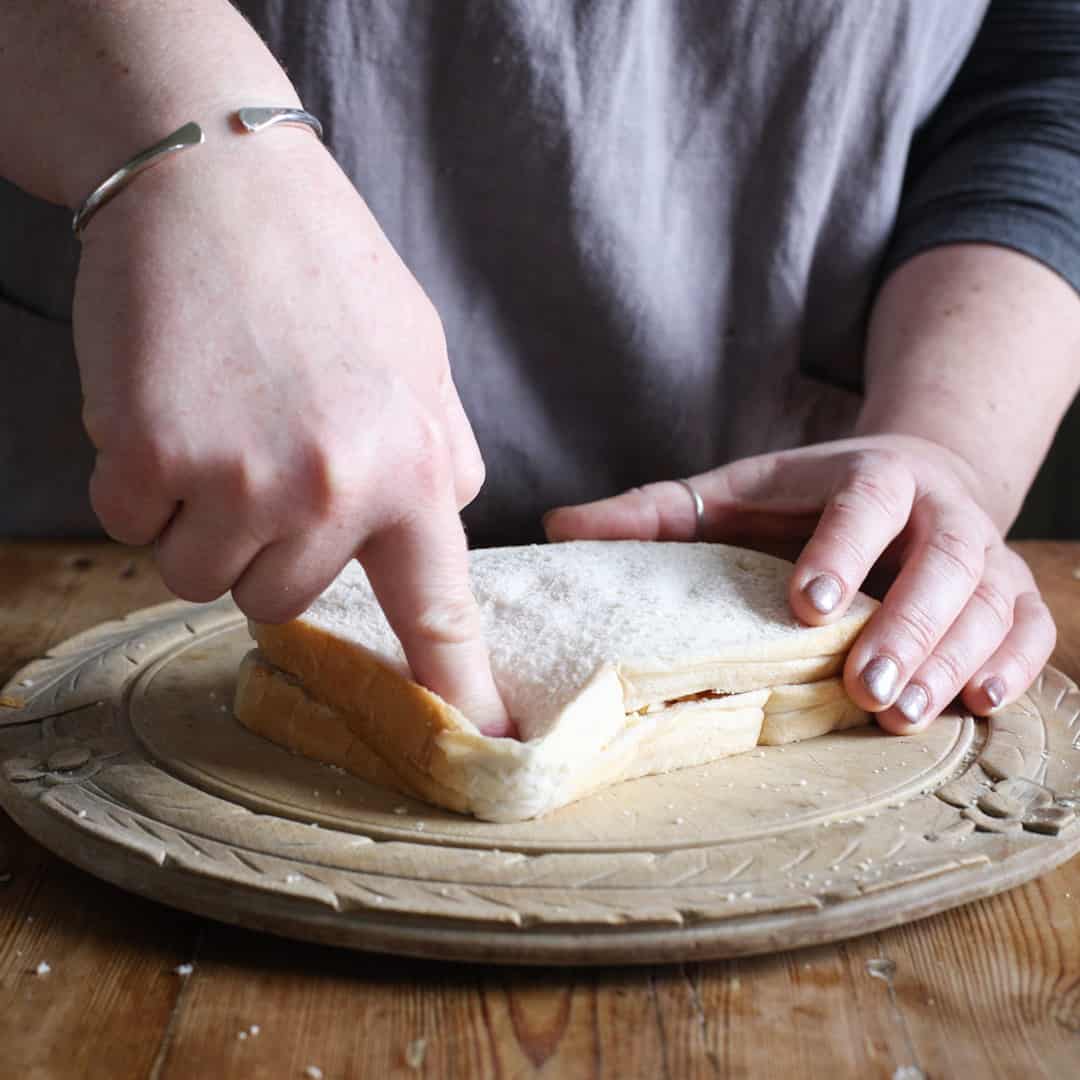
This will act like a sandwich toaster and crimp the edges together sealing it all shut.
This will only work with really soft white bread.
See below for how to use harder or drier breads such as sourdough.
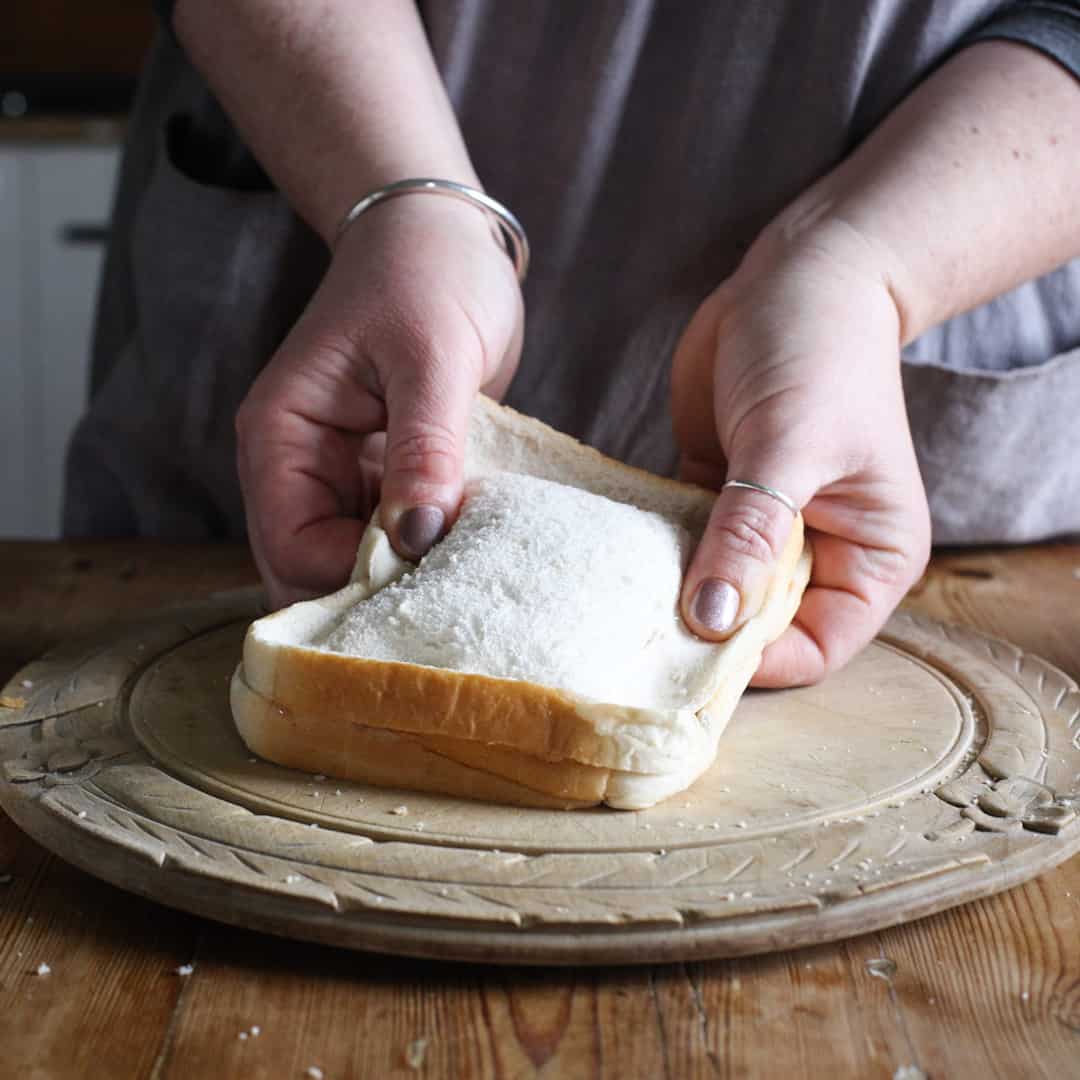
Once your toastie is crimped together it’s time to cook it!
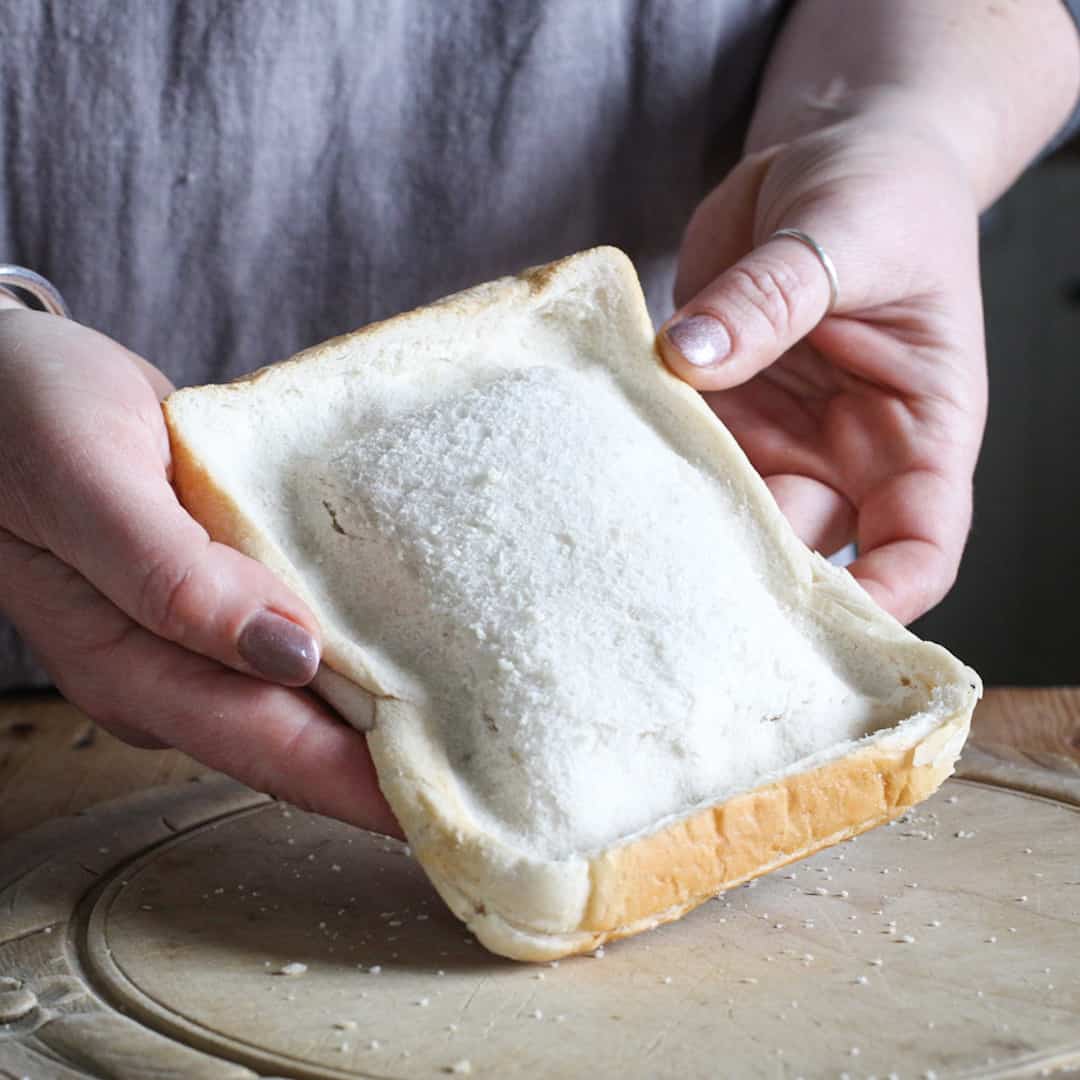
5/ how to cook a toasted sandwich
I like to use this old fashioned cast iron frying pan as it’s really heavy and creates an even heat which will help prevent your sandwich from burning.
I like to cook my baked bean toasties in little butter as it makes the outside go golden brown and beautifully crispy.
However you can leave your pan dry if you prefer.
Your filling will still get hot and the cheese will melt, but you won’t get such a tasty crust.
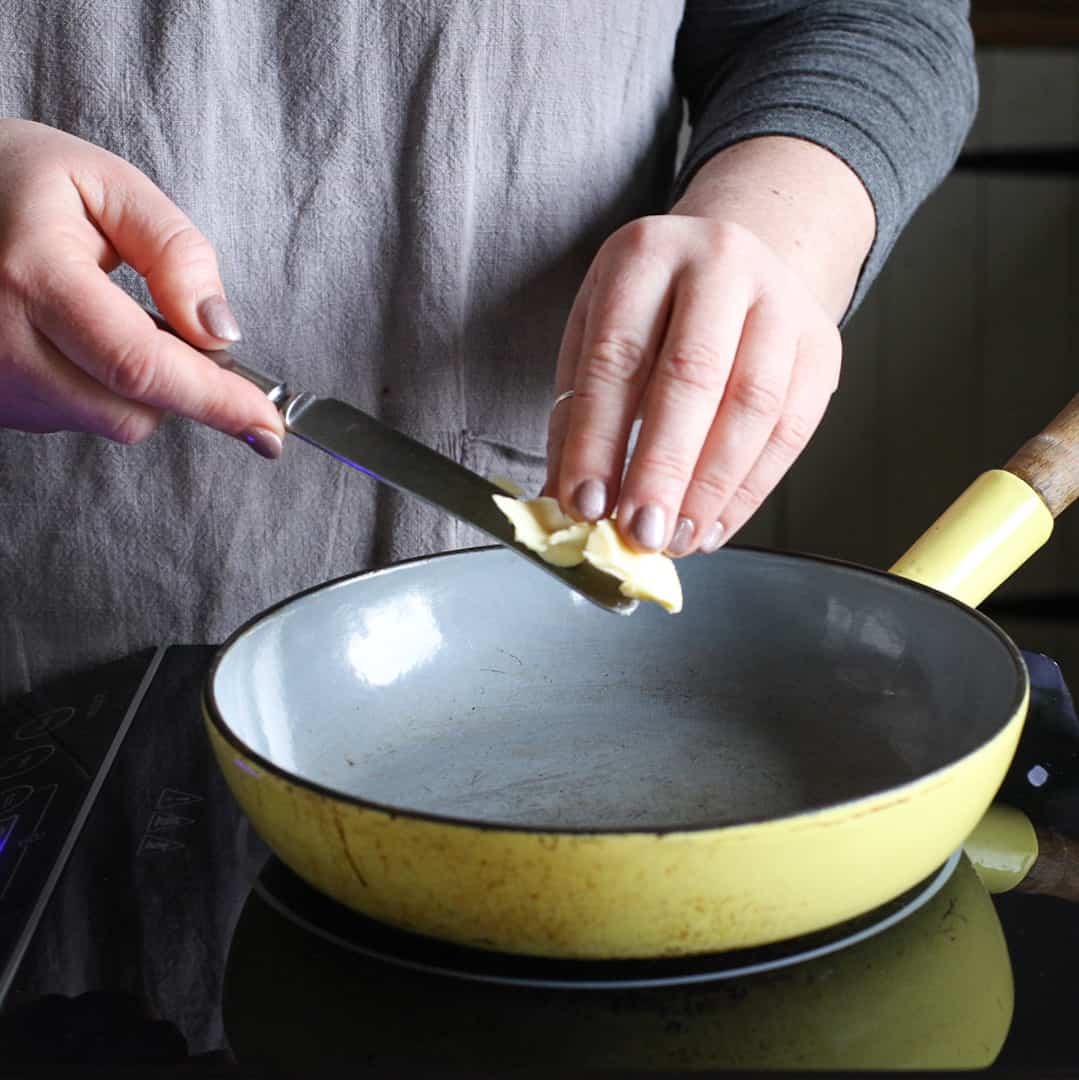
Preheat the pan over a medium high heat, then add in the butter.
Swirl round the pan, then carefully slide in your sandwich.
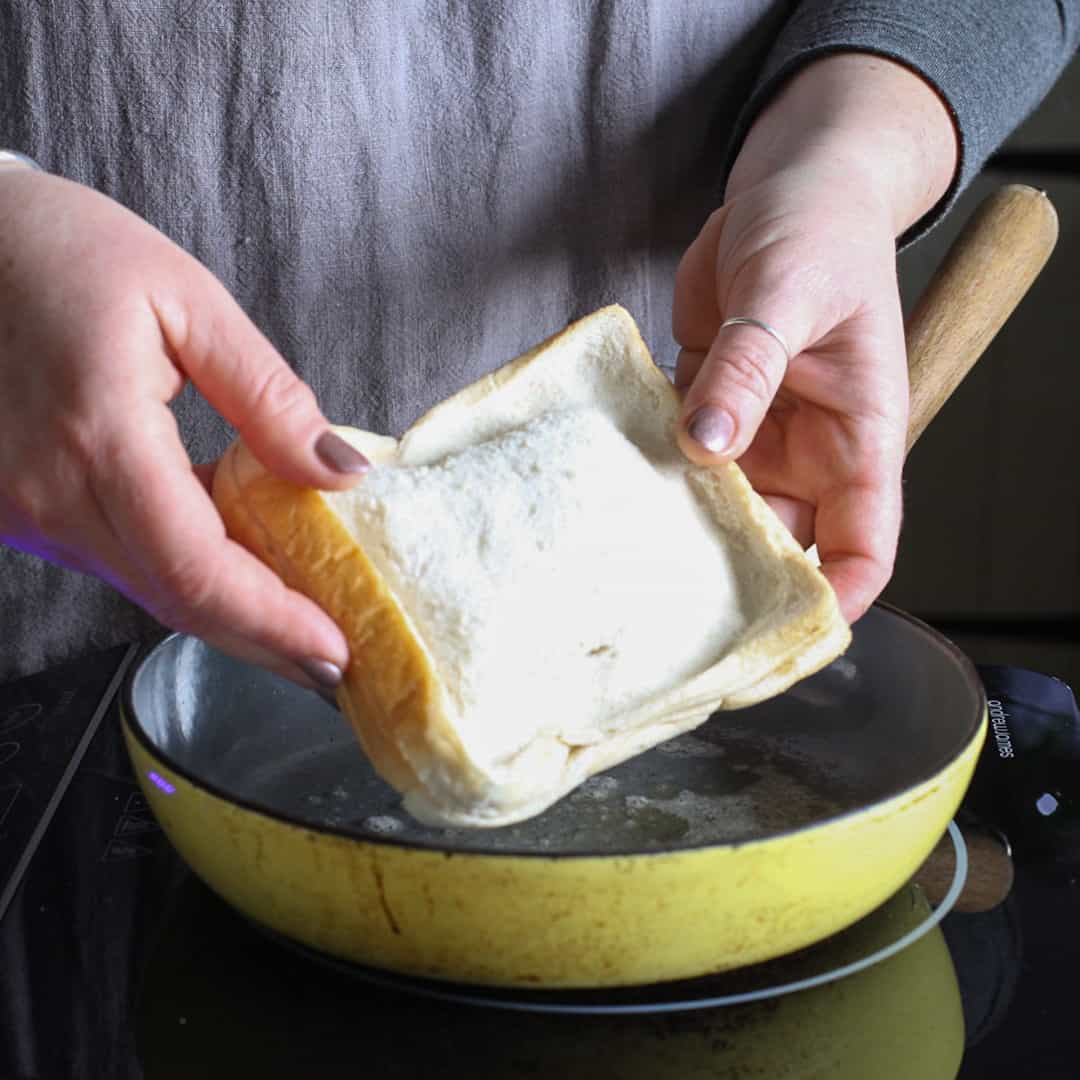
Let it cook for 3 or 4 minutes.
It will start to smell amazing!
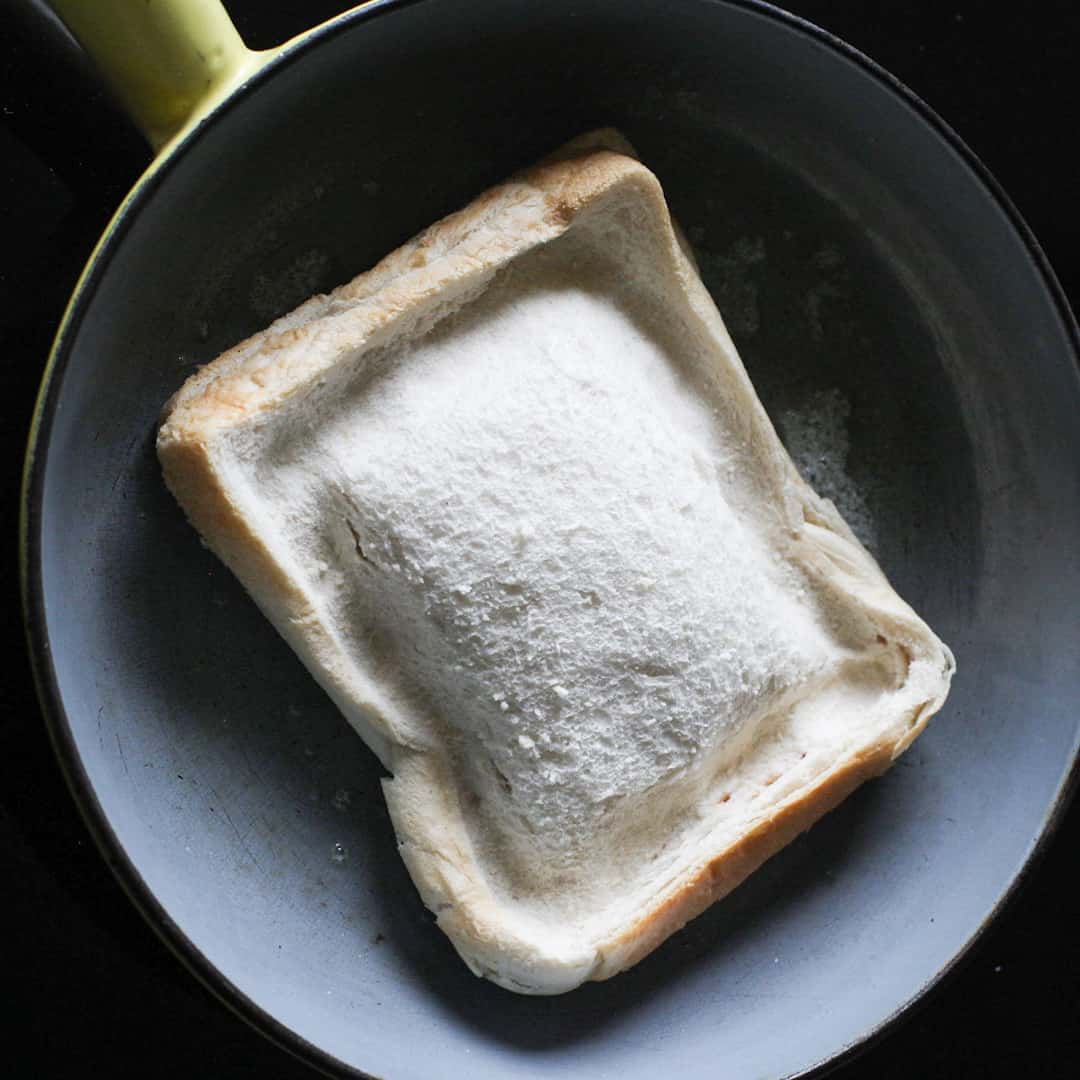
Using a spatula or fish slice, carefully turn the toastie over in the pan.
You may like to add another knob of butter to cook the second side.
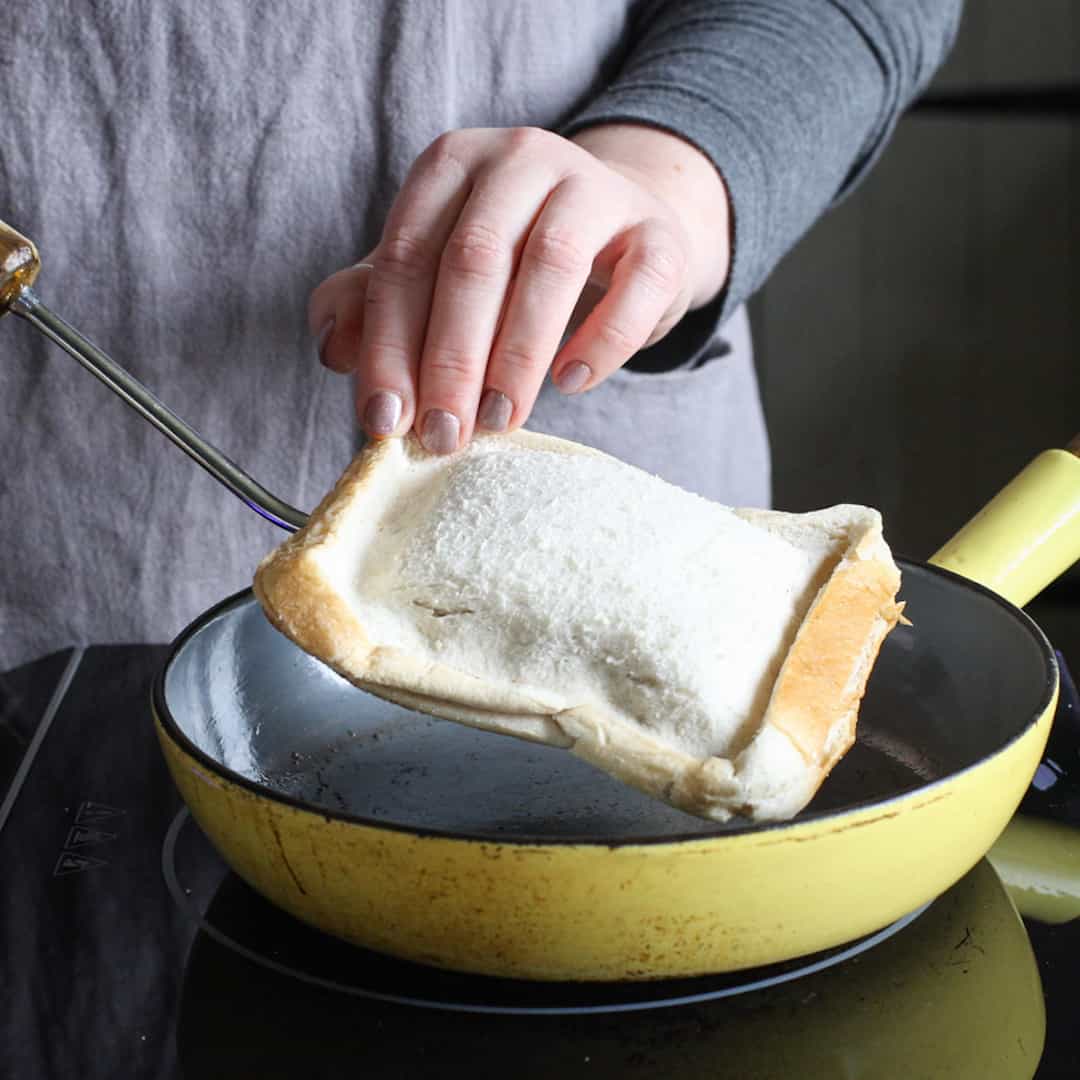
Again, let it sit and cook for a few minutes, then flip it over a final time.
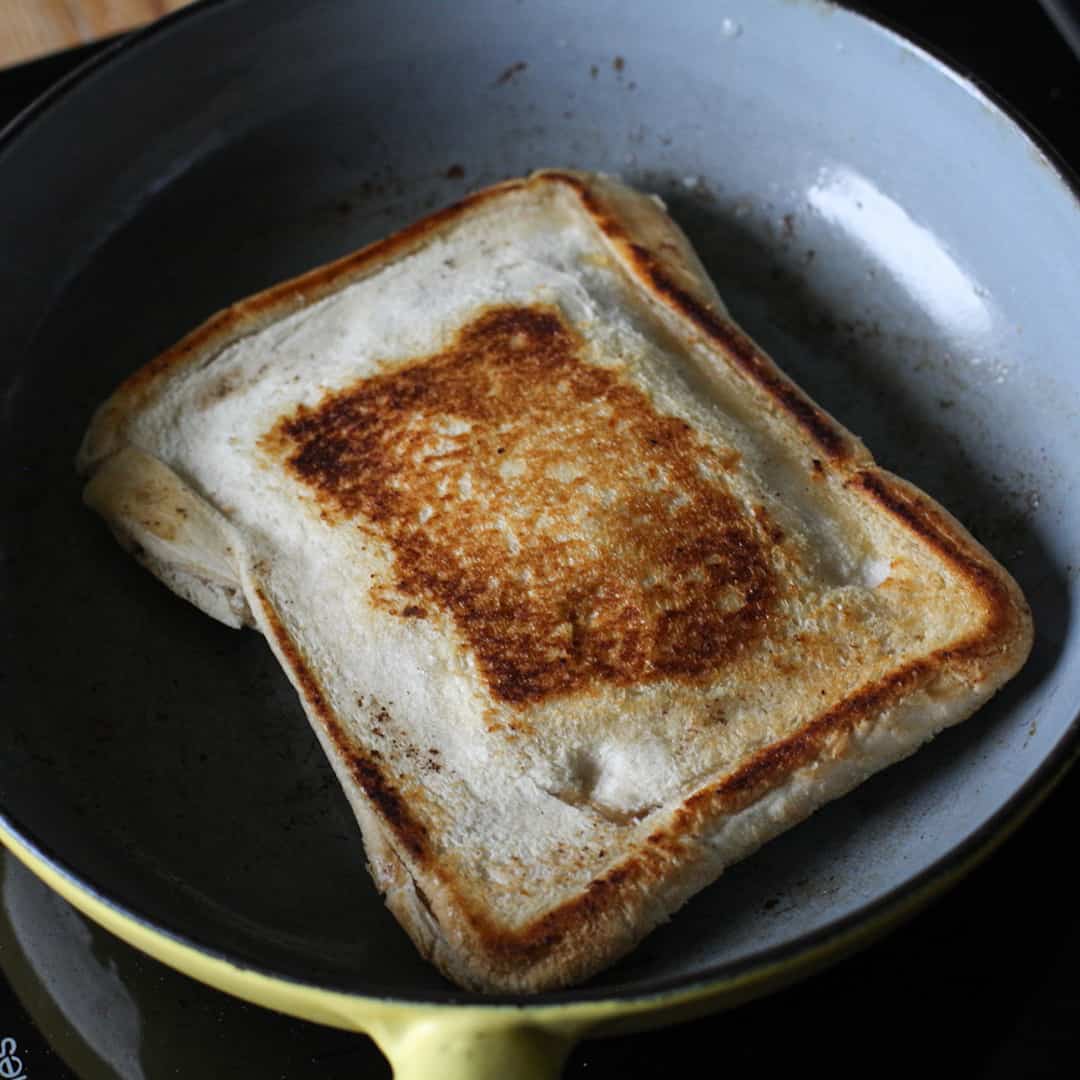
Once the sandwich has cooked for around 8-10 minutes, and both sides are looking golden and brown, you can check to see if it’s cooked.
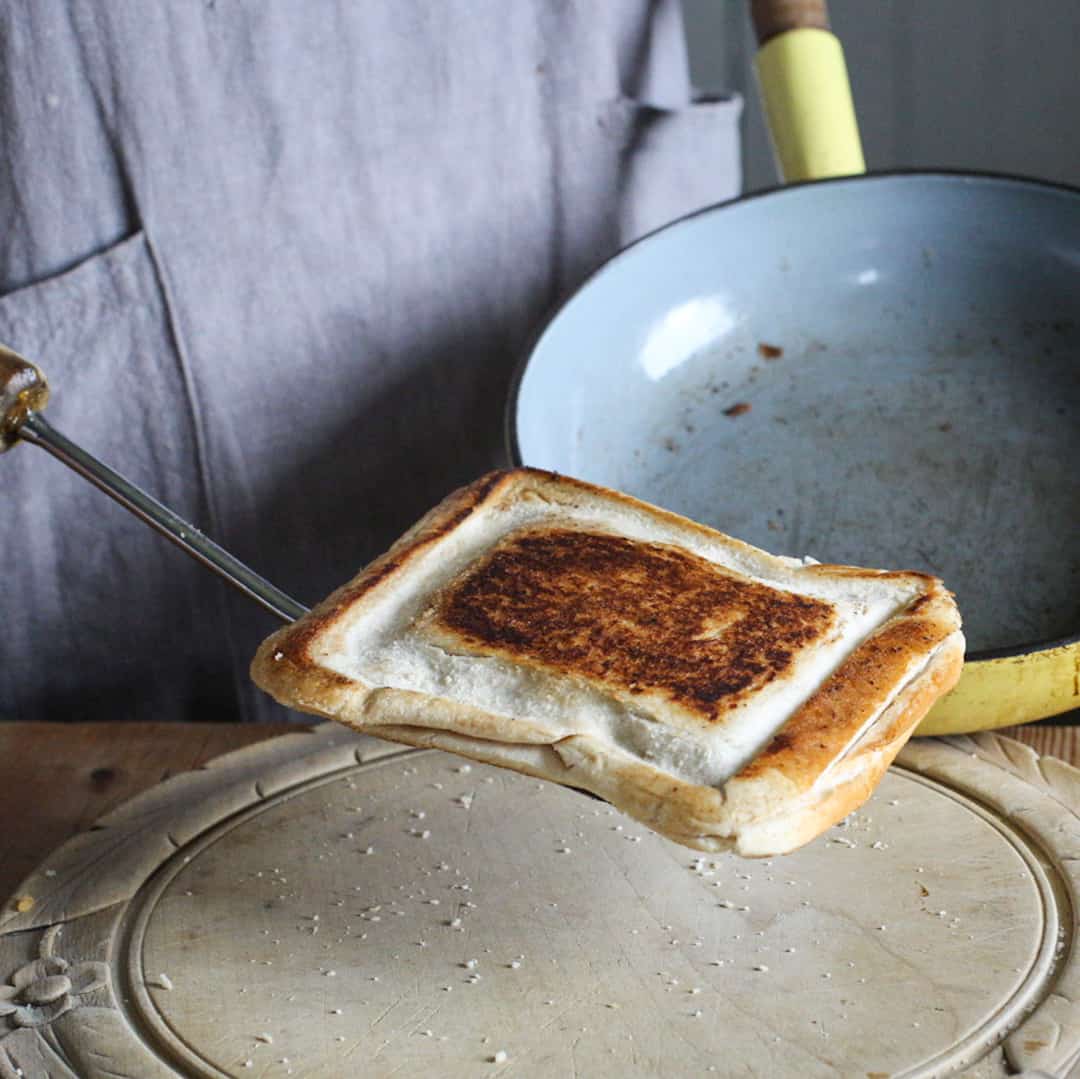
Carefully slide the sandwich out onto a chopping board.
Use a sharp knife to cut it in half and test how hot the centre is.
The first few times you do this you might prefer to just make a little hole in the middle of the bread so that if you need to return it to the pan you won’t lose all your filling.
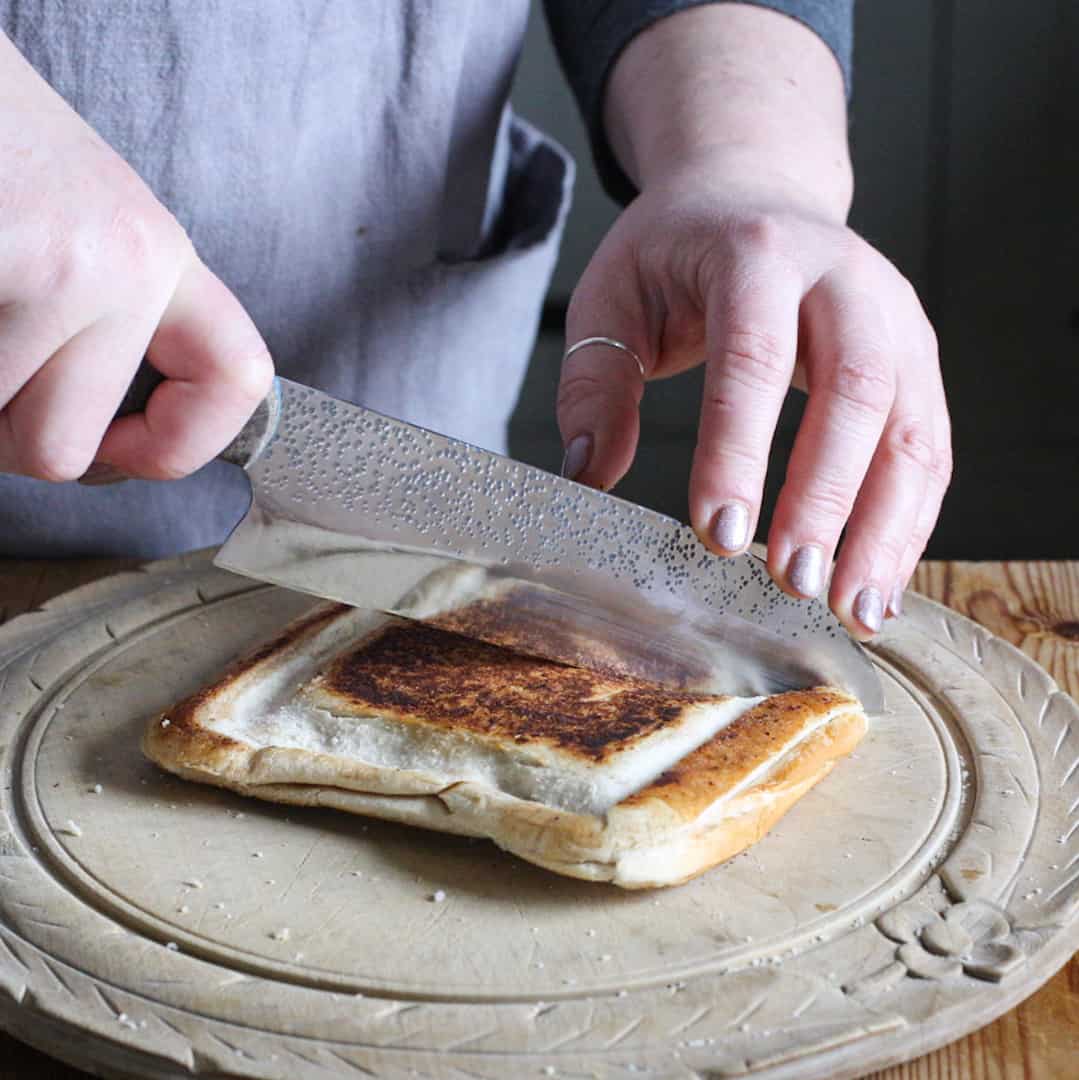
Once the cheese is runny and melted, and the centre of the beans are hot too, it’s ready to serve.
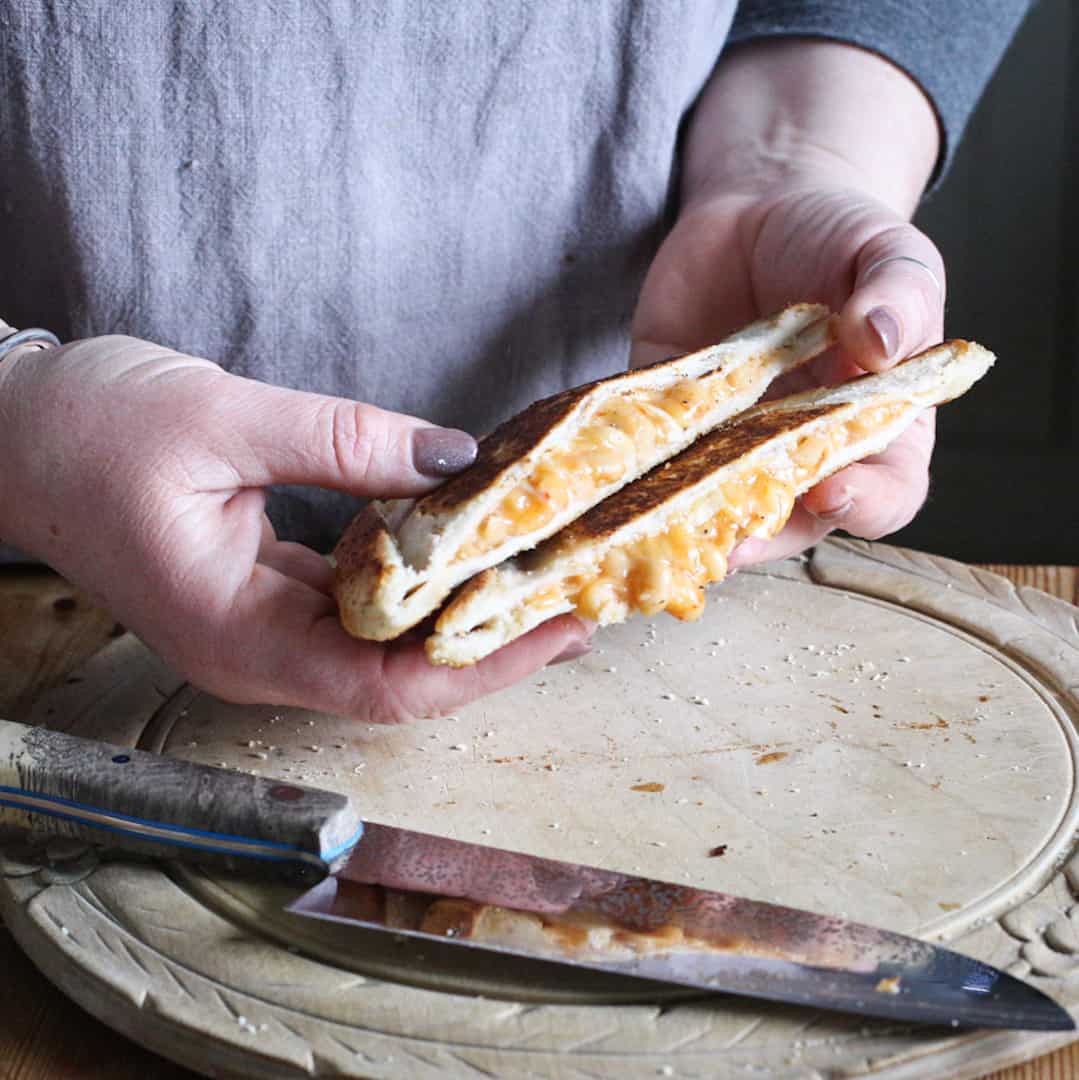
I would wait a few minutes before eating though, as that filling will be HOT!

How to Make a Cheese and Bean Toastie with Sourdough bread
Sourdough bread is much drier and denser than soft white supermarket bread. So much so that you likely won’t be able to crimp two slices together like we did above.
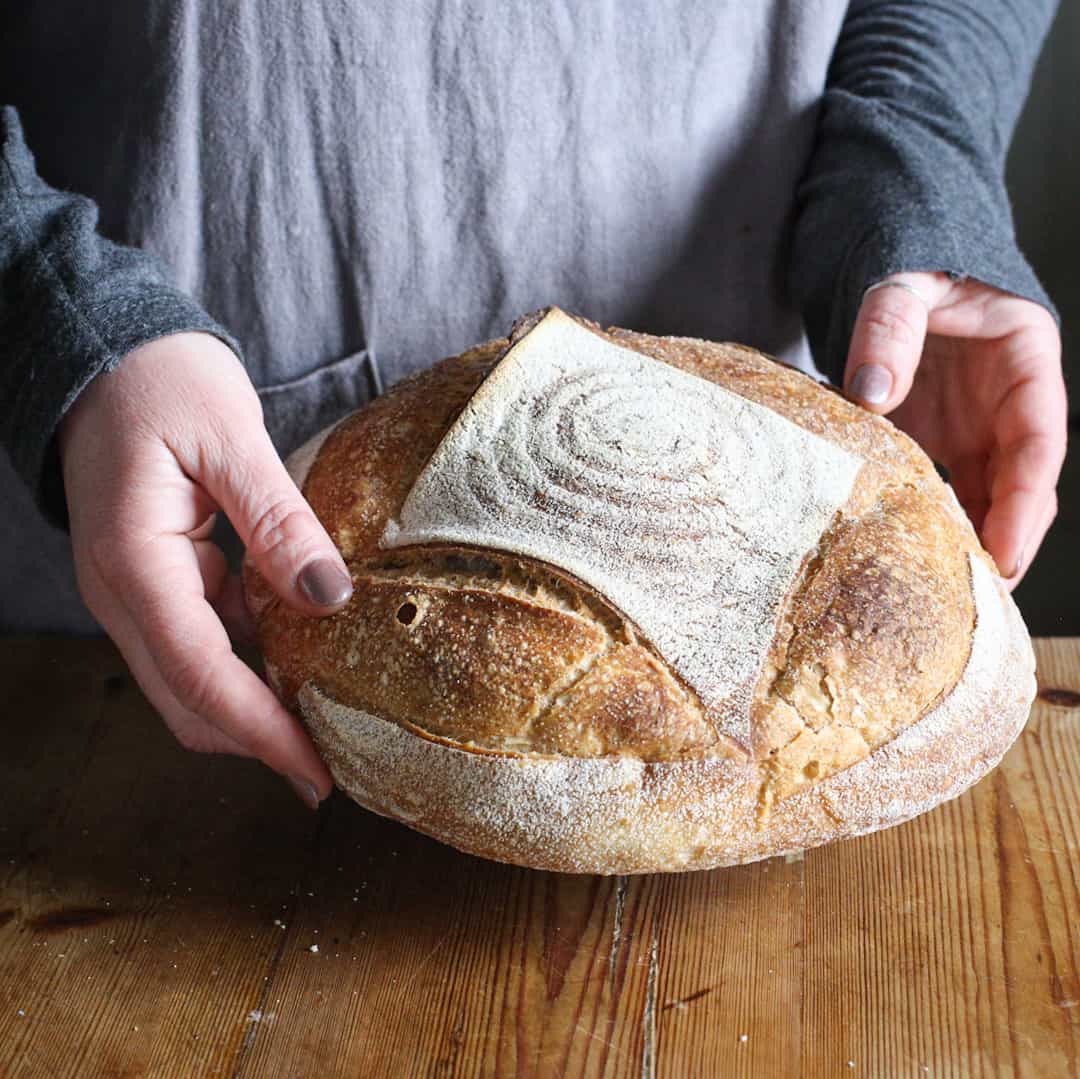
1/ slice your sourdough loaf
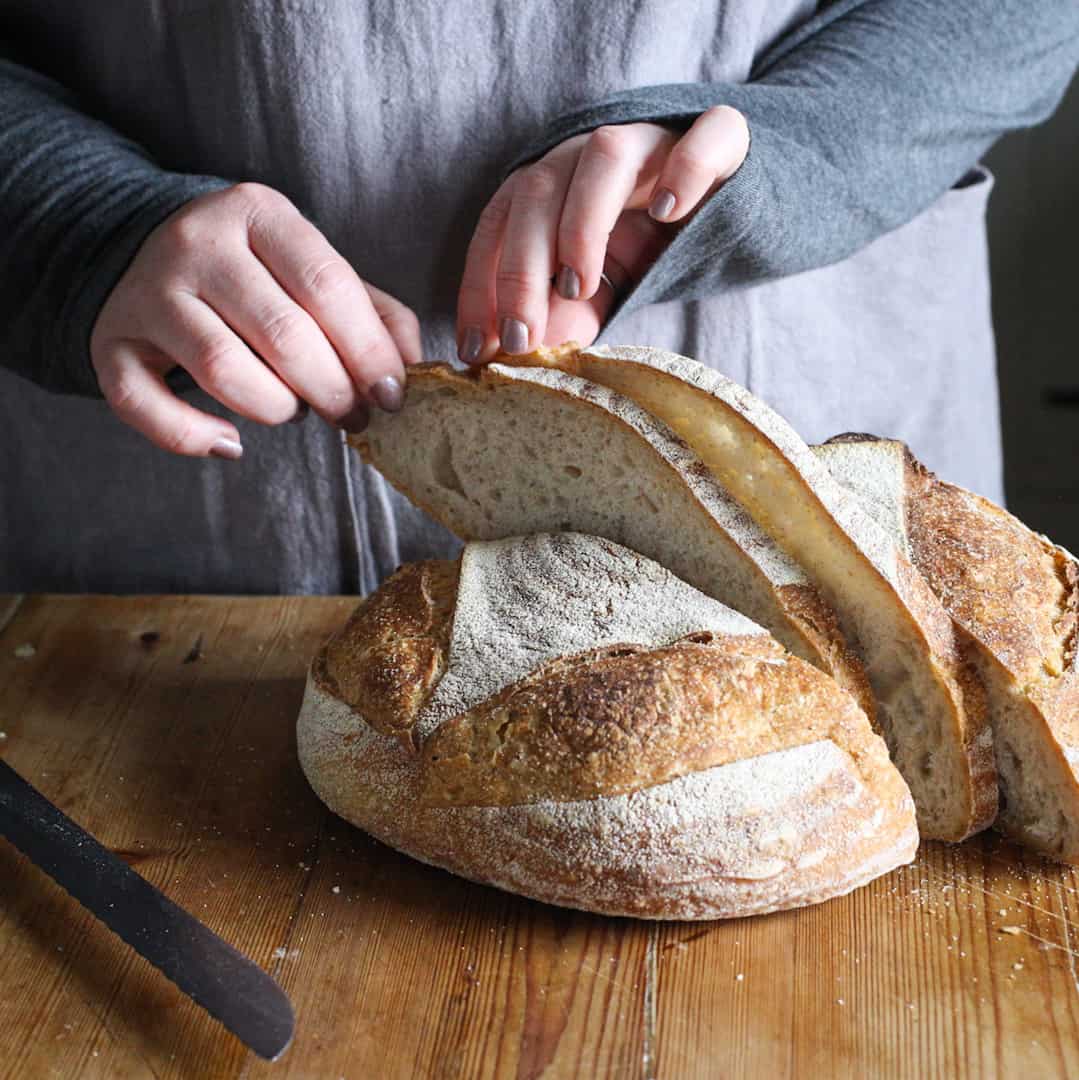
As a sourdough loaf is often round, the first few slices from either end are too small to make decent toasties.
So instead I cut two very thin slices from the centre of the loaf.
2/ filling your sourdough toastie
Fill your toastie as before with the drained baked beans…
… black pepper or other seasoning of choice…
… and sliced or grated cheese.
Before topping with the second slice of bread, butter one side of it…
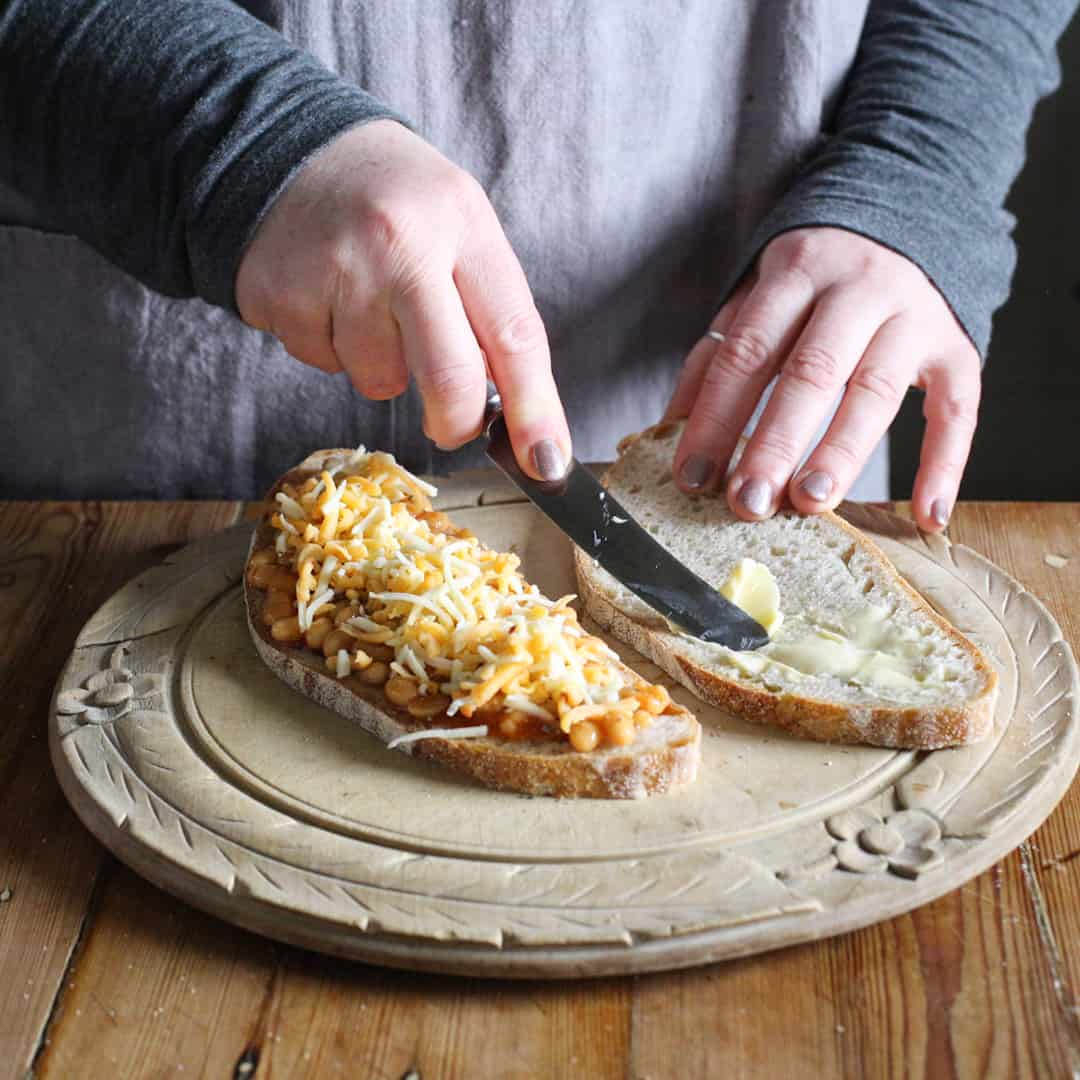
Then, make the sandwich with the buttered side on the outside of the sandwich.
This means you won’t need to add any butter to the pan, but it will still become evenly golden brown.
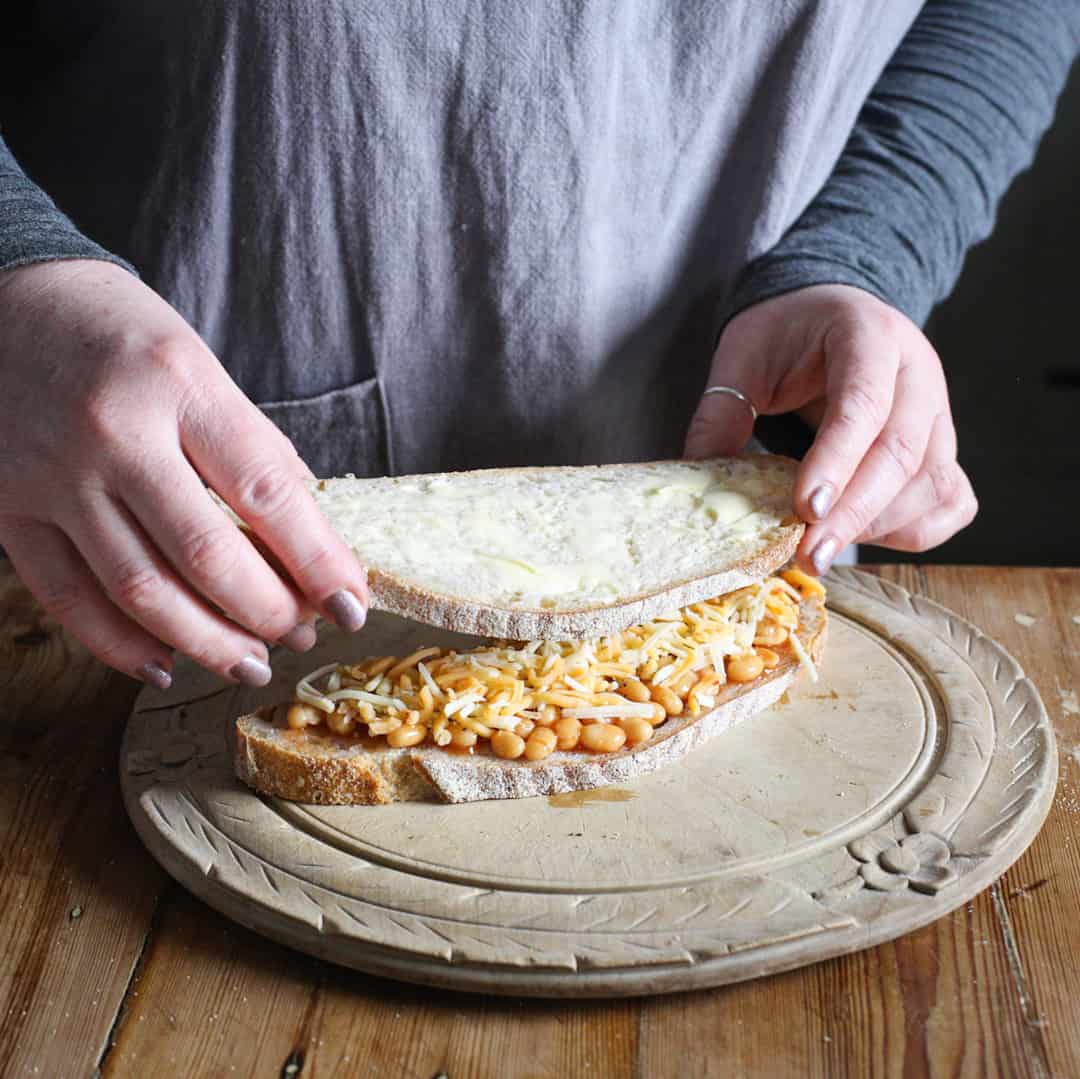
3/ cook
Preheat the pan over a medium high heat.
Carefully slide the sandwich into the hot pan using a spatula butter side down.
You can butter the top of the sandwich at this point too – just be careful not to burn yourself on the sides of the pan. If it’s easier, you can remove the sandwich from the pan when the first side is cooked, add a knob of butter to the pan then return your toastie to cook the second side.
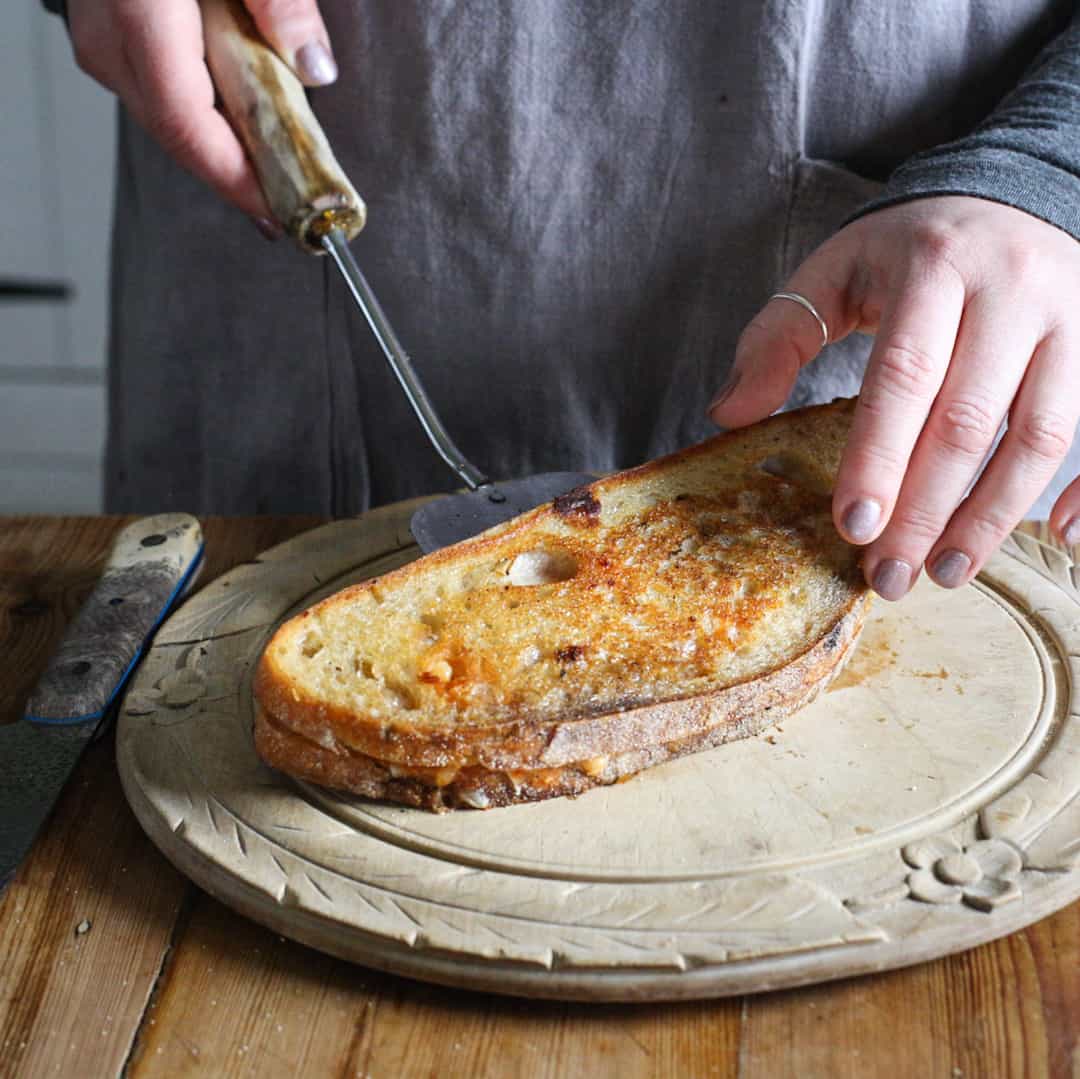
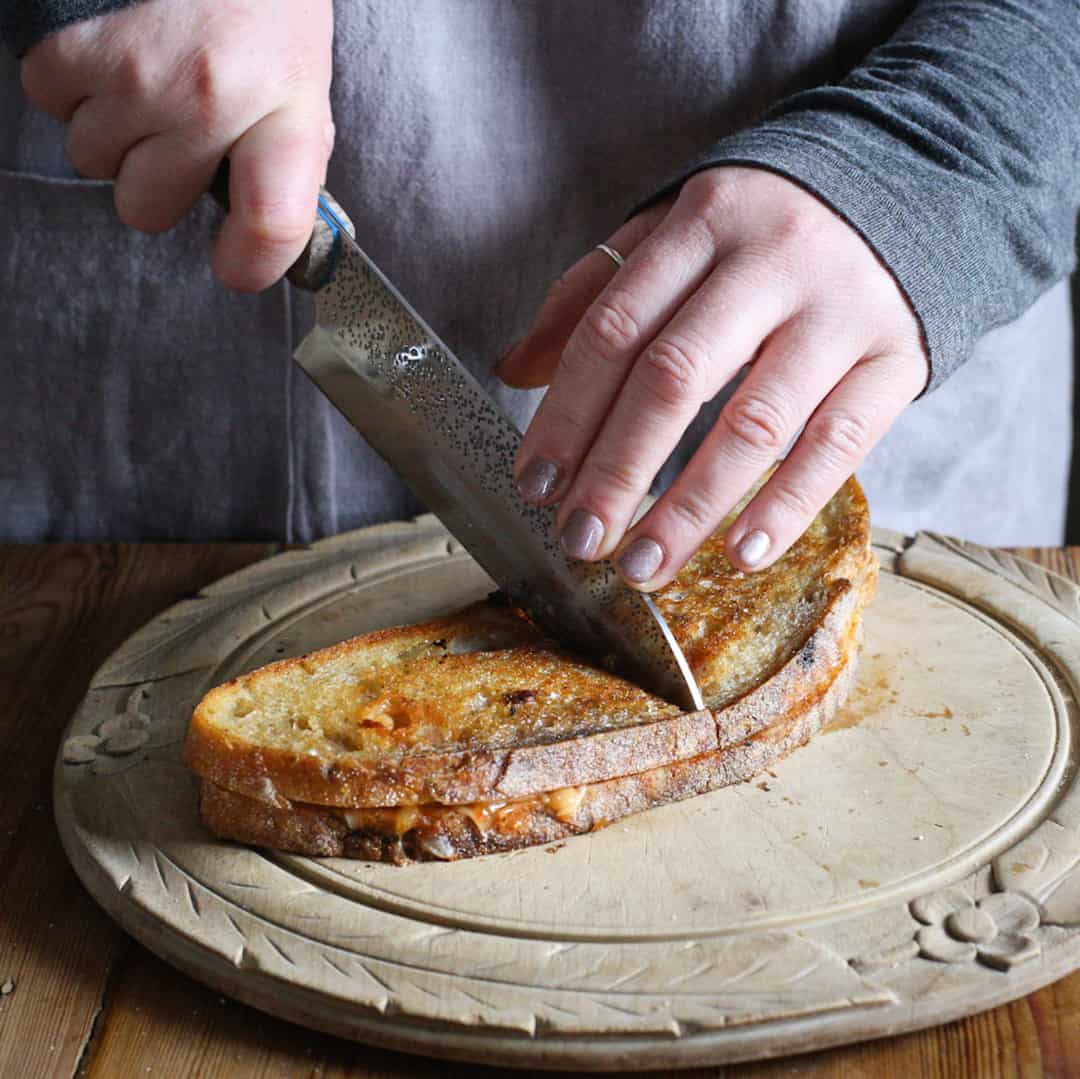
Let cook for 4 minutes each side, then carefully check the inside to see if it’s hot enough.
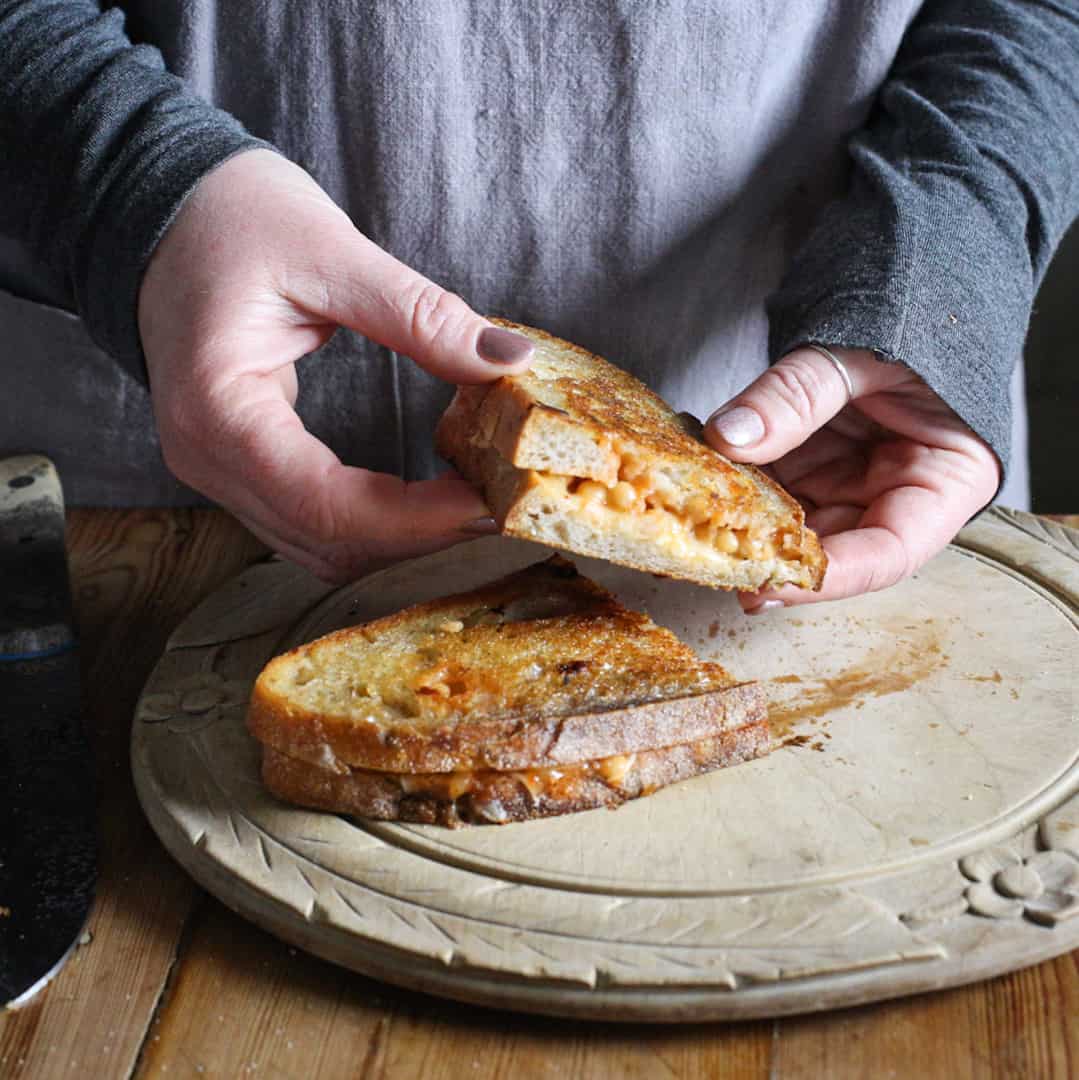
When it is, cut, serve and enjoy!
I hope you’ll give this easy peasy cheese and bean toastie recipe a go! Please let me know how you get on if you do!
You can find me pretty much everywhere as @hedgecomber :)
Jane x

Making a Cheese and Bean Toastie is so easy that even the kids can do it! Follow my step by step process to get this quick mini meal on the table in minutes.
- 2 slices white bread
- 2 tbsp baked beans - from a can, drained
- 1 pinch black pepper
- 2 tbsp Cheddar cheese - grated
- 1 tbsp butter
- 2 tsp butter
Lay your 2 slices of bread out on a chopping board.
Open the can of beans and slowly scoop out as many as you need to cover one piece of bread in a single layer.
Be sure to drain the juice from the beans back into the can to stop your toastie becoming soggy.
Season the sandwich with black pepper (if using), then sprinkle with the grated cheese.
Top the sandiwch off with the second piece of bread.
Put the frying pan onto the hob and turn on the heat to a medium high (ie if your stove numbers are between 1 and 10, then choose a number 7 or 8).
When the pan is hot, add one teaspoon of butter and swirl it around the coat the pan evenly.
Carefully slide the sandwich into the melted butter and let it cook for about 4 minutes.
Using a spatula, carefully flip the sandwich over to cook the second side again for abut 4 minutes.
Check the filling - the cheese should be melted and a baked bean from the centre of the sandwich should be hot.
If it’s not cooked enough yet, carefully flip it back over for another few minutes.
Remove the cheese and bean toastie from the pan onto a chopping board or plate.
Cut in half and let it cool for a few minutes before eating!
Simone says
Janie!!! Ah it’s been so long! I was working on my English site and bumped into a comment you made, so I figured I pay a visit. This toastie looks perfecttttt. How’ve you been?
Jane Sarchet says
Ha! Hello you! I miss you girl! You over this way any time soon?