I’ve ‘tried’ making bread in the past and just assumed I wasn’t any good at it. What I now realise is, as with pretty much everything else in life, practice pays off! 
I’m currently baking about 8 loaves a week: some for us, some for my parents, and some for the freezer.
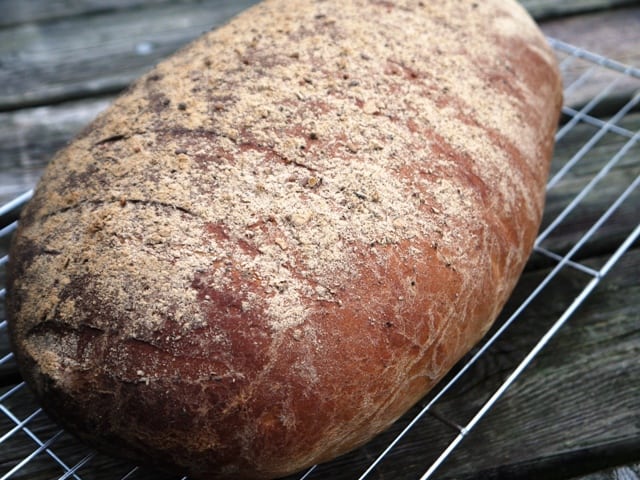
Whilst I by no means claim to be an expert on the subject, I have now made enough errors & discoveries to be able to turn out an edible loaf (and occasionally an epic loaf!) every time.
Although the smell of a freshly baked loaf is adorable, for the me the absolute best smell of the whole process, is when you take the proofed dough out of the plastic bag to knock back.
The sweet, yeasty scent is incredibly evocative. It’s just wonderful.

Here’s my top 5 tips to help you if you’re new to the tasty world of bread baking!
1/ Increase the Water
It took me a while to understand why my dough never became elastic or smooth.
Every recipe I’ve tried made a dusty, dry, cracked dough that wouldn’t stretch or spring like I’d seen other peoples.
Until I upped the water content – Bingo!
Try adding up to an extra 10% warm water to your mix if you have this problem.
2/ Set the timer
Kneading changes the structure of gluten in flour, and it’s vital to getting a light loaf.
You can feel a change in the dough after 6-8 minutes of kneading, but initially, keep going for 10 minutes.
10 minutes is a surprisingly long time, and very hard to judge when you first start out, so set the kitchen timer and zone out.
It’s very satisfying.
3/ Try Cold Proofing
I have found that when I proof in a warm place (ie the airing cupboard) the dough may rise quicker, but the resulting bread is more dense and stales more quickly.
However, cold proofing (in the fridge over night or just on a kitchen work surface until doubled in size) has worked brilliantly for me.
Try it, and let me know what you think.
4/ Proof Twice
Again, a lot of recipes suggest only proofing once.
Whilst this certainly leaves you with an edible loaf of bread, the loaves I’ve proofed twice have tasted amazing.
Seriously.
I mix, then knead my dough and put it in an oiled bowl.
The entire bowl goes in a huge clear plastic bag (making sure the bag & dough won’t touch as it’s not a food grade plastic bag) and leave on the windowsill or counter.
When it’s doubled in size (can take 2 or more hours depending on temperature) take out of bowl, knock back, form the loaf shape you want in a loaf tin or on a baking sheet.
Put the tin/sheet back into the bag to double in size again (this time doesn’t seem to take as long as the first proof).
When fully risen, put straight into hot oven.
5/ Double Up Recipe & Freeze
Making bread takes a fair amount of time and electricity.
Double up your recipes and freeze the extra, they’ll taste just as good when defrosted, unlike shop-bought bread.
If you’ve never delved into the doughy world of baking breads, I hope this has inspired you.
Have fun with it, play around by mixing different flours or adding seeds, nut, olives, (soaked) dried tomatoes/onions/mushrooms, anything you fancy really! Enjoy :)
Janie x
Miss Rose says
I love hand kneeding my dow, it is such and upper body work out.
HedgeComber says
Hi Miss Rose, me too! I find it really soothing, and there is something very special about producing a food the way it has been done for thousands of years. I just love it!
gaynorthepainter says
Great tips thanks, I will try this.
HedgeComber says
You’re welcome :)
Mrs Simplicity says
Great post, I love making bread but have never tried cold proofing and will try it next time, thanks for the tip :)
HedgeComber says
Do let me know what difference you think it makes x
Nikki says
Lovely post ! I’ve been thinking about baking bread for a while. We are in the middle of exams here in our house – so lots of anxieties around. The kneading may help!!!!!!
HedgeComber says
I’m sure it will! If nothing else it will make you feel like the perfect domestic goddess :)
Netttie Moore says
I am so happy to read this, I am a newbie and this is great advice! Nettie
HedgeComber says
Thank you Nettie! Now, go make some great bread!!!
Janie x
Crystal @ Serving Joyfully says
Great tips :) I recently wrote a post with tips for beginners as well: http://www.servingjoyfully.com/2012/04/13/a-beginners-guide-to-baking-with-yeast/
Along with your water tip, I do kind of the opposite. I don’t measure my flour. I just use enough flour to make the dough what I need. Because I found I was having the same problem, so I just added less flour to the mix :)
HedgeComber says
How interesting, 2 different ways to get to the same outcome! Off for a read of your post now…
Janie x
Mr. Weatherman says
This is a good post! when I started to learn how to bake bread I went through a whole lot of flour. I do it the way you have learned too. Also, on youtube there is a great and easy way, it is called No Knead Bread. I bake my bread two ways; in a dutch oven and on a ceramic tile. Thanks to youtube I am trying to learn how to make cakes.
Jane Sarchet says
Hey Mr Weatherman, great to hear from you :)
I was recently sent a link to the no knead bread, I’m going to have to give it a try.
Youtube is awesome huh? We received a roadkill deer recently, and after watching a 10 minute youtube vid, I was able to butcher it!
Janie x
Rebecca C says
I used to make our bed but seem to have lost the love of doing it. However as I now get up at six before the rest of the house, how nice to cold proof overnight in the fridge and fill the house first thing in the morning to freshly baked bread…Mmm
Jane Sarchet says
Delish! That’s a great idea Rebecca, let me know how it goes!
Janie x